Chipped cabinet paint can be an eyesore, ruining the aesthetic appeal of your kitchen or bathroom. But fear not, my friends, for I’ve got some ingenious techniques up my sleeve to help you bid farewell to this pesky problem once and for all. Whether you’re dealing with existing chips or looking to prevent future ones, this comprehensive guide has got you covered on how to keep cabinet paint from chipping.
Masterful Prepping: Ensuring a Flawless Canvas for Cabinet Painting
The key to achieving a chip-resistant finish lies in the preparation phase. Proper prepping is crucial to ensure the paint adheres flawlessly to the cabinet surface. Start by cleaning the cabinets thoroughly, removing any grease, dirt, or grime that might hinder the paint’s adhesion. A degreaser or TSP (trisodium phosphate) substitute can work wonders in cutting through stubborn buildup.
Once the surfaces are squeaky clean, sand them lightly with fine-grit sandpaper (around 120-150 grit) to create a rough texture, which will help the paint grip better. Don’t forget to wipe away any dust or debris with a tack cloth before proceeding.
If you’re dealing with existing chips or peeling paint, take the time to scrape off any loose or flaky bits using a putty knife or a dedicated paint scraper. Fill in any dents, holes, or cracks with a high-quality wood filler, let it dry completely according to the manufacturer’s instructions, and sand it smooth with fine-grit sandpaper. This step ensures a level surface, preventing future chips from forming around uneven areas.
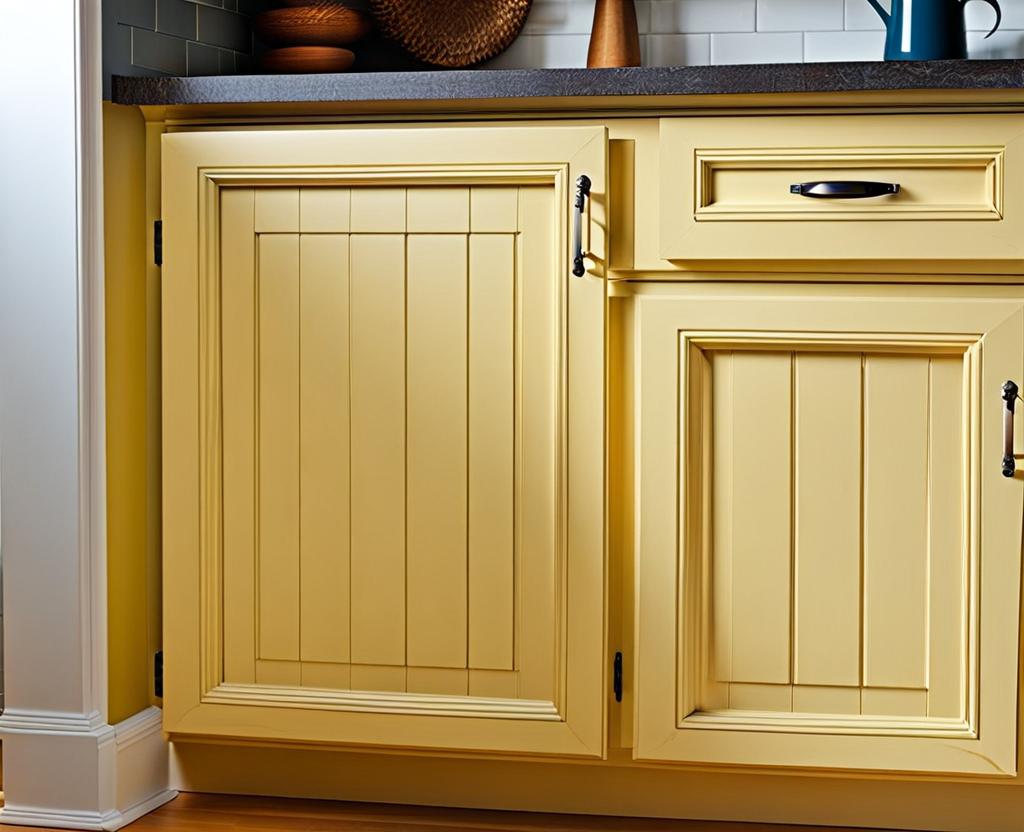
Selecting Chip-Resistant Cabinet Paint: Decoding the Labels for Optimal Performance
Not all paints are created equal when it comes to resisting chips. Choose a high-quality, durable paint specifically designed for cabinets and trim work. Look for labels that boast terms like “cabinet enamel,” “urethane alkyd,” or “oil-based.” These types of paints are formulated to withstand the wear and tear that cabinets endure daily, such as repeated opening and closing, moisture exposure, and occasional impacts.
Additionally, consider opting for a paint with a satin or semi-gloss finish. These sheens are more durable and easier to clean than their flat counterparts, making them less prone to chipping over time. And if you’re feeling extra cautious, invest in a dedicated cabinet paint additive that enhances the paint’s chip resistance and durability. These additives often contain ceramic microspheres or other reinforcing agents that create an extra-tough finish.
When selecting your paint color, keep in mind that lighter shades tend to show chips and scratches more readily than darker hues. If you’re aiming for a lighter cabinet color, opt for a high-quality paint with excellent hiding power to minimize the appearance of any imperfections.
Application Techniques: Mastering the Art of Smooth and Durable Cabinet Finishes
Proper paint application is just as crucial as the prep work. Start by applying a coat of high-quality primer, which will help the paint adhere better and create a smoother surface. For optimal adhesion, consider using a bonding primer specifically designed for cabinets or a high-quality oil-based primer.
Once the primer has dried completely (follow the manufacturer’s recommended drying time), apply the first coat of paint using a high-quality brush or a small foam roller designed for smooth surfaces. For those hard-to-reach areas, use an angled brush for neat, precise strokes.
- Tip: Apply the paint in thin, even coats, allowing each coat to dry completely before adding the next. This technique ensures a smooth finish and better adhesion.
- Tip: When painting cabinet doors, remove them from the hinges and lay them flat on a work surface. This approach allows for easier painting and prevents drips or runs.
After the final coat, consider applying a clear topcoat or varnish designed specifically for cabinets. This extra layer adds an extra barrier against chips, scratches, and everyday wear and tear, further enhancing the durability of your cabinet paint.
Protective Topcoats: Fortifying Cabinet Paint Against Chips and Wear
While a quality paint is essential, adding an extra layer of protection can take your chip resistance to the next level. Consider investing in a clear, durable topcoat designed explicitly for cabinets. These topcoats act as a shield, absorbing the brunt of everyday impacts and preventing the paint from chipping.
When applying the topcoat, follow the manufacturer’s instructions carefully. Typically, you’ll need to apply multiple thin coats, allowing each coat to dry completely before adding the next. Once fully cured, this protective layer will create a virtually impenetrable barrier against chips, scratches, and everyday wear and tear.
For an added layer of toughness, consider using a topcoat that contains polyurethane or epoxy resins. These high-performance coatings offer exceptional durability and resistance against abrasion, moisture, and chemical exposure, making them ideal for high-traffic areas like kitchens.
Even with the best preparation and application techniques, cabinets are subject to daily use and abuse. To ensure your hard work pays off in the long run, adopt a regular maintenance routine. Wipe down cabinet surfaces with a gentle cleaner and soft cloth, avoiding abrasive scrubbing that could potentially damage the finish.
When cleaning, opt for mild, pH-neutral cleaners or a simple solution of warm water and mild dish soap. Steer clear of harsh chemical cleaners, as they can break down the protective topcoat and cause premature chipping or peeling.
If you notice any minor chips or scratches, address them promptly. Touch up the affected areas with a matching paint or touch-up marker to prevent further chipping or peeling. For larger chips or more extensive damage, you may need to lightly sand the area, apply a fresh coat of paint, and reapply a clear topcoat to ensure a seamless, durable finish.
Additionally, consider placing protective pads or felt coasters under frequently moved items like small appliances or decorative pieces. This simple step can prevent unnecessary scratches or chips caused by sliding or dragging objects across the cabinet surfaces.
By following these ingenious techniques, you’ll be able to bid farewell to chipped cabinet paint for good. Your cabinets will maintain their pristine, freshly painted look for years to come, elevating the aesthetic appeal of your kitchen or bathroom and bringing you immense satisfaction every time you admire your handiwork.

This is where you’ll find inspiration to create a stylish and beautiful dream home.
