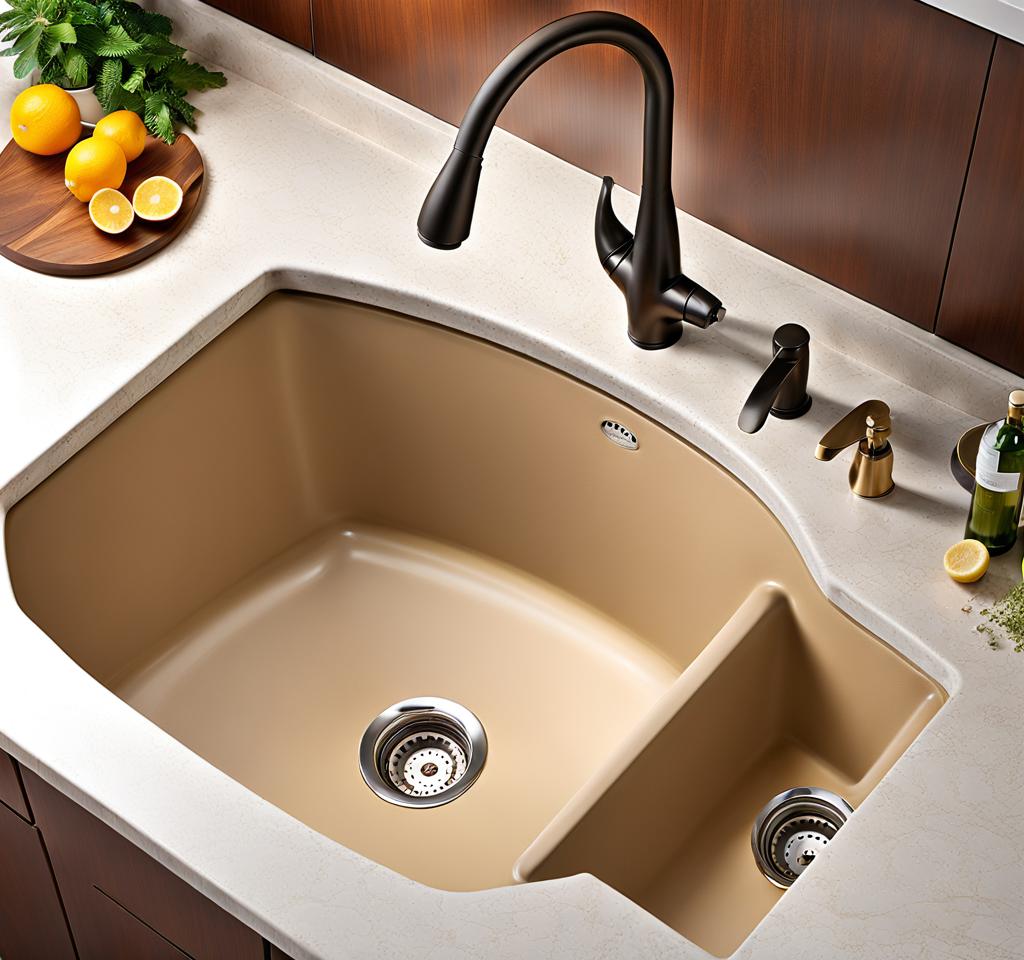
If you’re considering a kitchen remodel or simply want to replace your existing undermount sink, tackling the removal process might seem daunting. But fear not, because I’m here to guide you through the steps to removing an undermount sink with confidence and ease. With the right tools and a little know-how, you’ll be well on your way to revamping your kitchen space like a true pro.
Undermount Sink Removal Essentials
Before we dive into the nitty-gritty details, let’s start with the basics. An undermount sink is a type of sink that is installed beneath the countertop, creating a seamless and sleek appearance in your kitchen. While undermount sinks are aesthetically pleasing, they can be a bit trickier to remove compared to traditional drop-in sinks.
One of the primary reasons homeowners opt to remove their undermount sink is for a kitchen remodel or renovation. Perhaps you’re looking to update the overall style or replace the countertop material. Alternatively, your existing sink might be damaged, stained, or simply outdated, prompting the need for a replacement.
Regardless of your motivation, safety should be your top priority. Before diving in, ensure you have the necessary tools at hand, such as a utility knife, pliers, putty knife, and protective eyewear. It’s also crucial to turn off the water supply and properly disconnect the sink from any plumbing fixtures to prevent unwanted leaks or water damage.

Preparing for the Undermount Sink Removal Process
Now that you understand the basics, let’s get down to business. The first step in removing your undermount sink is to clear the area around it. This means emptying the cabinets beneath the sink and removing any items on the countertop that might obstruct your workspace.
Next, locate the shutoff valves for both the hot and cold water supply lines and turn them off. This will prevent any water from flowing into the sink during the removal process. While you’re at it, go ahead and disconnect the drain pipes as well. You’ll thank me later when you’re not dealing with a messy water situation.
Once the plumbing is taken care of, it’s time to remove any hardware or fixtures attached to the sink, such as the faucet, soap dispenser, or garbage disposal. Carefully set these aside, making sure to label any parts to make reinstallation a breeze (if you plan on reusing them, that is).
Finally, take the necessary precautions to protect your countertop surface. Use a soft cloth or cardboard to cover the area around the sink, ensuring no scratches or dents occur during the removal process. Trust me; you don’t want to inadvertently damage that beautiful countertop you’ve been admiring.
Step-by-Step Guide to Removing an Undermount Sink
Alright, now we’ve reached the main event – the actual removal of your undermount sink. Take a deep breath and let’s dive in!
- Locate the undermount clips or brackets that secure the sink to the countertop. These are typically found along the perimeter of the sink, either on the underside of the countertop or beneath the sink itself.
- Using the appropriate tools (pliers, screwdriver, or utility knife), carefully loosen the clips or brackets. This may require some elbow grease, especially if the sink has been in place for a long time.
- Once the clips or brackets are loosened, gently pry the sink away from the countertop. You might need to wiggle it back and forth slightly to break the seal created by the caulking or adhesive.
- With the sink loose, carefully lift it out from the countertop opening. This step might require an extra set of hands, as undermount sinks can be quite heavy and unwieldy.
- After successfully removing the sink, take a moment to inspect the countertop surface for any remaining caulk, adhesive, or debris. Use a putty knife or scraper to remove any residue, ensuring a clean slate for your new sink installation.
- Finally, handle and dispose of the old sink properly. If it’s still in decent condition, consider donating it or recycling the materials. If it’s beyond repair, follow your local guidelines for proper disposal.
Congratulations! You’ve successfully conquered the task of removing your undermount sink. But wait, there’s more! Before you can fully enjoy your newly renovated kitchen space, there are a few post-removal considerations to keep in mind.
First things first, give the countertop area a thorough cleaning. This will ensure a pristine surface for your new sink installation and prevent any lingering debris or grime from compromising the seal. While you’re at it, take the time to inspect the countertop for any potential damage or areas that may need attention.
Next, it’s time to choose your new sink. Will you stick with another undermount option, or perhaps try a different style, like a drop-in sink? Consider factors like your kitchen’s aesthetic, countertop material, and personal preferences. Don’t be afraid to explore various options and seek inspiration from design magazines or online resources.
Once you’ve selected your new sink, carefully follow the manufacturer’s installation instructions. Pay close attention to any specific requirements or recommendations for your countertop material. If you’re feeling unsure or overwhelmed, don’t hesitate to seek professional assistance – a qualified contractor or plumber can ensure a seamless installation.
Finally, take a step back and admire your handiwork. You’ve successfully navigated the process of removing an undermount sink and are well on your way to creating the kitchen of your dreams. Bask in the sense of accomplishment, and maybe even treat yourself to a celebratory meal – you’ve earned it!

This is where you’ll find inspiration to create a stylish and beautiful dream home.