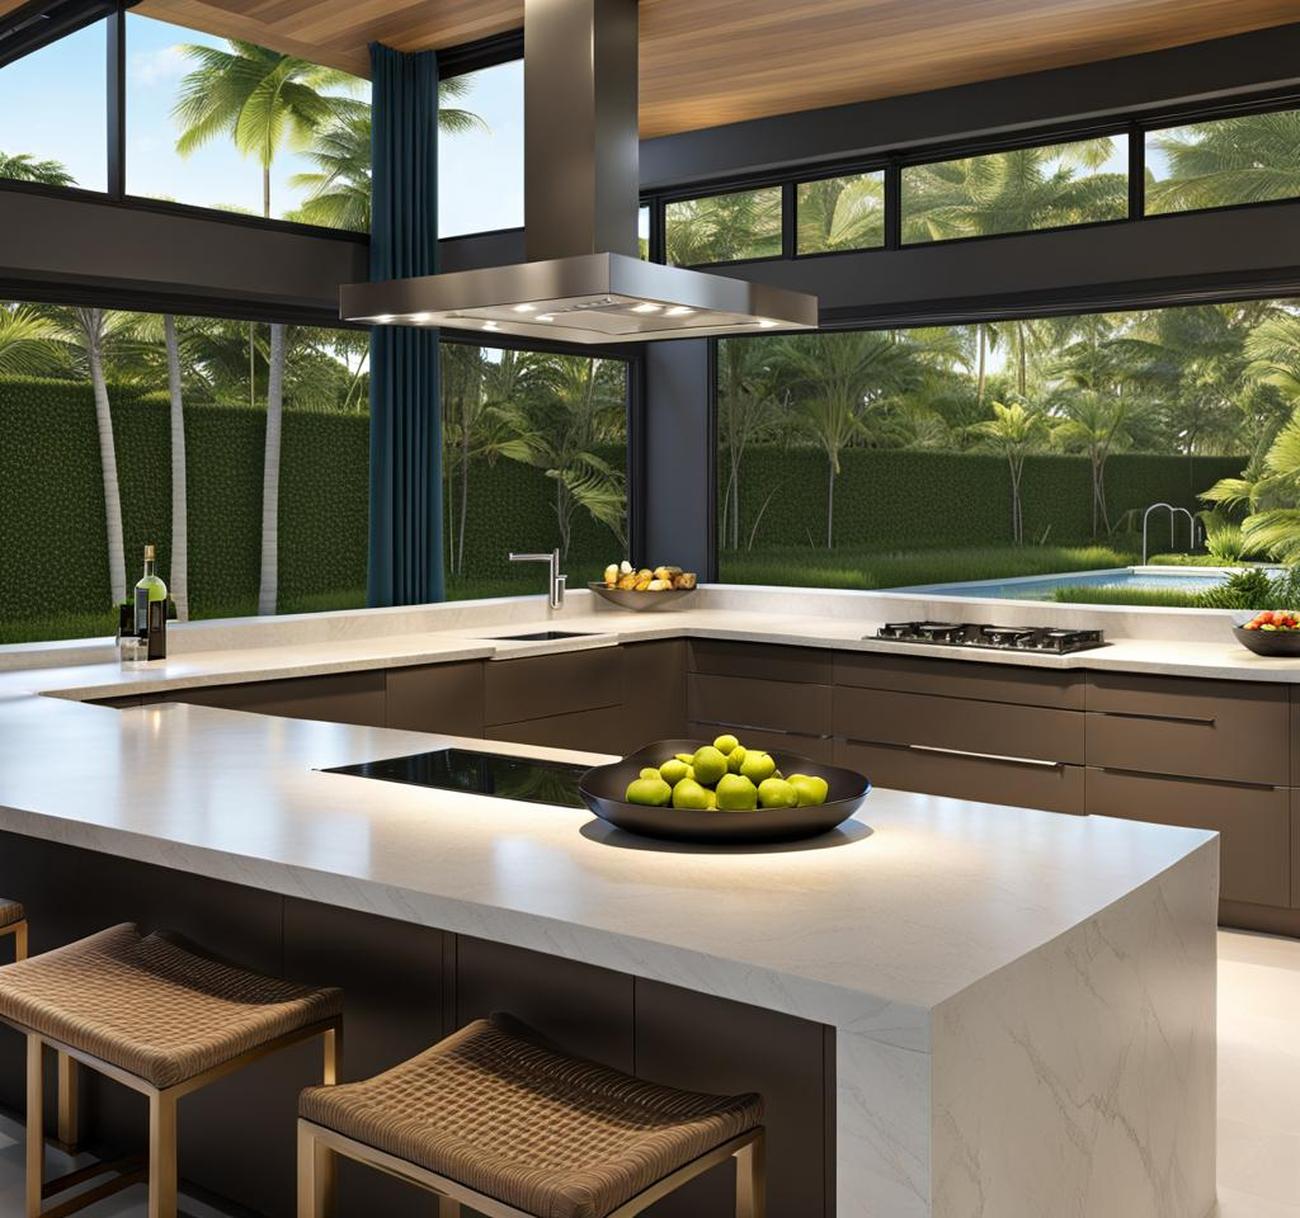
Extending an existing island for seating is a fantastic way to transform your kitchen into a multifunctional space that seamlessly combines cooking and dining areas. By maximizing the footprint of your current island, you can create an inviting spot for family gatherings, casual meals, or entertaining guests. This project not only enhances the functionality of your kitchen but also adds value to your home, making it an excellent investment.
Assessing Your Existing Kitchen Island
Before embarking on this project, it’s crucial to evaluate the current state of your kitchen island. Start by measuring the size and shape of your existing island, taking note of its dimensions and any unique features or angles. Consider the available space around it, ensuring you have enough clearance to expand without compromising the flow of traffic or accessibility to appliances, cabinets, and other essential kitchen elements.
Analyze the overall kitchen layout and identify potential obstacles or areas that may require adjustments. For instance, you may need to relocate a pantry door or adjust the position of nearby appliances to accommodate the extended island. Visualize how the new seating area would fit within the space and how it would impact the functionality of your kitchen. Think about the additional seating you require, whether it’s for casual family meals or hosting larger gatherings, and the desired style or design aesthetic you want to achieve. This will help you determine the appropriate size and shape for the extended island.
Planning the Extended Island Design
With a clear understanding of your existing island and the available space, it’s time to plan the design of the extended seating area. Determine the ideal size and shape that will accommodate your seating requirements while maintaining a comfortable flow of movement around the island. Consider incorporating storage solutions, such as cabinets, drawers, or open shelving, into the design to maximize functionality and keep your kitchen organized.
Next, choose suitable materials for the island extension that complement the existing countertop and cabinetry. Opt for durable and easy-to-maintain options that can withstand the demands of a busy kitchen, such as quartz, granite, or solid wood. If you’re feeling adventurous, you could even explore contrasting materials or textures to create a visually striking focal point that adds depth and interest to your kitchen.
Additionally, consider incorporating design elements that seamlessly blend the extended island with the rest of your kitchen. For example, you could match the cabinet hardware, trim details, or color schemes to create a cohesive and harmonious look throughout the space.
Extending the Island for Seating
With your design plan in place, it’s time to roll up your sleeves and get to work. Follow a step-by-step guide to extend the island structure, ensuring a seamless integration with the existing framework. Here are some essential steps to consider:
- Carefully disassemble any removable components of the existing island, such as countertops or cabinetry, to create a clear workspace.
- Reinforce the base or frame of the island to support the additional weight of the extended structure. This may involve adding additional support beams or reinforcing the existing framework.
- Construct the expanded frame or base, aligning it perfectly with the existing island to create a seamless transition.
- Install any additional cabinetry, drawers, or storage solutions as per your design plan, ensuring proper alignment and a professional finish.
- Seamlessly integrate the new countertop or surface material with the existing island, paying close attention to seams and joints for a flawless appearance.
Throughout this process, pay close attention to details and ensure a precise fit to maintain a cohesive and polished look. Additionally, consider hiring a professional contractor or cabinetmaker if you’re unsure about tackling this project on your own, as their expertise can ensure a successful outcome and prevent costly mistakes.
With the structural work complete, it’s time to add the finishing touches that will transform your extended island into a stylish and inviting seating area. First, select comfortable and complementary seating options, such as stools or chairs, that suit the overall aesthetic of your kitchen. Consider the height and depth of the seating to ensure a comfortable and ergonomic experience for your guests.
Next, incorporate lighting elements that not only illuminate the space but also create a warm and inviting ambiance. Consider under-cabinet lighting, pendants, or even a statement chandelier to add a touch of elegance and sophistication. Don’t forget to accessorize with decor pieces that reflect your personal style and add visual interest to the space, such as vases, potted plants, or decorative trays.
If desired, you can further maximize the functionality of your extended island by incorporating additional storage or appliances. For instance, you could include a wine cooler, a built-in microwave, or even a small sink to create a fully functional prep area or wet bar. This not only enhances convenience but also adds value to your kitchen, making it a versatile hub for entertaining and daily activities.
To complete the look, consider adding finishing touches that tie the extended island to the rest of your kitchen design. This could include coordinating backsplash tiles, installing matching hardware on the cabinets, or incorporating decorative trim details that complement the existing cabinetry.
Remember, the key to a successful island extension project is striking the perfect balance between form and function. By carefully planning and executing each step, you can create a stunning and practical seating area that enhances the overall flow and functionality of your kitchen, while also adding value and appeal to your home.

This is where you’ll find inspiration to create a stylish and beautiful dream home.