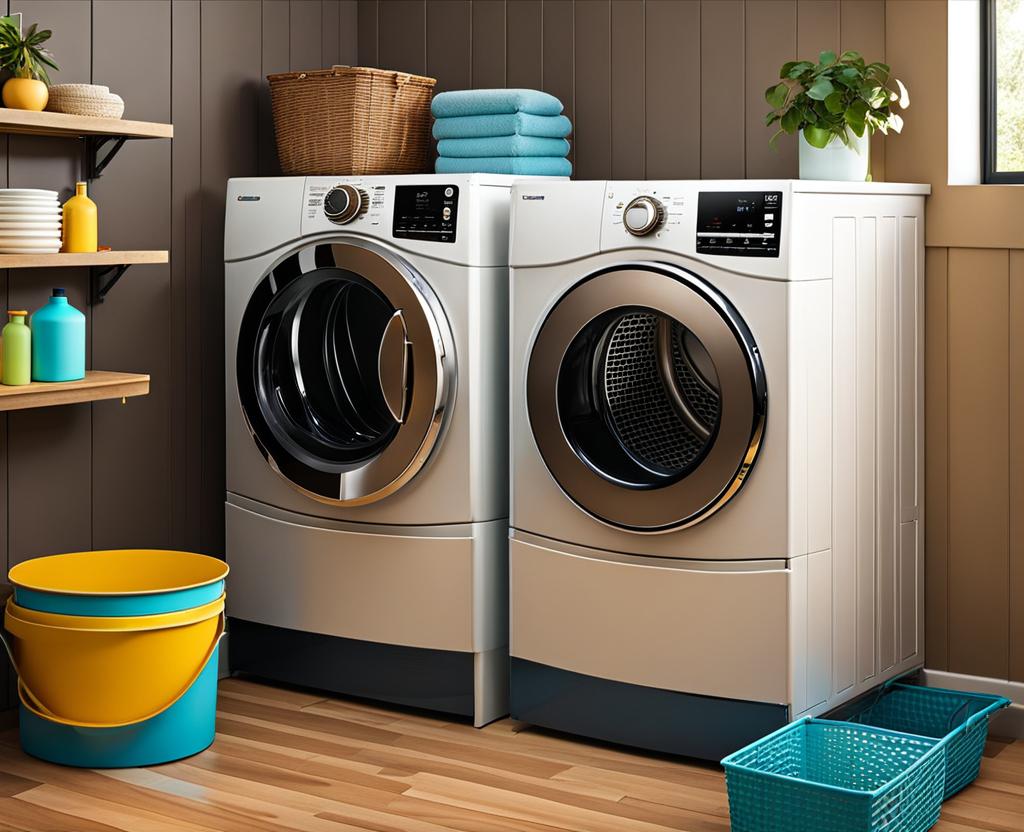
Is your dryer making a squeaking noise that’s driving you crazy? Fear not, my friend! Whether it’s a minor annoyance or a full-blown symphony of squeaks, I’ve got you covered.
Identifying the Source of the Squeak
Before we dive into the fixes, it’s important to pinpoint the culprit behind that infuriating squeak. The most common causes are worn drum glides, faulty bearings, or loose components within the dryer. Don’t worry; I’ll guide you through the process of diagnosing the issue like a pro.
Identifying the source of the squeak is crucial because different causes require different solutions. Imagine trying to fix a flat tire by changing the windshield wipers – it just won’t work! That’s why proper diagnosis is key to effectively resolving the squeaking problem.
Quick Fixes for Minor Squeaks
If the squeak is relatively minor, there are a few quick fixes you can try before diving into more complex repairs. Sometimes, a little lubrication is all it takes to silence that pesky noise.
- Lubricating moving parts: Apply a small amount of dryer lubricant (or a silicone-based lubricant if you can’t find a specific dryer lubricant) to the dryer drum, idler pulley, and motor shaft. A few drops can work wonders!
- Tightening loose screws and bolts: Over time, vibrations can cause screws and bolts to loosen, resulting in squeaks. Use a screwdriver or wrench to tighten any loose components you find.
- Replacing worn drum glides or felt seals: If the squeak seems to be coming from the drum area, replacing the worn drum glides or felt seals can often solve the problem. It’s a relatively inexpensive fix that can make a world of difference.
If these quick fixes don’t do the trick, don’t worry – we’re just getting started!
Tackling Persistent Squeaking Noises
For those stubborn squeaks that just won’t quit, it’s time to roll up our sleeves and get a little more hands-on. Sometimes, more thorough maintenance or component replacements are necessary.
- Replacing faulty drum bearings or support rollers: If the squeak seems to be coming from the drum area, it could be a sign of worn-out bearings or support rollers. While replacing these components can be a bit more involved, it’s often the best way to eliminate persistent squeaks from this area.
- Adjusting belt tension or replacing stretched dryer belts: A loose or stretched belt can cause squeaking and other noises as it slips or rubs against components. Adjusting the tension or replacing the belt may be necessary.
- Checking for obstructions or foreign objects: Sometimes, a piece of clothing or other object can get caught in the dryer, causing squeaks and rattles. Carefully inspect the drum and other areas for any obstructions that need to be removed.
Remember, tackling these more complex issues may require a bit more time and effort, but the sweet sound of silence in your laundry room will make it all worth it!
Preventative Maintenance for a Quiet Dryer
While fixing a squeaky dryer is great, preventing future squeaks is even better! Regular maintenance can go a long way in keeping your dryer running smoothly and quietly.
- Regular cleaning and inspection: Periodically clean the lint trap, exhaust vent, and other areas of your dryer to prevent buildup that can cause noises and other issues.
- Proper venting and airflow management: Ensure your dryer’s exhaust vent is properly installed and free of blockages to maintain proper airflow, which can help prevent unnecessary strain and noises.
- Avoiding overloading the dryer: Overloading your dryer can put excessive strain on components, potentially leading to squeaks and other problems down the road. Follow the manufacturer’s recommendations for load sizes.
By incorporating these preventative measures into your laundry routine, you’ll not only reduce the likelihood of squeaks but also extend the lifespan of your dryer – it’s a win-win!
Professional Repair or Replacement Options
Sometimes, despite our best efforts, a squeak just won’t go away, or the issue might be more complex than we can handle. In these cases, it’s time to consider bringing in the professionals or replacing the dryer altogether.
- When to seek professional assistance: If you’ve tried all the DIY fixes and the squeak persists, or if you’re uncomfortable with more involved repairs, it’s best to call in a professional appliance repair technician. They have the expertise and tools to diagnose and fix even the toughest dryer issues.
- Cost-benefit analysis of repair vs. replacement: Depending on the age and condition of your dryer, as well as the extent of the repairs needed, it may be more cost-effective to replace the dryer rather than repair it. Consider factors like energy efficiency, potential future issues, and the cost of a new dryer when making this decision.
- Tips for selecting a new, quiet dryer model: If you decide to replace your dryer, look for models with features like quiet operation, ball-bearing drum support rollers, and high-quality components to minimize the likelihood of future squeaks.
While professional help or a new dryer may be more expensive upfront, the peace of mind and lack of squeaks can be priceless!
Even after addressing the root cause of the squeak, you may still be dealing with some residual noise. Fear not, for I have a few more tricks up my sleeve to help you achieve true laundry room serenity.
- Isolating the dryer from walls and floors: Vibrations can travel through walls and floors, amplifying noises. Consider placing vibration-absorbing pads or mats under your dryer to isolate it from these surfaces.
- Using noise-dampening pads or mats: Similar to the vibration-absorbing pads, noise-dampening pads or mats can help muffle any remaining sounds coming from your dryer.
- Adjusting dryer cycle settings for gentler operation: Some dryer models have settings that allow for a gentler, quieter operation. Experiment with these settings to find the perfect balance of noise reduction and drying performance.

This is where you’ll find inspiration to create a stylish and beautiful dream home.
