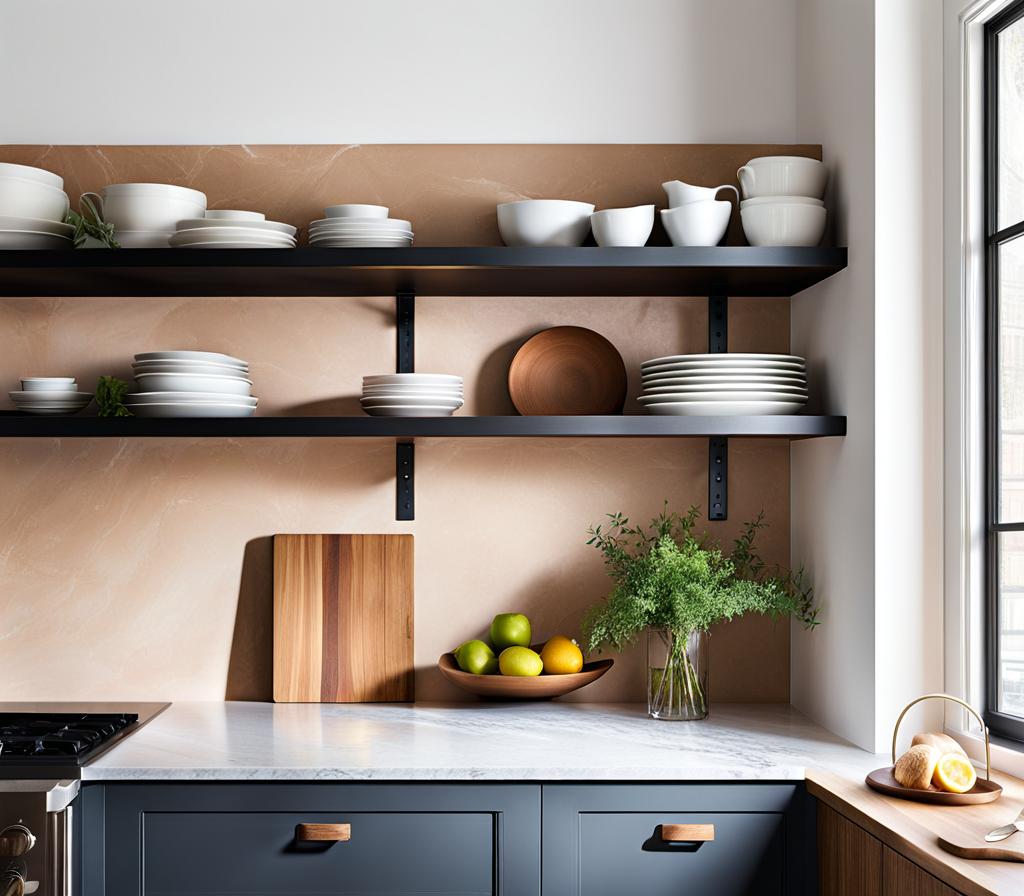
Hey there, friend! I know you’ve been eyeing those sleek open kitchen shelving brackets, dreaming of having a space that screams “effortless chic.” Well, buckle up because I’m about to guide you through the installation process like a pro. By the end of this, you’ll be showing off your culinary masterpieces on Instagram-worthy shelves.
Open Kitchen Shelving Brackets: A Versatile Storage Solution
Let’s start with the basics: open kitchen shelving brackets are a game-changer when it comes to maximizing your kitchen’s storage potential. These nifty little guys allow you to create floating shelves that not only look incredibly stylish but also free up precious cabinet space. Can you say “goodbye, clutter”?
But wait, there’s more! Open shelving isn’t just about storage; it’s a lifestyle choice. By embracing this trend, you’re opening up your kitchen to a world of possibilities. Imagine effortlessly grabbing your favorite mug or spice jar without rummaging through crowded cabinets. Or, better yet, styling those shelves with a carefully curated collection of cookbooks, ceramics, and other decorative treasures. Now, that’s what I call a flex!
Selecting the Perfect Open Kitchen Shelving Brackets
Before we dive into the installation process, let’s talk about choosing the right brackets for your space. Trust me, not all brackets are created equal, and you want to make sure you’re investing in quality pieces that’ll stand the test of time (and maybe even a few heavy cookbooks).
First up, consider the material. Stainless steel or wrought iron brackets offer a sleek, industrial vibe that perfectly complements modern kitchen designs. If you’re going for a more rustic or farmhouse feel, wooden brackets might be your jam. Personally, I’m a sucker for those reclaimed wood beauties – they add instant character and warmth to any space.

Next, think about the size and weight capacity of the brackets. You’ll want to make sure they can support the load you’re planning to put on those shelves. Don’t worry; I’ll walk you through all the calculations so you can confidently choose the right product for your needs.
Step-by-Step Installation Guide for Open Kitchen Shelving Brackets
Alright, folks, it’s time to get our hands dirty (metaphorically speaking, of course). Follow these steps, and you’ll have those open kitchen shelving brackets up and running in no time:
1. Measure twice, install once. Seriously, take your time and get those measurements down pat. You don’t want any surprises when it comes to drilling holes in your pristine walls.
2. Gather your tools. You’ll need a drill, a level, a stud finder (trust me, it’s not as weird as it sounds), and the appropriate drill bits and screws for your brackets.
3. Mark your spots. Use that trusty stud finder to locate the studs in your wall, and mark where you’ll be drilling your pilot holes.
4. Drill, baby, drill! Carefully drill your pilot holes, making sure they’re perfectly level (because crooked shelves are a total buzz-kill).
5. Secure those brackets. Follow the manufacturer’s instructions to properly mount the brackets onto the wall. Don’t skimp on the screws – you want these babies to be sturdy as heck.
6. Style away! Once your brackets are in place, it’s time to have some fun. Grab those shelves (you did measure for them, right?) and start arranging your favorite kitchen accessories, cookbooks, and maybe even a cheeky little succulent or two.
Creative Ideas for Styling Open Kitchen Shelving Brackets
Now, let’s talk about the fun part: styling those open shelves to perfection. I’m all about mixing function with fashion, so here are a few ideas to get your creative juices flowing:
- Go for a monochromatic vibe by grouping items in the same color family. Think crisp white ceramics or a collection of vintage amber glass bottles.
- Layer in different textures and materials to add depth and interest. A sleek marble tray paired with a rustic wooden cutting board? Chef’s kiss!
- Incorporate greenery by placing a few potted herbs or a trailing ivy plant on the shelves. Not only does it add a pop of life, but you’ll also have fresh ingredients at your fingertips.
- Don’t be afraid to get a little quirky! A set of mismatched vintage plates or a funky geometric vase can add personality and charm to your space.
Remember, the key is to have fun and let your personal style shine through. These shelves are an extension of your kitchen’s personality, so make ’em your own!
Okay, so you’ve successfully installed your open kitchen shelving brackets and styled them to perfection. Now, let’s talk about keeping them in tip-top shape for years to come.
First things first, dusting is your new best friend. Those open shelves are prime real estate for dust bunnies, so make sure to give them a good wipe-down regularly. A microfiber cloth or a soft brush should do the trick.
Secondly, pay attention to the weight distribution on your shelves. While those brackets are sturdy, you don’t want to overload them and risk a shelf-pocalypse. Rotate heavier items and evenly distribute the weight for maximum stability.
Finally, if you ever need to remove or relocate your brackets, handle them with care. Follow the manufacturer’s instructions for proper removal and storage, and you’ll be able to reuse them time and time again.
And there you have it, folks! You’ve officially mastered the art of open kitchen shelving brackets. Now, go forth and impress your friends with your impeccable style and handyman skills. Trust me, they’ll be green with envy when they see your effortlessly chic kitchen.

This is where you’ll find inspiration to create a stylish and beautiful dream home.