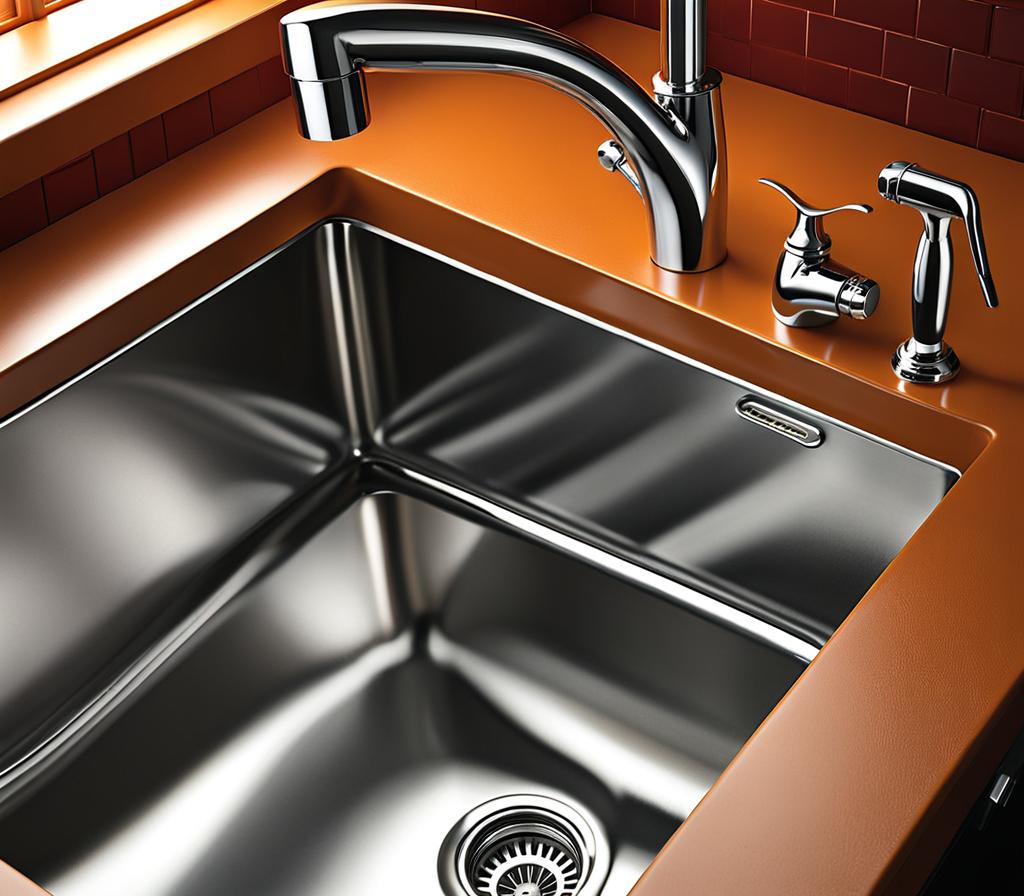
Remodeling your kitchen? If you’re planning to install a new sink, understanding rough in plumbing for your kitchen sink is crucial.
What Is Rough In Plumbing For Kitchen Sinks?
Rough in plumbing refers to the preparatory work required before installing a kitchen sink. It involves setting up the water supply lines, drainage pipes, and any necessary venting systems. This crucial step ensures that your new sink will function properly and meet all plumbing codes and regulations.
Proper rough in plumbing not only ensures a seamless installation but also prevents future issues like leaks, clogs, or water damage. By taking the time to do it right from the start, you’ll save yourself a lot of headaches down the road. Trust me; a little extra effort now will pay off big time in the long run.

Essential Tools And Materials For Kitchen Sink Rough In Plumbing
Before we dive into the nitty-gritty, let’s make sure you have all the necessary tools and materials. Here’s what you’ll need:
- Pipe cutter or hacksaw
- Adjustable wrenches
- Plumber’s putty
- Plumber’s tape
- PVC pipes and fittings (for drainage)
- Copper pipes and fittings (for water supply)
- Plumbing vents and connectors
- Plumber’s torch (for soldering copper pipes)
- Safety gear (gloves, goggles, etc.)
Having the right tools and materials on hand will make the entire process much smoother and more efficient. Trust me; you don’t want to be running back and forth to the hardware store every five minutes.
Step-By-Step Guide To Rough In Plumbing For Your Kitchen Sink
Now that you’ve got all the necessary supplies, let’s dive into the step-by-step process for rough in plumbing your kitchen sink.
- Plan and measure : First things first, you’ll need to plan out the layout of your new sink and measure the necessary dimensions. This will help you determine the exact location for the water supply lines, drainage pipes, and vents.
- Install the drain pipes : Once you’ve got your measurements, it’s time to start with the drainage system. Cut the PVC pipes to the appropriate lengths and connect them using the necessary fittings. Make sure to follow local plumbing codes and regulations.
- Set up the water supply lines : Next up, you’ll need to install the water supply lines. For most kitchen sinks, you’ll need hot and cold water lines. Use copper pipes and fittings for this part, and don’t forget to solder the connections properly.
- Add the venting system : A proper venting system is essential for preventing clogs and ensuring proper drainage. Install the necessary vents and connectors, following the manufacturer’s instructions and local codes.
- Test and inspect : Before you move on to the final installation, it’s crucial to test your rough in plumbing work. Turn on the water supply and check for any leaks or issues. It’s better to catch and fix any problems now than after the sink is installed.
Remember, rough in plumbing is a complex task, and it’s always better to take your time and do it right the first time around. If you’re feeling unsure or uncomfortable with any part of the process, don’t hesitate to call in a professional plumber.
Common Mistakes To Avoid In Kitchen Sink Rough In Plumbing
Even the most experienced DIYers can make mistakes when it comes to rough in plumbing. Here are some common pitfalls to watch out for:
- Improper measurements : Inaccurate measurements can lead to a whole host of issues, from misaligned pipes to leaks and clogs. Double-check your measurements before you start cutting or installing anything.
- Insufficient venting : Neglecting to install a proper venting system is a recipe for disaster. Without adequate venting, you’ll likely experience clogs, slow drainage, and unpleasant odors.
- Using the wrong materials : It might be tempting to cut corners and use cheaper materials, but in plumbing, you really do get what you pay for. Using subpar pipes or fittings can lead to leaks, corrosion, and other issues down the line.
- Ignoring local codes : Every area has its own set of plumbing codes and regulations. Failing to follow these guidelines can not only cause problems with your sink but also potentially result in fines or other legal issues.
By being aware of these common mistakes, you can avoid them and ensure a smooth and successful rough in plumbing process for your kitchen sink.
To wrap things up, here are a few pro tips to help you achieve a flawless rough in plumbing installation for your kitchen sink:
- Take your time : Rushing through the process is a surefire way to make mistakes. Give yourself plenty of time to plan, measure, and double-check your work.
- Use high-quality materials : Invest in high-quality pipes, fittings, and other materials. They might cost a bit more upfront, but they’ll save you from costly repairs and replacements down the road.
- Consider hiring a professional : If you’re feeling overwhelmed or unsure about any part of the process, don’t be afraid to call in a professional plumber. Their expertise and experience can save you a lot of headaches and ensure a top-notch installation.
- Stay up-to-date with codes and regulations : Plumbing codes and regulations are constantly evolving, so make sure to stay informed about any changes or updates in your area.
- Plan for the future : While you’re doing the rough in plumbing, consider any potential future modifications or expansions. It’s always better to plan ahead and make it easier on yourself down the line.
By following these tips and taking the time to do it right, you’ll be well on your way to a beautifully installed, fully functional kitchen sink that will serve you and your family for years to come.

This is where you’ll find inspiration to create a stylish and beautiful dream home.