Dealing with a dripping kitchen faucet can be an annoying and wasteful ordeal. However, before you call a plumber, let me share a secret – fixing that pesky leak in your single handle faucet is easier than you might think. By following a few simple steps, you’ll have that drip-free faucet in no time, saving you money and preventing any further water damage.
So grab your tools, and let’s dive into the world of DIY faucet repair. Trust me, by the end of this guide, you’ll be the proud owner of a leak-free kitchen sink, and the envy of all your handy friends.
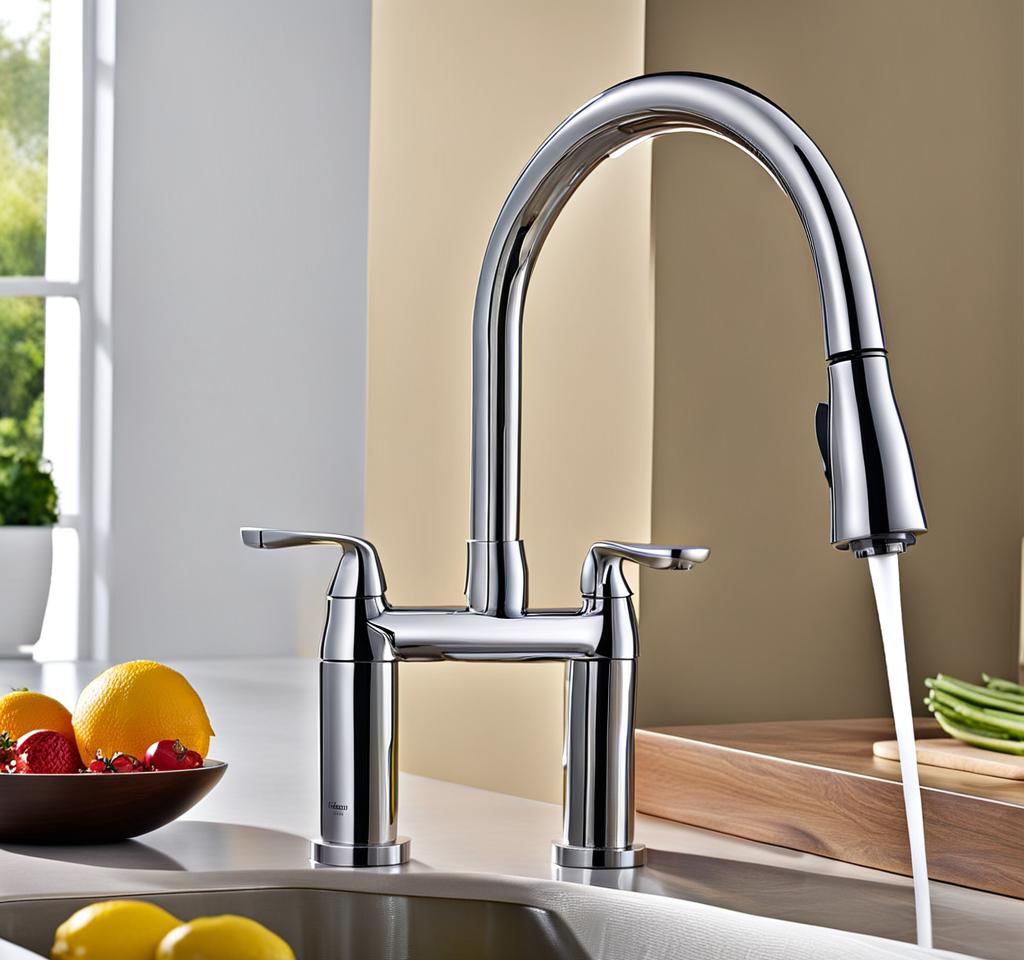
Identify Cause of Single Handle Kitchen Faucet Leak
The first step in fixing a leaky single handle kitchen faucet is to pinpoint the source of the leak. There are several common culprits that could be causing that relentless dripping sound:
Worn-out washers or O-rings: Over time, the washers or O-rings inside the faucet handle can become worn, cracked, or hardened, leading to leaks. These small rubber components are responsible for creating a tight seal and preventing water from escaping.
Corroded valve seats or springs: The valve seat is the area where the faucet stem meets the faucet body, creating a watertight seal when closed. If this seat becomes corroded or damaged, it can cause water to slowly seep out. Similarly, a faulty or corroded spring can prevent the faucet from closing properly, resulting in a leak.
Signs of a Faulty O-Ring
If you notice water dripping from around the faucet handle or handle base, it’s likely an issue with the O-ring or washers. Keep an eye out for these telltale signs:
- Constant dripping, even when the faucet is turned off
- Water stains or moisture buildup around the faucet base
- The handle feels loose or wobbly
Once you’ve identified the potential cause, it’s time to gather the necessary tools and materials to tackle the repair.
Required Tools and Materials to Fix Leaky Faucet
Before you start the repair process, make sure you have the following tools and materials on hand:
| Tools | Materials |
|---|---|
|
|
It’s always a good idea to have a few extra washers or O-rings on hand, just in case you encounter any unexpected issues or need to replace multiple components.
Step-by-Step Guide to Repairing Single Handle Faucet Leak
Now that you have everything you need, it’s time to roll up your sleeves and get to work. Follow these steps carefully, and you’ll have that leak fixed in no time:
1. Turn off the water supply: Locate the shutoff valves under the sink or behind the faucet and turn them clockwise to shut off the water supply.
2. Remove the faucet handle: Use the flathead screwdriver to pry off the decorative cap or cover on the faucet handle. Underneath, you’ll find a screw or nut that secures the handle in place. Use the appropriate tool to loosen and remove the handle.
3. Inspect and replace washers or O-rings: With the handle removed, you’ll have access to the stem cartridge or valve assembly. Carefully remove this component and inspect the washers or O-rings for any signs of wear or damage. Replace them with new ones if necessary, applying a thin layer of faucet grease or plumber’s putty to ensure a proper seal.
4. Check the valve seat and spring: While you have the faucet disassembled, take a closer look at the valve seat and spring. If the valve seat is corroded or damaged, you’ll need to replace it with a new one. Similarly, if the spring appears worn or misshapen, it’s best to replace it as well.
5. Reassemble the faucet: Once you’ve replaced any necessary components, it’s time to put everything back together. Carefully follow the reverse order of disassembly, ensuring that all parts are properly aligned and tightened.
6. Turn the water supply back on: After double-checking that everything is securely in place, turn the shutoff valves counterclockwise to restore the water supply.
7. Test the faucet: Turn on the faucet and let the water run for a few minutes, checking for any remaining leaks. If everything looks good, congratulations! You’ve successfully fixed that pesky leak.
If you encounter any issues or the leak persists, don’t hesitate to seek professional assistance. Sometimes, a more significant repair or even a complete faucet replacement may be necessary.
To keep your single handle kitchen faucet in top condition and prevent future leaks, consider implementing a few simple maintenance practices:
- Regularly clean the faucet and remove any mineral buildup or debris that could impact its performance.
- Inspect washers, O-rings, and valve seats periodically for signs of wear or damage, and replace them as needed.
- Avoid using abrasive cleaners or harsh chemicals on the faucet, as these can accelerate the deterioration of internal components.
- Consider replacing older faucets with newer, more efficient models that are less prone to leaks and water waste.
By taking proactive measures and addressing any issues promptly, you can extend the lifespan of your kitchen faucet and enjoy a leak-free, worry-free sink for years to come.

This is where you’ll find inspiration to create a stylish and beautiful dream home.
