Hey there! If you’re facing the hassle of a clogged or worn-out forious kitchen faucet aerator, you’ve stumbled upon the right guide to master the art of aerator replacement. Trust me, it’s a breeze once you get the hang of it, and your faucet will thank you for it!
Understanding Forious Kitchen Faucet Aerator and Its Importance
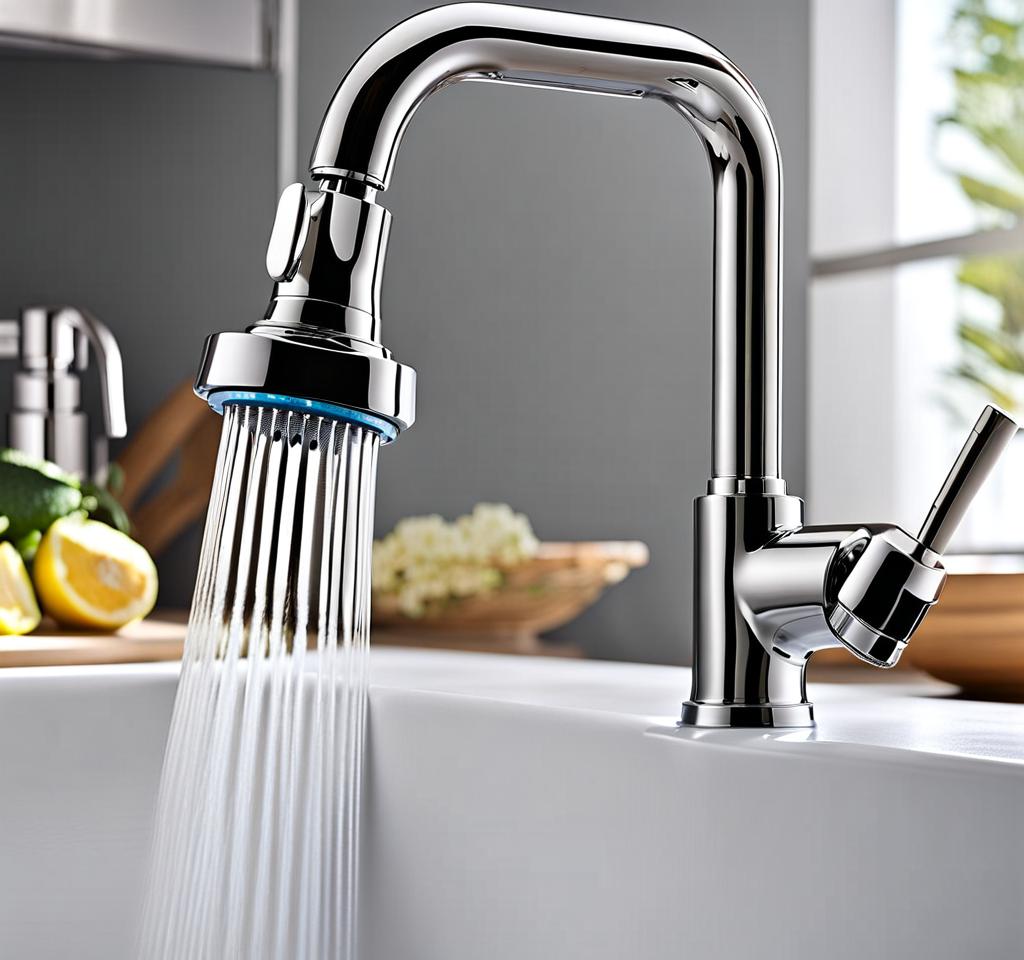
Before we dive into the nitty-gritty, let’s start with the basics. A forious kitchen faucet aerator is a small component screwed onto the end of your faucet. Its primary function is to introduce air into the water stream, resulting in a smoother, non-splashing flow. Additionally, it acts as a filter, trapping sediments, mineral deposits, and other impurities, ensuring your water stays clean and fresh.
But why is this unassuming little piece so crucial? Well, let me tell you! An aerator not only enhances your sink experience by preventing messy splashes and eliminating those pesky water stains on your countertops, but it also plays a vital role in water conservation. By mixing air into the stream, aerators reduce the amount of water flowing from your faucet while maintaining the same perceived pressure. This can lead to significant water savings over time, lowering your utility bills and reducing your environmental impact.
Signs You Need to Replace Your Forious Faucet Aerator
Knowing when to replace your forious faucet aerator is crucial to maintain optimal performance and prevent costly repairs down the line. Here are some telltale signs to watch out for:
- Reduced water pressure or uneven flow : If you notice a significant decrease in water pressure or an inconsistent stream, it’s likely due to mineral buildup or debris clogging the aerator.
- Sputtering or inconsistent water stream : A sputtering or erratic water flow is another clear indication that your aerator needs some TLC.
- Visible mineral buildup or discoloration on the aerator : Over time, mineral deposits from hard water can accumulate on the aerator, causing it to become discolored or even corroded.
- Leaks or drips around the aerator : If you spot water leaking or dripping around the base of the aerator, it could be a sign of a loose or damaged component.
If you notice any of these issues, it’s time to roll up your sleeves and give your forious faucet aerator a well-deserved refresh. Trust me; the effort is minimal, and the rewards are plentiful!
Step-by-Step Guide to Replacing Forious Kitchen Faucet Aerator
Next, follow these simple steps:
- Turn off the water supply to your faucet by locating and closing the shut-off valve underneath the sink. This will prevent any unwanted water flow during the replacement process.
- Unscrew the old aerator using your pliers or wrench. If it’s stubborn, try wrapping a cloth around it for a better grip or soaking it in vinegar for a few minutes to loosen any mineral deposits.
- Once removed, inspect the aerator for any debris or mineral buildup. Use a small brush or vinegar solution to clean it if necessary. This step is crucial to ensure your new aerator doesn’t get clogged right away.
- Take your replacement aerator and check for any debris or protective coverings before installation. Some aerators come with a removable plastic cap or mesh filter that needs to be discarded.
- Carefully screw the new aerator onto the faucet by hand, ensuring it’s snug but not overtightened. Over-tightening can damage the threads and cause leaks.
- Turn the water supply back on and check for any leaks around the new aerator. If you notice any drips, tighten the aerator a bit more or apply a small amount of plumber’s tape or thread sealant to the threads for a secure fit.
And voila! You’ve successfully replaced your forious kitchen faucet aerator like a pro. Bask in the glory of your smooth water flow and spotless sink!
Tips for Effortless Forious Kitchen Faucet Aerator Replacement
To make the process even smoother and ensure long-lasting results, here are a few tips to keep in mind:
- Use plumber’s tape or thread sealant : Applying a thin layer of plumber’s tape or thread sealant to the aerator threads before installation can help create a leak-proof seal and prevent future drips.
- Try a rubber jar opener for stubborn aerators : If the old aerator is stuck or corroded, try using a rubber jar opener for better grip instead of pliers, which can damage the finish.
- Consider aerator replacement frequency : Depending on your water quality and usage, it’s generally recommended to replace your aerator every six months to a year to maintain optimal performance.
- Check for compatibility : When purchasing a replacement aerator, ensure it’s compatible with your specific faucet model and finish to avoid any fitment issues or mismatched aesthetics.
Congratulations! You’ve successfully replaced your forious kitchen faucet aerator. But the journey doesn’t end there. To ensure its longevity and optimal performance, follow these maintenance tips:
- Regular cleaning : Regularly clean your aerator by unscrewing it and rinsing it under running water to remove any debris buildup. A small brush or an old toothbrush can help dislodge stubborn particles.
- Water filtration : Consider installing a water filtration system or using a faucet-mounted filter to further reduce mineral deposits and impurities, extending the life of your aerator.
- Monitor performance : If you notice a decrease in water pressure or flow over time, don’t hesitate to replace the aerator again. Catching issues early can prevent more significant problems down the line.
- Seasonal maintenance : In areas with hard water or high mineral content, consider soaking your aerator in a vinegar solution every few months to dissolve any buildup and keep it functioning optimally.
By staying on top of your forious kitchen faucet aerator maintenance, you’ll enjoy a seamless water flow, a sparkling clean sink, and potential water savings for years to come. Remember, a little preventative care goes a long way in ensuring your faucet’s longevity and preventing costly repairs or replacements.

This is where you’ll find inspiration to create a stylish and beautiful dream home.
