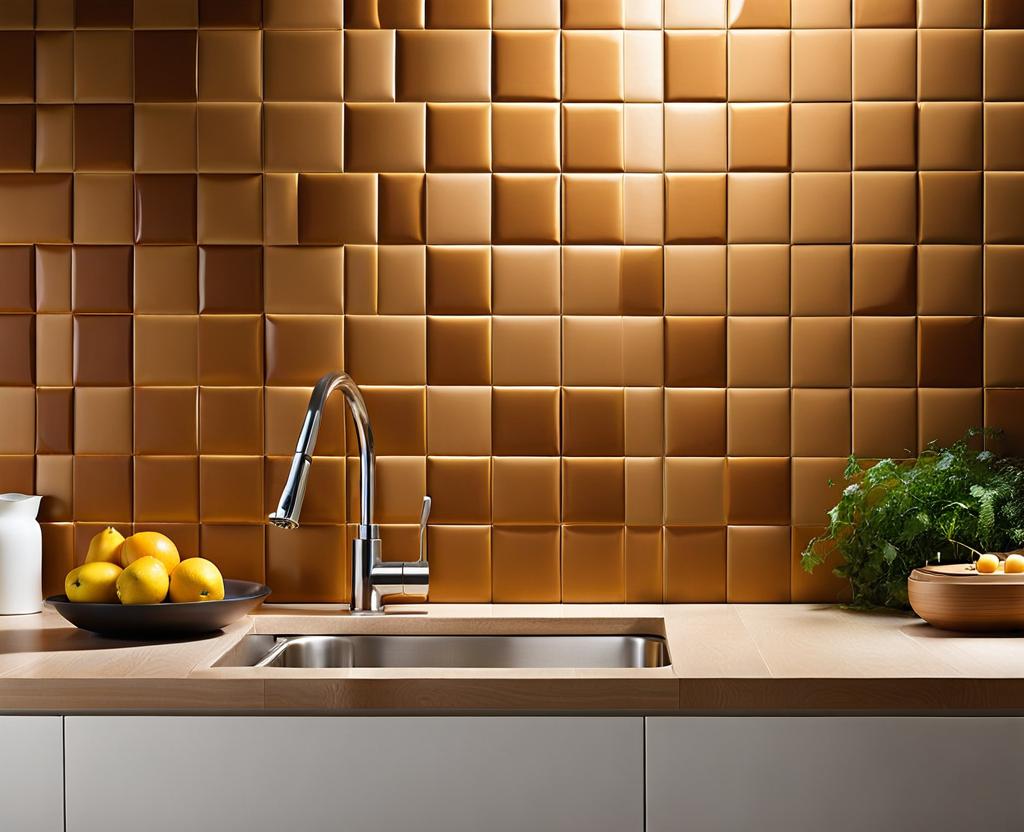
Updating your kitchen with stylish wall tiles can instantly elevate the space, adding character and functionality. If you’re considering tiling your kitchen wall, this comprehensive guide will walk you through the entire process, from preparation to the final touches, ensuring a professional-looking result. Whether you’re a DIY enthusiast or seeking to hire a professional, understanding how to tile a kitchen wall is crucial for achieving the desired outcome.
Kitchen Wall Tiling Preparation
Proper preparation is key to ensuring a smooth tiling process and long-lasting results. Before you begin, assess the condition of your kitchen walls. Different surfaces, such as drywall, plaster, or tile backer boards, may require specific preparation techniques. Thoroughly clean the area, removing any dirt, grease, or loose debris that could interfere with adhesion. If necessary, repair any cracks or imperfections in the wall surface to create a smooth, stable base for the tiles.
Gather all the essential tools and materials you’ll need, including tile adhesive, grout, a notched trowel, tile spacers, a tile cutter or scorer, and protective equipment like safety glasses and gloves. Carefully measure the area to be tiled and calculate the number of tiles required, considering any waste or cuts. Plan the tile layout, taking into account the desired pattern and any fixtures or obstacles that may require special cuts or adjustments.
Choosing the Right Tiles for Your Kitchen Wall
The wide variety of tile options available can be overwhelming, but selecting the right tiles for your kitchen wall is crucial for both aesthetic appeal and practicality. Consider factors like material, size, color, texture, and durability when making your choice. Ceramic and porcelain tiles are popular options for kitchen walls due to their water-resistant and low-maintenance properties. Glass tiles offer a sleek, modern look and can be a great choice for backsplash areas.
Think about the overall design style you want to achieve and how the tiles will complement or contrast with your existing kitchen elements. Don’t be afraid to explore different tile patterns and layouts, such as subway tiles, herringbone, or even a mix of different tile sizes or shapes. The right tile choice can transform your kitchen wall into a stunning focal point or seamlessly blend with the rest of the space.

Tile Layout Patterns
When it comes to tile layout patterns, the possibilities are endless. Here are a few popular options to consider:
- Subway Tile: A classic and timeless choice, subway tiles laid in a horizontal brick pattern create a clean, linear look.
- Herringbone: This eye-catching pattern, where tiles are laid in a zig-zag formation, adds visual interest and a touch of sophistication.
- Staggered Brick: Similar to subway tiles but with staggered joints, this layout offers a more traditional and rustic feel.
Step-by-Step Kitchen Wall Tiling Process
With your tiles and materials ready, it’s time to begin the tiling process. Start by applying a thin, even layer of tile adhesive to a small section of the wall using a notched trowel. Spread the adhesive in straight lines, ensuring consistent coverage and thickness.
Carefully place the first tile in the corner or along a straight edge, using spacers to maintain even grout lines between tiles. Continue laying the tiles in your desired pattern, pressing them firmly into the adhesive and making any necessary cuts for outlets, corners, or edges using a tile cutter or scorer. As you work, periodically check the alignment and spacing to ensure a consistent, professional look.
Once all tiles are in place, allow the adhesive to cure according to the manufacturer’s instructions before proceeding to the grouting step. Mix the grout according to the package directions and apply it diagonally across the tile surface using a grout float, forcing it into the gaps between tiles. Remove excess grout from the tile surface, then allow the grout to set before wiping away any remaining residue with a damp cloth.
Finishing Touches and Maintenance
After grouting, consider sealing your tiled kitchen wall to protect it from moisture, stains, and daily wear and tear. Consult with a professional or follow the manufacturer’s recommendations for the best sealer for your tile type and application.
Regular maintenance is essential to keep your tiled kitchen wall looking its best. Wipe down the tiles with a damp cloth or mild cleaner to remove any spills or splatters. Avoid using abrasive cleaners or scrubbing pads that could damage the tile surface or grout. For tough stains or buildup, use a specialized tile and grout cleaner, following the instructions carefully.
If you encounter any issues such as cracked tiles, loose grout, or discoloration, address them promptly to prevent further damage. With proper care and maintenance, your tiled kitchen wall will remain a beautiful and functional addition to your home for years to come.
As you embark on your kitchen wall tiling project, draw inspiration from various design styles and creative tile applications. Consider incorporating tiles into backsplash areas, complementing your countertops and cabinetry. Accent walls featuring decorative tiles or intricate patterns can create stunning focal points in your kitchen.
For a cohesive look, extend the tile design to other areas like floors or ceilings, creating a seamless flow throughout the space. Don’t be afraid to mix and match different tile shapes, sizes, or colors to create unique and eye-catching designs.
Before and after photos of stunning kitchen wall tile transformations can provide valuable inspiration and demonstrate the impact that well-executed tiling can have on a space. Explore online galleries, home decor magazines, or even local showrooms to gather ideas and visualize the possibilities for your own kitchen.

This is where you’ll find inspiration to create a stylish and beautiful dream home.