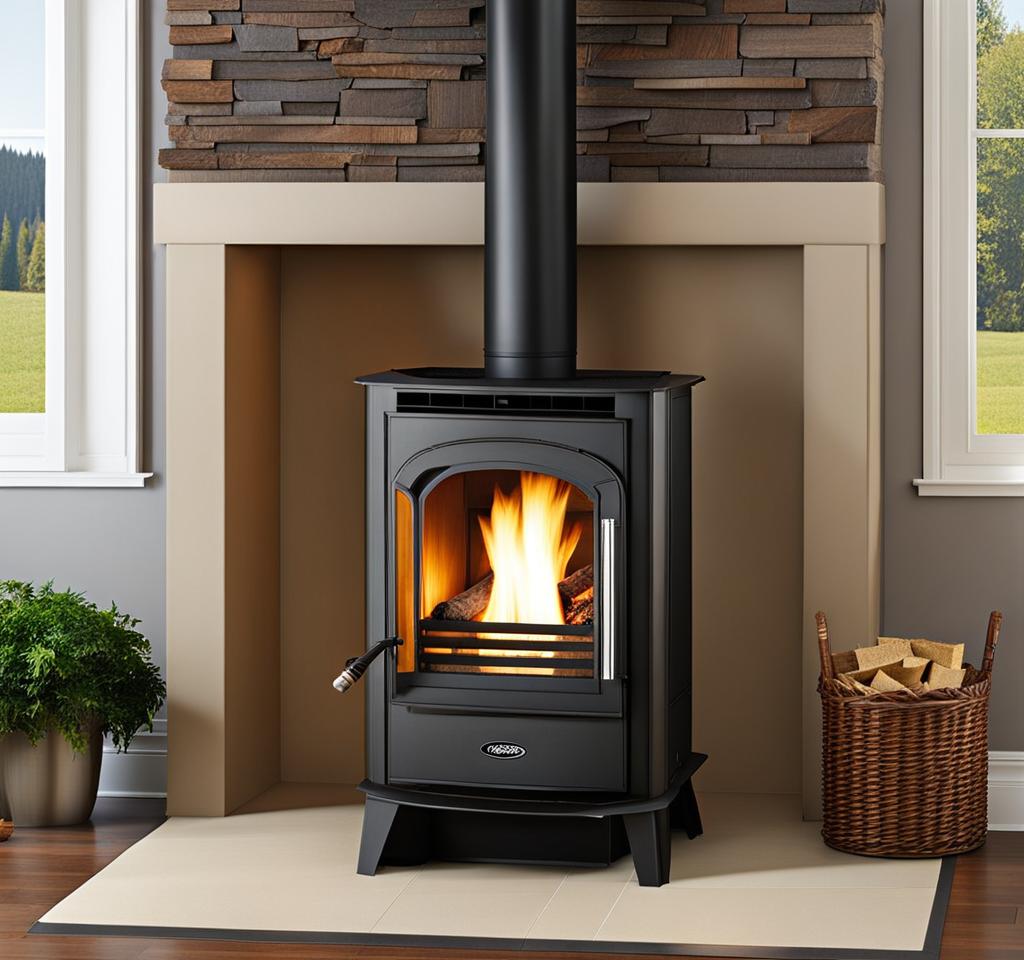
Are you looking to add a cozy and efficient heating solution to your home? Installing a pellet stove through the chimney can be a game-changer, providing warmth and ambiance while reducing your carbon footprint. However, this process can seem daunting if you’re not familiar with the intricacies involved. Worry not, as I’m here to guide you through the ins and outs of a seamless pellet stove installation via your existing chimney.
Pellet Stove Installation Prerequisites
Before we dive into the installation process, it’s crucial to lay the groundwork. First and foremost, you’ll need to select the right pellet stove model that’s compatible with your chimney’s dimensions and requirements. Don’t worry; I’ve got you covered with a comprehensive guide on choosing the perfect pellet stove for your space.
Next up, familiarize yourself with the local building codes and regulations. Depending on your area, you may need to obtain permits for the installation. Trust me; it’s better to dot your i’s and cross your t’s from the get-go to avoid any potential hiccups down the road.
Lastly, gather the essential tools for a smooth installation. While the list may vary slightly depending on your specific setup, you’ll generally need basic hand tools, a drill, a level, and perhaps a reciprocating saw if any modifications to the chimney are required. Having the right equipment at your fingertips will make the process a breeze.
Preparing the Chimney for Pellet Stove Installation
Now that you’ve checked off the prerequisites, it’s time to focus on your chimney. A thorough inspection and cleaning of the existing chimney are crucial steps. Over time, creosote buildup and other debris can accumulate, posing a potential fire hazard. Addressing these issues early on will ensure a safe and efficient operation of your pellet stove.

Once your chimney is spick and span, assess its height and clearance from surrounding structures. Proper clearance is essential for proper venting and to prevent any potential fire hazards. If your chimney falls short, you may need to extend it or explore alternative venting options.
Speaking of venting, this is a critical component of the installation process. You’ll need to determine the appropriate venting system that’s compatible with your pellet stove model and chimney configuration. This may involve installing a dedicated pellet stove venting pipe or utilizing the existing chimney flue. Either way, I’ll walk you through the intricacies to ensure a seamless setup.
Step-by-Step Guide to Installing a Pellet Stove Through the Chimney
With the groundwork laid, it’s time to roll up our sleeves and tackle the installation process. The first step is to position the pellet stove in an optimal location. Consider factors such as proximity to the chimney, clearance from combustible materials, and accessibility for loading pellets and maintenance.
Next, we’ll establish the connection between the pellet stove and the chimney. This may involve cutting an opening in the chimney wall, installing a thimble or insulated chimney liner, and securely attaching the venting system. Precision and attention to detail are key here, as proper sealing and alignment are crucial for efficient operation and safety.
Once the venting system is in place, we’ll focus on securing it for safe operation. This may involve installing additional support brackets, ensuring proper clearances, and sealing any gaps or openings to prevent air leaks or potential fire hazards.
Safety Considerations for Chimney Pellet Stove Installation
While pellet stoves are generally safe and efficient, it’s essential to prioritize safety during the installation process. One of the key considerations is maintaining proper clearances from combustible materials, such as walls, furniture, and other flammable objects. I’ll provide you with the recommended clearances based on your specific pellet stove model and local regulations.
Another crucial safety measure is the installation of carbon monoxide detectors. Pellet stoves, like any combustion appliance, can potentially produce carbon monoxide if not vented correctly. Having functional carbon monoxide detectors in your home can provide peace of mind and alert you to any potential issues.
Lastly, understanding the maintenance requirements for your pellet stove is essential for safe and efficient operation. This includes regular cleaning of the burn pot, ash removal, and inspecting the venting system for any blockages or leaks. By staying on top of maintenance, you’ll not only prolong the life of your pellet stove but also ensure a safe and comfortable heating experience for years to come.
Even with meticulous planning and execution, hiccups can occasionally arise during the installation process. One common issue is drafting problems, where the pellet stove struggles to draw air properly through the venting system. This can be caused by various factors, such as improper chimney height, obstructions in the venting system, or inadequate clearances.
Another potential issue is venting system leaks. These can compromise the efficiency of your pellet stove and potentially pose safety risks. I’ll share my tried-and-true methods for identifying and resolving any leaks, ensuring a seamless and secure venting setup.
Lastly, we’ll explore troubleshooting techniques for dealing with pellet stove malfunctions. From ignition issues to feed system problems, I’ll walk you through a systematic approach to diagnosing and resolving common issues, so you can get your cozy heating solution back up and running in no time.
By following these insider tips and addressing potential challenges head-on, you’ll be well-equipped to navigate the pellet stove installation process with confidence. Remember, a little preparation and attention to detail can go a long way in ensuring a flawless and safe installation via your existing chimney.

This is where you’ll find inspiration to create a stylish and beautiful dream home.