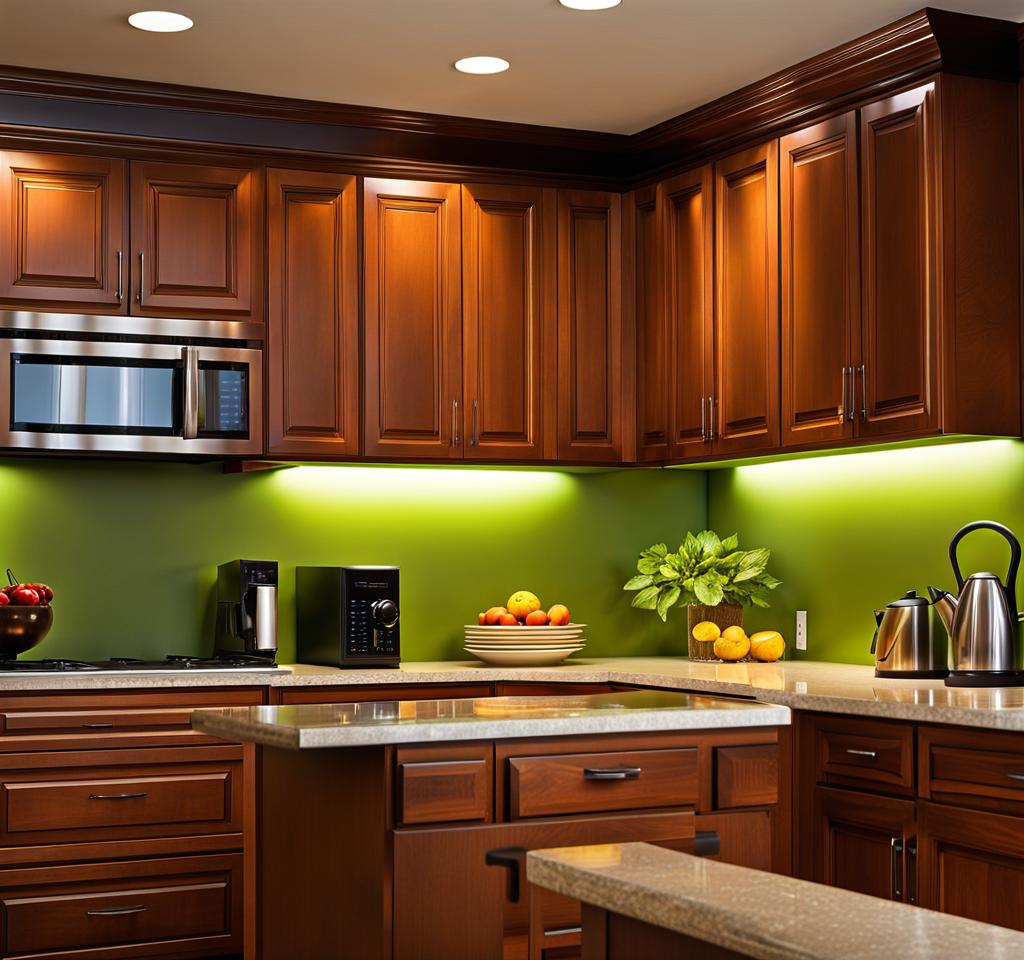
Upgrading the lighting in your kitchen can breathe new life into the space, transforming it from drab to dazzling. One simple yet impactful change is replacing those outdated fluorescent light covers.
Replacing kitchen fluorescent light covers may seem daunting, but with the right tools and techniques, it’s a straightforward task. By the end of this guide, you’ll be equipped with the knowledge to tackle this project confidently, revamping your kitchen’s ambiance while saving money on costly contractor fees.
Reasons to Replace Kitchen Fluorescent Light Covers
Before diving into the nitty-gritty, let’s explore why replacing your kitchen’s fluorescent light covers is a worthwhile endeavor. Firstly, those old, discolored covers can cast an unflattering, yellowed hue throughout the room, making it appear dingy and uninviting. Additionally, cracked or damaged covers pose a safety hazard, as broken pieces could fall into your food preparation areas.
Beyond aesthetics and safety, new light covers can significantly enhance the overall brightness and energy efficiency of your kitchen. Fluorescent bulbs combined with fresh, clean covers distribute light more evenly, eliminating dark spots and creating a vibrant, welcoming atmosphere. Not to mention, this simple upgrade can potentially increase the value of your home, making it a wise investment for those considering selling in the future.
Tools and Materials Needed for Light Cover Replacement
To tackle this project successfully, you’ll need to gather a few essential tools and materials. First and foremost, purchase replacement light covers that match the size and style of your existing fixtures. Browse your local hardware store or browse online retailers for a wide selection of options, from traditional to modern designs.
In terms of tools, you’ll need a sturdy step ladder to access the light fixtures safely, a screwdriver (flathead or Phillips, depending on your fixture’s screws), and a clean, lint-free cloth for wiping down the area. Additionally, consider investing in a pair of work gloves to protect your hands from sharp edges or debris.
Tips for Choosing the Right Light Covers
When selecting replacement light covers, consider not only the aesthetic appeal but also the material and ease of maintenance. Acrylic or polycarbonate covers are durable, shatter-resistant options that can withstand the occasional bump or drop. For a more upscale look, glass covers offer a sleek, elegant appearance but require more delicate handling.
Regardless of the material, prioritize covers with a high-gloss or semi-gloss finish, as these will be easier to clean and maintain over time. Additionally, pay attention to the cover’s design – ribbed or patterned options can add visual interest while diffusing light evenly throughout the space.

Step-by-Step Guide to Replacing Kitchen Fluorescent Light Covers
Now that you’ve gathered your supplies, it’s time to roll up your sleeves and get to work. Follow these step-by-step instructions for a seamless light cover replacement process:
- Turn off the power to the light fixture by flipping the appropriate circuit breaker or removing the fuse.
- Carefully remove the old light cover by unscrewing or unclipping it from the fixture. Set it aside on a clean surface.
- Use a lint-free cloth to wipe down the inside of the fixture, removing any accumulated dust or debris.
- Inspect the fluorescent bulbs and replace any that are burnt out or flickering.
- Position the new light cover over the fixture, aligning it with the screw holes or clips.
- Secure the cover in place using the screws or clips, being careful not to overtighten.
- Restore power to the light fixture and admire your handiwork!
Remember, safety should always be your top priority when working with electrical fixtures. If you encounter any issues or feel uncomfortable completing the task, don’t hesitate to seek professional assistance.
Design Ideas for New Kitchen Fluorescent Light Covers
While functionality is paramount, replacing your kitchen’s fluorescent light covers also presents an opportunity to refresh the room’s aesthetics. With countless design options available, you can infuse your personal style into this practical upgrade.
For a sleek, modern look, consider opting for frosted or etched glass covers that diffuse light beautifully while adding a touch of sophistication. Alternatively, if you prefer a more rustic or farmhouse vibe, textured acrylic covers with a distressed or antiqued finish can complement your decor perfectly.
Don’t be afraid to introduce pops of color or playful patterns into your kitchen lighting scheme. Vibrant hues like citrus yellows or deep blues can inject energy and personality into the space, while geometric or floral patterns add visual interest and depth.
Ultimately, the key is to choose light covers that harmonize with your existing kitchen design while reflecting your unique taste and style preferences.
Once you’ve successfully replaced your kitchen’s fluorescent light covers, it’s essential to maintain them properly to ensure their longevity and optimal performance. Here are a few maintenance tips to keep in mind:
- Regularly clean the light covers using a mild soap and water solution, avoiding harsh chemicals or abrasive cleaners that could scratch or discolor the material.
- Replace any flickering or burnt-out fluorescent bulbs promptly to prevent uneven lighting and potential safety hazards.
- Consider investing in energy-efficient LED bulbs, which can significantly reduce your energy consumption and provide longer-lasting illumination.
- Periodically inspect the light fixtures for any loose screws, clips, or wiring issues, and address them promptly to prevent potential hazards.
By following these simple maintenance practices, you can enjoy the benefits of your new kitchen fluorescent light covers for years to come, basking in a well-lit and inviting culinary space.

This is where you’ll find inspiration to create a stylish and beautiful dream home.