Uh-oh, you’ve got a leaky kitchen sink on your hands, and it’s driving you nuts! That constant drip-drip-drip is enough to make anyone go crazy. But don’t worry, my friend, I’ve got your back. We’re going to tackle that pesky drain gasket leak like a boss and get your sink back in tip-top shape.
What Causes a Kitchen Sink Drain Gasket Leak?
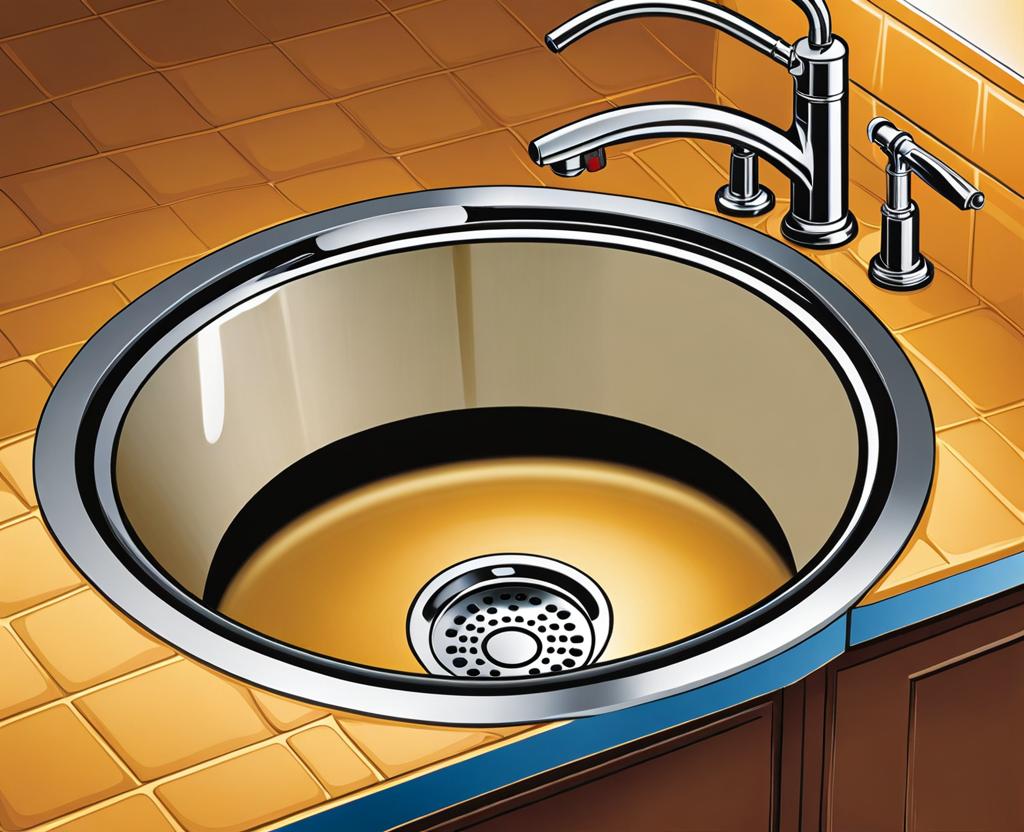
Before we dive into fixing the issue, let’s first understand what’s causing the leak. The drain gasket is a rubber seal that sits between the sink basin and the drain pipe. Its primary job is to create a watertight seal, preventing water from seeping out. Over time, this gasket can become brittle, cracked, or compressed, resulting in a leak.
There are a few culprits that can lead to a leaky drain gasket. Age is a major factor – gaskets don’t last forever, and they’ll eventually need to be replaced. Harsh chemicals found in some cleaning products can also degrade the rubber, causing it to deteriorate faster. And let’s not forget about good old wear and tear. If the sink is frequently used or subjected to heavy objects being dropped on it, the gasket can take a beating.
But wait, there’s more! Another common cause of a leaky drain gasket is improper installation. If the gasket isn’t seated correctly or the drain pipe isn’t aligned properly, it can create gaps and allow water to seep through. Yikes! That’s why it’s crucial to follow the installation instructions to a tee.
Signs of a Leaking Kitchen Sink Drain Gasket
So, how do you know if your kitchen sink is suffering from a leaky drain gasket? Well, the most obvious sign is water pooling around the base of the sink or dripping onto the cabinet below. But there are a few other telltale signs to look out for:
- Water stains or moisture on the cabinet beneath the sink
- A musty, mildew-like smell coming from the cabinet area
- Visible cracks or damage to the drain gasket itself
If you notice any of these signs, it’s time to take action before the leak causes any further damage to your kitchen. And trust me, water damage is no joke – it can lead to mold, warped cabinets, and all sorts of costly repairs. Better to nip that leak in the bud, am I right?
Tools and Materials Needed to Fix a Leaky Drain Gasket
Alright, now that we know what we’re dealing with, let’s gather the necessary tools and materials to get this job done. Here’s what you’ll need:
- A new drain gasket (make sure it’s the right size and type for your sink)
- A putty knife or flat-head screwdriver
- A pair of pliers or channel locks
- A bucket or container to catch any water
- Rags or paper towels
- Mild dish soap (optional, for cleaning purposes)
With these tools at your disposal, you’ll be ready to tackle that leaky drain gasket like a true pro. But before we get started, let me give you a little pro tip: take a few minutes to watch a video tutorial or read through the instructions carefully. Trust me, a little preparation can go a long way in making this repair a breeze.
Step-by-Step Guide: Repairing a Leaking Kitchen Sink Drain Gasket
Okay, it’s time to get down to business! Here’s a step-by-step guide on how to repair that pesky leak:
- Start by clearing out the area under the sink. Remove any items or shelving that might be in the way.
- Locate the drain pipe underneath the sink basin and use your pliers or channel locks to loosen the slip nuts that secure the drain pipe to the sink.
- Once the drain pipe is loose, carefully remove it, taking care not to spill any water that may be trapped inside.
- With the drain pipe removed, you should now be able to see the old, leaky drain gasket. Use your putty knife or flat-head screwdriver to gently pry it out.
- Clean the area thoroughly, removing any gunk or debris that might prevent the new gasket from sealing properly. A little dish soap and elbow grease can work wonders here.
- Take your new drain gasket and position it correctly in the drain hole. Make sure it’s seated properly and not twisted or misaligned.
- Carefully replace the drain pipe, ensuring that it’s properly aligned with the new gasket. Tighten the slip nuts securely, but be careful not to over-tighten them.
- Turn on the faucet and check for leaks. If everything looks good, congratulations! You’ve successfully repaired that pesky drain gasket leak.
Now, if you encounter any hiccups along the way, don’t panic! Leaks can sometimes be stubborn little buggers. If you’re still seeing water seeping out, double-check that the gasket is seated correctly and that the drain pipe is aligned properly. You may even want to consider replacing the slip nuts while you’re at it, just to be on the safe side.
Now that you’ve conquered the leaky drain gasket, let’s talk about some maintenance tips to help prevent future leaks:
- Avoid pouring harsh chemicals or cleaners down the drain, as these can degrade the gasket over time.
- Be gentle when using the sink. Dropping heavy objects or subjecting the sink to excessive force can damage the gasket.
- Periodically check the area under the sink for any signs of moisture or leaks. Catching a problem early can save you a lot of hassle down the road.
- Consider replacing the drain gasket every few years, even if it’s not currently leaking. Preventative maintenance can go a long way in avoiding future issues.
By following these simple maintenance tips, you can help extend the life of your new drain gasket and keep your kitchen sink leak-free for years to come.
But wait, there’s more! Let’s talk about some additional precautions you can take to safeguard your sink from leaks. First off, be mindful of what you’re putting down the drain. Avoid dumping cooking grease or oil, as these can solidify and clog the pipes, putting extra strain on the gasket. Additionally, consider installing a drain strainer or hair catcher to prevent debris from making its way down the drain and potentially causing issues.
Another helpful tip is to invest in a high-quality, durable drain gasket. While they may cost a little more upfront, a premium gasket can withstand more wear and tear and last longer than a bargain-bin option. Trust me, it’s worth the extra few bucks to avoid having to repeat this whole repair process down the line.
And speaking of repairs, don’t be afraid to call in a professional plumber if the leak persists or if you encounter any issues that are beyond your DIY abilities. While fixing a leaky drain gasket is a relatively straightforward task, there’s no shame in seeking expert assistance when needed. After all, a professional plumber has the experience and tools to diagnose and resolve even the most stubborn of leaks.
So there you have it, folks – a comprehensive guide to tackling a leaky kitchen sink drain gasket like a pro. With a little elbow grease, the right tools, and a touch of patience, you’ll have that leak fixed in no time. And who knows, you might just discover a newfound appreciation for the humble drain gasket and all the hard work it does to keep your sink in tip-top shape.

This is where you’ll find inspiration to create a stylish and beautiful dream home.
