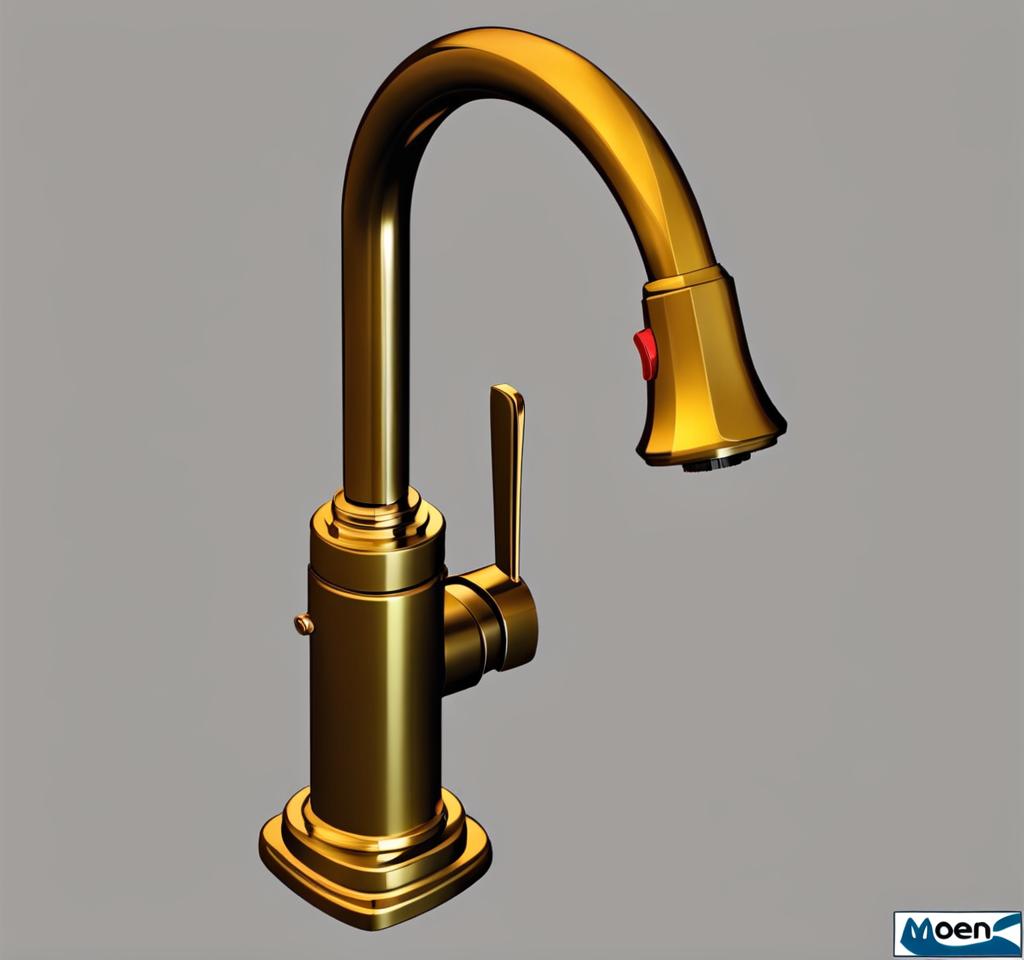
We’ve all been there – you turn on the faucet, and the handle feels loose and wobbly. It’s a frustrating issue, but fear not! A loose Moen faucet handle is often an easy fix, and I’m here to guide you through the process step-by-step. With a bit of patience and the right tools, you’ll have that handle tightened up and regain complete control over your faucet in no time.
Troubleshooting a Loose Moen Faucet Handle: Causes and Symptoms
Before we dive into the repair process, let’s first understand what might be causing your Moen faucet handle to feel loose. There are a few common culprits:
- Worn-out set screw: Over time, the set screw that secures the handle to the faucet stem can become loose or stripped, leading to a wobbly handle.
- Damaged faucet stem: If the faucet stem itself is damaged or worn down, the handle may not fit snugly, resulting in a loose connection.
- Loosened handle adapter: In some cases, the handle adapter (the part that connects the handle to the stem) may have come loose, causing the handle to feel unstable.
Regardless of the cause, a loose faucet handle can be a real nuisance. Not only is it annoying to deal with, but it can also lead to water leaks and further damage if left unaddressed. That’s why it’s essential to tackle this issue as soon as possible.

Preparing for Moen Faucet Handle Repair: Tools and Materials Needed
Before we get our hands dirty, let’s gather the necessary tools and materials. You’ll need:
- A flathead screwdriver or Allen wrench (depending on your faucet model)
- A basin wrench or faucet socket wrench
- A replacement set screw or handle adapter (if needed)
- A clean cloth or paper towels
Having these items on hand will make the repair process much smoother and easier. Trust me; you don’t want to be scrambling for tools mid-way through the job!
Step-by-Step Guide: Tightening a Loose Moen Faucet Handle
Now, let’s get down to business! Here’s a step-by-step guide to tightening that loose Moen faucet handle:
- Start by turning off the water supply to your faucet. This will prevent any unwanted leaks or messes during the repair process.
- Locate the set screw or handle adapter that secures the handle to the faucet stem. Depending on your faucet model, this may be visible on the underside of the handle or hidden beneath a decorative cap.
- Using the appropriate tool (flathead screwdriver or Allen wrench), loosen the set screw or handle adapter and remove the handle from the faucet stem.
- Inspect the set screw, handle adapter, and faucet stem for any signs of damage or wear. If the set screw is stripped or the handle adapter is damaged, you’ll need to replace them with new ones.
- Clean the faucet stem and handle components thoroughly with a clean cloth or paper towels to remove any dirt or debris.
- If you’re replacing the set screw or handle adapter, do so at this point.
- Reattach the handle to the faucet stem, making sure it’s securely tightened in place.
- Turn the water supply back on and test the faucet to ensure the handle is no longer loose and operates smoothly.
And there you have it! With a little elbow grease and some patience, you’ve successfully tightened that pesky loose Moen faucet handle. Give yourself a pat on the back – you just saved yourself a costly plumbing service call!
Pro Tips for Maintaining Your Moen Faucet in Optimal Condition
Now that your faucet is back in tip-top shape, let’s talk about how to keep it that way. Here are some pro tips for maintaining your Moen faucet and preventing future issues:
- Regularly inspect your faucet for any signs of wear or damage, such as loose handles, leaks, or mineral buildup.
- Clean your faucet regularly with a mild soap and water solution to prevent mineral deposits and buildup.
- Avoid using abrasive cleaners or harsh chemicals, as these can damage the faucet’s finish and components.
- If you notice any issues, such as a loose handle or dripping faucet, address them promptly to prevent further damage.
By following these simple maintenance tips, you’ll extend the lifespan of your Moen faucet and ensure it continues to operate smoothly and efficiently for years to come.
Congratulations! You’ve successfully navigated the process of tightening a loose Moen faucet handle. But the journey doesn’t end here – it’s important to ensure your faucet continues to operate smoothly and without issues.
Here are a few final tips to help you regain full control over your Moen faucet:
- After tightening the handle, turn the faucet on and off a few times to ensure the handle moves freely and without resistance.
- Check for any leaks or drips around the faucet base or underneath the sink. If you notice any leaks, you may need to tighten or replace the faucet’s washers or cartridges.
- Periodically lubricate the faucet stem and handle components with a silicone-based lubricant to ensure smooth operation and prevent future loosening.
By following these simple steps, you’ll not only have a tightened faucet handle but also a faucet that operates smoothly and efficiently, providing you with complete control over your water flow.
So, there you have it – a complete guide to tackling that pesky loose Moen faucet handle. With a little DIY spirit and the right tools, you can save yourself the hassle and expense of calling a plumber. Just remember to take your time, follow the steps carefully, and don’t hesitate to reach out for professional help if you encounter any issues beyond your skill level.

This is where you’ll find inspiration to create a stylish and beautiful dream home.