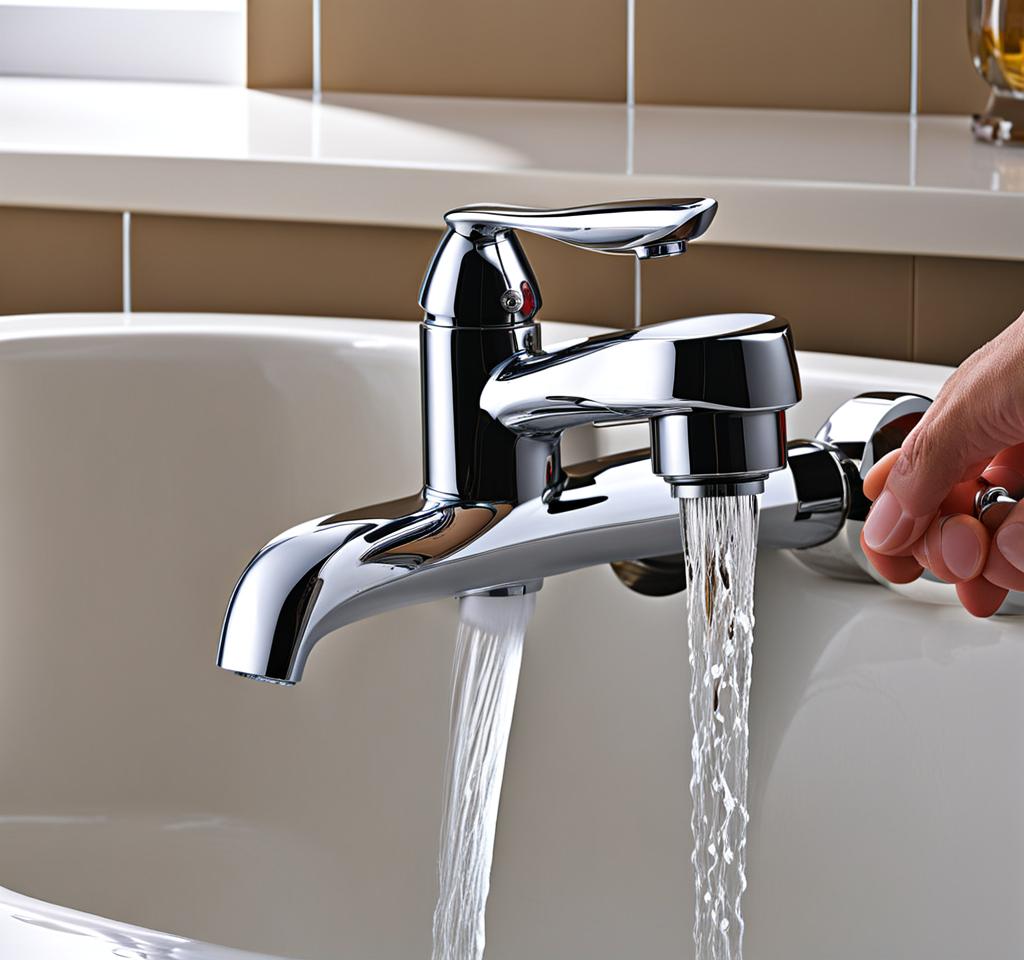
Dealing with a loose sink faucet can be frustrating, but don’t worry, I’ve got your back.
Identify the Cause of a Loose Sink Faucet
Before we dive into the repair process, it’s crucial to understand what’s causing your sink faucet to become loose. There are a few common culprits:
- Worn-out washers or gaskets: Over time, the washers and gaskets that form a seal between the faucet and the sink can deteriorate, leading to a loose connection. These components are designed to create a watertight seal, but constant exposure to water, temperature fluctuations, and mineral buildup can cause them to degrade, resulting in leaks and loosening.
- Loose mounting nuts: The nuts that secure the faucet to the sink can loosen up, causing the faucet to wobble. This can happen due to vibrations, excessive force when operating the handles, or simply loosening over time.
- Corroded faucet body: In some cases, the faucet body itself can corrode, making it difficult to maintain a tight fit. This is more common in older faucets or those made from materials susceptible to corrosion, such as certain types of brass or chrome-plated finishes.
Identifying the root cause will help you determine the appropriate course of action and the necessary tools for the job. It’s also worth noting that multiple factors could be contributing to the looseness, so be prepared to address each issue accordingly.
Tools Needed to Fix a Loose Sink Faucet
Before we get started, make sure you have the following tools handy:
- Adjustable wrench or basin wrench: These wrenches are designed to fit around the faucet body and mounting nuts, allowing you to tighten or loosen them as needed.
- Slip-joint pliers: These pliers are versatile and can be used to grip and twist various components, such as the faucet handle or aerator.
- Replacement washers or gaskets (if needed): If your washers or gaskets are worn out, have a set of replacements on hand to ensure a proper seal.
- Rag or paper towels: These will come in handy for cleaning up any water or debris during the repair process.
- Penetrating oil (optional): If you encounter stubborn or corroded parts, a penetrating oil can help loosen them up for easier removal.
Having the right tools will make the job a breeze, and you’ll be able to tackle the repair with confidence. It’s always better to be prepared with the necessary supplies to avoid any unnecessary delays or frustrations.
Step-by-Step Guide to Tighten a Loose Sink Faucet
Alright, let’s roll up our sleeves and get to work! Here’s a step-by-step guide to fixing that pesky loose sink faucet:
- Turn off the water supply: Locate the shutoff valves under the sink and turn them clockwise to shut off the water supply. This will prevent any water from flowing out during the repair process.
- Remove the faucet handle: Depending on your faucet type, you may need to remove the handle or cap to access the mounting nuts. Consult your faucet’s instruction manual or online resources for specific instructions on how to remove the handle safely without damaging it.
- Tighten the mounting nuts: Using your adjustable wrench or basin wrench, tighten the mounting nuts that secure the faucet to the sink. Be careful not to over-tighten, as this could damage the faucet or sink. Tighten the nuts in a criss-cross pattern for even tension.
- Replace washers or gaskets (if needed): If the washers or gaskets are worn out, replace them with new ones to ensure a proper seal. Consult your faucet’s manufacturer or a hardware store for the correct replacement parts.
- Clean the faucet body and sink: Take this opportunity to clean the faucet body and the area around the sink where the faucet mounts. Removing any debris or mineral buildup will help ensure a tight fit and prevent future loosening.
- Reassemble the faucet: Once everything is tightened and secured, reassemble the faucet handle or cap, making sure it’s properly aligned and functioning correctly.
- Turn the water supply back on: Slowly turn the shutoff valves counterclockwise to restore the water supply.
- Test the faucet: Turn on the faucet and check for any leaks or wobbling. If everything looks good, you’ve successfully fixed your loose sink faucet!
If you encounter any issues or have concerns during the process, don’t hesitate to seek professional assistance. Sometimes, a more complex repair or faucet replacement may be necessary, especially if the faucet body is severely corroded or the mounting hardware is damaged.
Tips for Maintaining a Properly Functioning Sink Faucet
To keep your sink faucet in tip-top shape and prevent future loosening, here are some handy tips:
- Regularly check for leaks and tighten any loose parts: Performing a quick visual inspection and tightening any loose components can help prevent further issues from developing.
- Clean the faucet and aerator periodically to prevent mineral buildup: Mineral deposits can accumulate over time, causing clogs and potentially affecting the faucet’s performance. Remove the aerator and soak it in vinegar or a descaling solution to break down any buildup.
- Consider replacing old washers and gaskets as a preventative measure: Even if they don’t appear worn out, replacing these components every few years can help maintain a proper seal and prevent leaks.
- Avoid excessive force when operating the faucet handles: Applying too much force can put unnecessary strain on the faucet and its mounting hardware, potentially leading to loosening or damage.
- If you notice any signs of corrosion, consider replacing the faucet altogether: Corrosion can weaken the faucet body and make it difficult to maintain a tight fit. In such cases, it may be more cost-effective and efficient to replace the entire faucet.
Following these simple maintenance tips will help extend the lifespan of your sink faucet and prevent future issues, saving you time, money, and frustration in the long run.
While many loose sink faucet problems can be resolved with a bit of elbow grease and the right tools, there are some instances when it’s best to call in a professional plumber:
- If the faucet is severely corroded or damaged beyond repair: In cases where the faucet body or mounting hardware is significantly corroded or damaged, attempting a repair may be futile and could even lead to further issues.
- If you’re uncomfortable working with plumbing fixtures or lack the necessary tools: Plumbing repairs can be tricky, and attempting them without the proper knowledge or tools can result in costly mistakes or injuries.
- If the issue persists after attempting to fix it yourself: Sometimes, even after following the steps, the problem may not be fully resolved. In such cases, it’s best to seek professional assistance to identify and address any underlying issues.
- If you’re dealing with a more complex plumbing system or a faucet that requires specialized parts: Some plumbing systems or faucet designs may require specialized knowledge and tools that a DIY repair may not adequately address.
Don’t hesitate to seek professional assistance when needed. A skilled plumber can diagnose and resolve even the most stubborn sink faucet issues, ensuring your plumbing system operates smoothly and efficiently. They also have access to specialized tools and parts that may be required for more complex repairs or replacements.
Maintaining your sink faucet not only ensures a functional and leak-free plumbing system but also contributes to water conservation efforts. A leaky faucet can waste gallons of water over time, leading to higher utility bills and an unnecessary strain on natural resources.
There you have it, folks! With this comprehensive guide, you’re now equipped to tackle a loose sink faucet like a true DIY pro. Remember, a little patience, the right tools, and a proactive approach to maintenance can go a long way in saving you time, money, and frustration. Happy tinkering, and may your faucets remain tight and leak-free!

This is where you’ll find inspiration to create a stylish and beautiful dream home.