Your outdoor space with neatly defined garden beds, pathways, and landscaping elements is a way to elevate your home’s curb appeal. One crucial element that can make or break the look is the installation of landscape edging blocks. If done right, these unassuming blocks can transform your yard into a picture-perfect oasis.
Preparation: Ensuring a Smooth Landscape Edging Blocks Installation
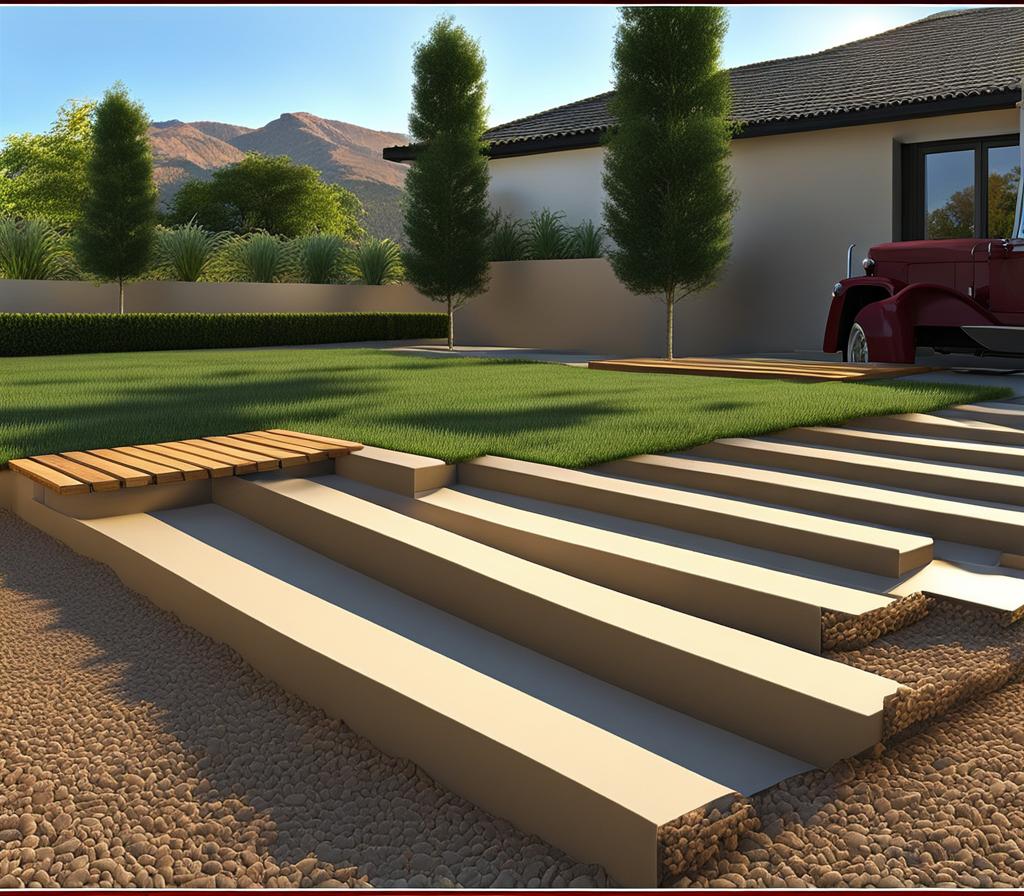
Before we dive into the nitty-gritty of installation, let’s cover the groundwork (pun intended). First and foremost, it’s essential to understand the purpose of landscape edging blocks. These sturdy units act as a barrier, separating different areas of your landscape, preventing soil erosion, and providing a clean, defined edge that adds structure and visual appeal.
Choosing the right edging blocks for your project is crucial. Consider factors like material (concrete, plastic, or natural stone), color, and size. Personally, I’m a fan of concrete edging blocks for their durability and versatility. But if you’re going for a more rustic vibe, natural stone might be the way to go.
Next, gather the necessary tools and materials. You’ll need a shovel, a hand tamp or plate compactor, a level, a measuring tape, and, of course, the edging blocks themselves. Having everything on hand will make the process smoother and more efficient.
Before you start digging, it’s essential to measure and mark the area where you’ll be installing the edging blocks. This step ensures a clean, straight line and prevents any costly mistakes down the road.
Laying the Foundation: Step-by-Step Guide to Installing Landscape Edging Blocks
Now it’s time to get your hands dirty! Start by excavating a trench for the edging blocks. The depth will depend on the specific blocks you’re using, but a general rule of thumb is to dig a trench about 1-2 inches deeper than the height of the blocks. This extra space allows for a layer of compacted gravel or sand, providing a stable base for your edging.
Speaking of stability, compacting the trench base is a step that shouldn’t be skipped. Use a hand tamp or plate compactor to firmly pack down the soil or gravel base. This will prevent the edging blocks from shifting or sinking over time.
With the foundation laid, it’s time to start positioning the first edging block. Level it both horizontally and vertically, ensuring a smooth and even start. From there, continue connecting the subsequent blocks, making sure they’re tightly interlocked and aligned.
Professional Techniques for Flawless Landscape Edging Block Installation
Straight lines are great, but most landscapes have curves and corners that require a bit more finesse. Don’t worry; I’ve got you covered! For curves, you’ll need to cut the edging blocks to create a smooth, flowing line. A masonry saw or angle grinder with a diamond blade will make quick work of this task.
Once the blocks are in place, it’s time to secure them. Depending on the type of blocks you’re using, you may need to stake them into the ground or use a construction adhesive to keep them firmly in place. This step is crucial to prevent shifting or separation over time.
With the edging blocks installed and secured, it’s time to backfill the area around them with soil. Be sure to compact the soil as you go, using a hand tamp or plate compactor again. This will help prevent settling and ensure a neat, professional look.
Enhancing Your Landscape with Edging Blocks: Design Ideas and Inspiration
Edging blocks are more than just functional elements; they’re also a fantastic way to add visual interest and character to your outdoor spaces. Let’s explore some design ideas that will take your landscape to the next level:
- Create defined garden beds: Edging blocks are perfect for separating garden beds from lawns or pathways, giving your plants a neat and tidy border.
- Separate different landscape elements: Use edging blocks to delineate different areas of your yard, such as a patio, fire pit, or vegetable garden.
- Incorporate edging blocks into pathways and walkways: Line your paths with edging blocks for a polished look that complements your landscaping.
- Combine edging blocks with other hardscaping features: Think about integrating your edging with retaining walls, water features, or even outdoor kitchens for a cohesive, high-end aesthetic.
The possibilities are endless, and the key is to let your creativity shine while considering the overall flow and balance of your outdoor space.
Even with the most meticulous installation, issues can sometimes arise with landscape edging blocks. But don’t fret; I’ve got you covered with some troubleshooting tips and maintenance best practices.
One common problem is edging blocks that have shifted or become dislodged over time. This can often be resolved by simply resetting and realigning the blocks, ensuring they’re firmly secured and backfilled with compacted soil.
If you notice sunken or damaged edging blocks, it may be necessary to replace them. Start by carefully removing the affected blocks and preparing the area as you would for a new installation. Then, simply slot in the new blocks and secure them in place.
To keep your edging blocks looking their best for years to come, follow these maintenance tips:
- Regularly remove any debris or vegetation that may accumulate around the blocks.
- Apply a sealant or protective coating every few years to prevent fading, staining, or cracking.
- In colder climates, be sure to remove any accumulated snow or ice from around the blocks to prevent damage.
- When mowing or trimming around the edging, be careful not to nick or damage the blocks with your tools.
With a little bit of care and attention, your landscape edging blocks will continue to enhance the look of your outdoor spaces for years to come.

This is where you’ll find inspiration to create a stylish and beautiful dream home.