When it comes to kitchen design, getting the dimensions right is crucial for both functionality and aesthetics. One aspect that often puzzles homeowners is the standard us kitchen upper cabinet height. Fear not, my friends! I’m here to demystify this topic and guide you through the process of achieving the perfect cabinet placement with ease.
Demystifying the Standard US Kitchen Upper Cabinet Height
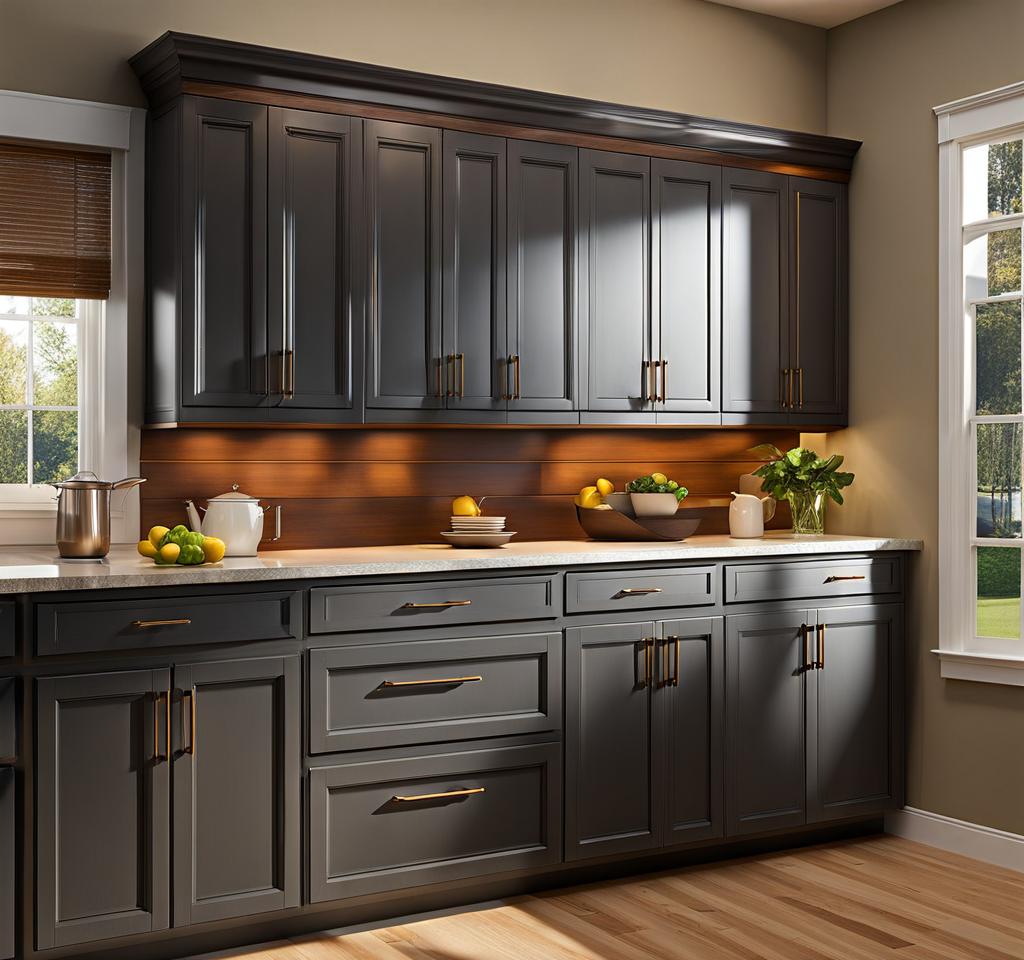
Before we dive into the nitty-gritty, let’s first understand what we mean by “standard upper cabinet height.” This term refers to the generally accepted range for the installation of overhead cabinets in a typical American kitchen. It’s a measurement that has been influenced by various factors, including ergonomics, accessibility, and industry regulations.
The importance of getting the upper cabinet height right cannot be overstated. It directly impacts the overall flow and usability of your kitchen space. Cabinets that are too high can make accessing items a real struggle, while those installed too low may feel cramped and claustrophobic. Trust me, you don’t want to be tiptoeing or crouching every time you need to grab a plate or a spice jar.
Optimal Measurements for Standard US Kitchen Upper Cabinets
Now, let’s get down to the numbers. According to industry standards, the recommended height range for upper cabinets in a typical US kitchen is between 54 and 60 inches from the floor to the bottom of the cabinet. This measurement is based on the assumption that the countertop height is the standard 36 inches.
However, it’s essential to keep in mind that these are just guidelines, and the ideal height may vary depending on several factors, such as:
- Ceiling height: If you have higher or lower ceilings than the average, adjustments may be necessary.
- User height: Taller or shorter individuals may require tweaking the cabinet height for optimal comfort and accessibility.
- Countertop height: If your countertops deviate from the standard 36 inches, the upper cabinet height should be adjusted accordingly to maintain proper clearance.
Don’t worry; we’ll dive deeper into addressing these nuances in the following sections.
Design Strategies for Maximizing Upper Cabinet Space
Once you’ve nailed down the optimal height for your upper cabinets, it’s time to explore some creative design strategies to make the most of that coveted overhead space. After all, who doesn’t love extra storage in the kitchen?
One popular approach is to incorporate open shelving or glass cabinet fronts. These elements not only add visual interest to your kitchen but also make it easier to access and showcase your favorite dishes or decorative pieces. Just be sure to keep the items organized and dust-free – no one wants to see a cluttered mess every time they glance up.
Another clever trick is to utilize the space above the cabinets for decor or additional storage. You could install crown molding or a decorative shelf to display plants, cookbooks, or other knick-knacks that tie the room together. Just be mindful of the overall height and avoid anything that might feel overwhelming or cluttered.
Step-by-Step Guide to Installing Upper Cabinets at the Ideal Height
Now that you’ve got the theory down, it’s time to roll up your sleeves and get to work. Installing upper cabinets at the perfect height might seem daunting, but fear not – I’ve got a step-by-step guide to walk you through the process:
- Measure and mark: Use a level and a measuring tape to determine the desired height for your upper cabinets based on the guidelines we’ve discussed. Mark the desired height on the wall with a pencil.
- Gather your tools: You’ll need basic tools like a drill, screws, a stud finder, and possibly a helper or two, depending on the size and weight of the cabinets.
- Locate the studs: Use a stud finder to locate the wall studs where you’ll be securing the cabinets. This will ensure a sturdy and level installation.
- Install the cabinets: Following the manufacturer’s instructions, carefully lift and secure the cabinets to the wall at the marked height, making sure they’re level and properly aligned.
- Secure and level: Use shims or adjustable legs (if applicable) to ensure the cabinets are perfectly level and secure them to the wall studs with screws or appropriate fasteners.
- Finishing touches: Once the cabinets are installed, add any necessary trim, hardware, or decorative elements to complete the look.
Remember, proper preparation and attention to detail are key to achieving a flawless installation. Don’t hesitate to enlist the help of a professional if you’re unsure about any part of the process.
Complementing Your Kitchen’s Style with Upper Cabinet Placement
While functionality is undoubtedly a top priority, let’s not forget about the aesthetic appeal of your kitchen. The placement and height of your upper cabinets can significantly impact the overall style and ambiance of the space.
For a more traditional look, you might opt for a uniform height across all upper cabinets, creating a clean and cohesive line. This approach works particularly well in kitchens with a classic or farmhouse-inspired design.
On the other hand, if you’re feeling a bit more adventurous, consider mixing cabinet heights or incorporating open shelving into your layout. This can add visual interest and depth to your kitchen, especially in more contemporary or eclectic styles.
Regardless of your design preferences, the key is to strike a balance between aesthetics and functionality. Remember, a beautiful kitchen is only truly complete when it’s also a joy to work in.
Even with careful planning, you may encounter a few hiccups along the way when dealing with upper cabinet installation. But fear not, my friends! I’ve got you covered with some common issues and their solutions:
- High or low ceilings: If your ceiling height deviates significantly from the standard, you may need to adjust the upper cabinet height accordingly. In some cases, you might even consider installing shorter cabinets or opting for open shelving to create a more balanced look.
- Sloped ceilings or architectural constraints: Older homes or those with unique architectural features may require some creative problem-solving. Consider custom-built cabinets or adjustable shelving units to accommodate these quirks without sacrificing functionality.
- Installation or alignment issues: If your cabinets seem slightly off-kilter or aren’t sitting flush against the wall, don’t panic. Minor adjustments can often be made by shimming or tweaking the cabinet hardware. If all else fails, don’t hesitate to call in a professional for assistance.
Remember, with a little patience and perseverance, most challenges can be overcome. And if you ever find yourself feeling overwhelmed, take a step back and remind yourself that the end result – a beautifully designed and functional kitchen – will be worth the effort.

This is where you’ll find inspiration to create a stylish and beautiful dream home.