The aesthetic appeal of your kitchen or bathroom has never been easier with a tile installation. This transformative project not only enhances the visual allure but also safeguards your walls from splatters and moisture. As a seasoned home improvement enthusiast, I’ve mastered the art of installing tile backsplashes on drywall, and I’m thrilled to share my expertise with you.
Imagine a space where functionality seamlessly blends with style, creating a harmonious ambiance that captivates the senses. By following my comprehensive guide, you’ll unlock the secrets to achieving a flawless tile backsplash installation, empowering you to craft a truly remarkable space that exudes sophistication and charm.
Drywall Preparation: Ensuring a Smooth Tile Backsplash Installation
Proper preparation is the foundation of any successful tile backsplash installation project. Before you embark on this endeavor, it’s crucial to meticulously inspect the drywall surface. Identify any imperfections, such as cracks, dents, or uneven areas, and address them accordingly. A smooth, even surface is essential for achieving a flawless installation and preventing future issues.
I highly recommend utilizing a drywall primer or sealer specifically designed for tile installations. This step not only enhances adhesion but also fortifies the surface, ensuring a long-lasting and durable finish. Trust me, investing in quality materials from the outset will save you countless headaches down the road.
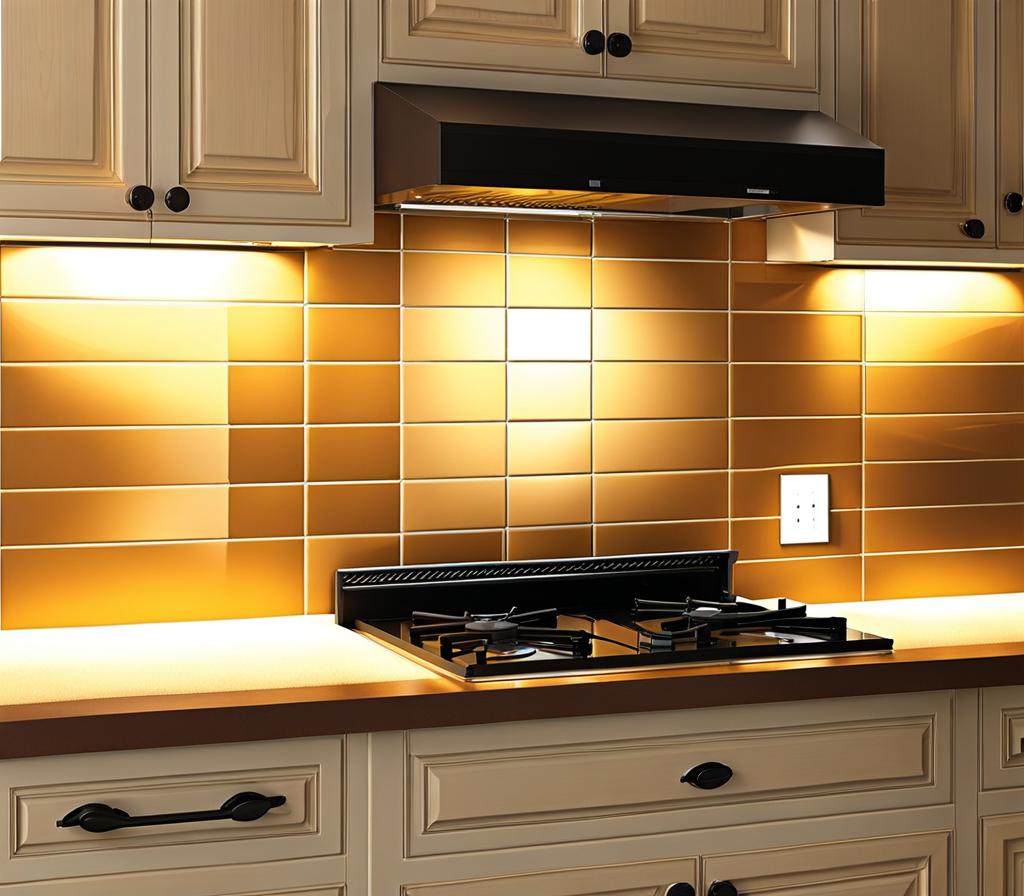
Tile Backsplash Materials: Selecting the Perfect Tiles and Accessories
With a plethora of tile options available, choosing the perfect backsplash tiles can be an exhilarating yet daunting task. Fear not, for I’ve curated a wealth of knowledge to guide you through this critical decision-making process. Consider factors such as the overall design aesthetic of your space, the desired color palette, and the level of maintenance you’re willing to undertake.
Ceramic, porcelain, and glass tiles are widely popular choices, each offering distinct characteristics and advantages. I personally gravitate towards porcelain tiles for their durability and resistance to moisture, making them an ideal choice for kitchen backsplashes. However, if you’re seeking a more contemporary and eye-catching option, glass tiles can elevate your space with their luminous allure.
In addition to the tiles themselves, you’ll need to gather the essential accessories, such as thinset mortar, grout, sealant, and specialized tools like trowels, grout floats, and tile spacers. Don’t skimp on quality here, as these components play a crucial role in ensuring a seamless and long-lasting installation.
Grout Color Considerations
Selecting the right grout color is an often overlooked yet vital aspect of tile backsplash installations. The grout lines can either accentuate or diminish the beauty of your tiles, so choose wisely. For a more seamless and cohesive look, consider using a grout color that complements or closely matches the tile hue. Alternatively, if you prefer a bold and contrasting appearance, opt for a contrasting grout color to create a striking visual impact.
Step-by-Step Tile Backsplash Installation Guide for Drywall Surfaces
Now, let’s dive into the heart of the matter – the step-by-step installation process. Brace yourself, for this endeavor requires patience, precision, and a touch of artistry. Follow my meticulously crafted guide, and you’ll be well on your way to achieving a flawless tile backsplash installation that will leave you beaming with pride.
First, let’s tackle the layout. Measure the area carefully and plan your tile placement, ensuring an even distribution and minimizing cuts. Don’t hesitate to use a level and chalk line to mark your starting point and guide your tile placement.
Next, it’s time to mix the thinset mortar according to the manufacturer’s instructions. Apply a generous layer to the drywall surface using the notched trowel, working in small sections to prevent the mortar from drying prematurely. Gently press the tiles into the mortar, leaving a consistent gap between them using tile spacers. I find it immensely satisfying to witness the intricate patterns unfold with each tile placement.
Once the tiles are in place, allow the mortar to cure completely before proceeding to the grouting stage. Trust me, patience is key here, as rushing this process can compromise the integrity of your installation. When the time is right, meticulously apply the grout using a float, working in diagonal motions to ensure full coverage.
Finally, after allowing the grout to set, gently wipe away any excess with a damp sponge, revealing the stunning tile patterns beneath. As a finishing touch, apply a grout sealer to protect your masterpiece from stains and moisture, ensuring its longevity and enduring beauty.
| Materials Needed | Purpose |
|---|---|
| Tiles | The star of the show, choose wisely based on your desired aesthetic and functional requirements. |
| Thinset Mortar | Provides a strong adhesive bond between the tiles and the drywall surface. |
| Grout | Fills the gaps between tiles, adding strength and visual appeal. |
| Grout Sealer | Protects the grout from stains and moisture, ensuring long-lasting beauty. |
Your tile backsplash installation on drywall is a labor of love, and maintaining its pristine condition is essential to preserving its radiance for years to come. Regular cleaning with a mild, pH-neutral cleaner and a soft cloth will keep your tiles sparkling and prevent the buildup of grime and residue.
However, it’s important to avoid abrasive cleaners or harsh scrubbing, as this can damage the tiles and grout over time. Additionally, be mindful of spills and splatters, promptly wiping them away to prevent staining or discoloration.
Embrace the art of tile backsplash installation on drywall surfaces, and bask in the warmth and character it brings to your living spaces. With my comprehensive guide and unwavering dedication, you’ll be well-equipped to transform your humble abode into a sanctuary of style and sophistication.

This is where you’ll find inspiration to create a stylish and beautiful dream home.
