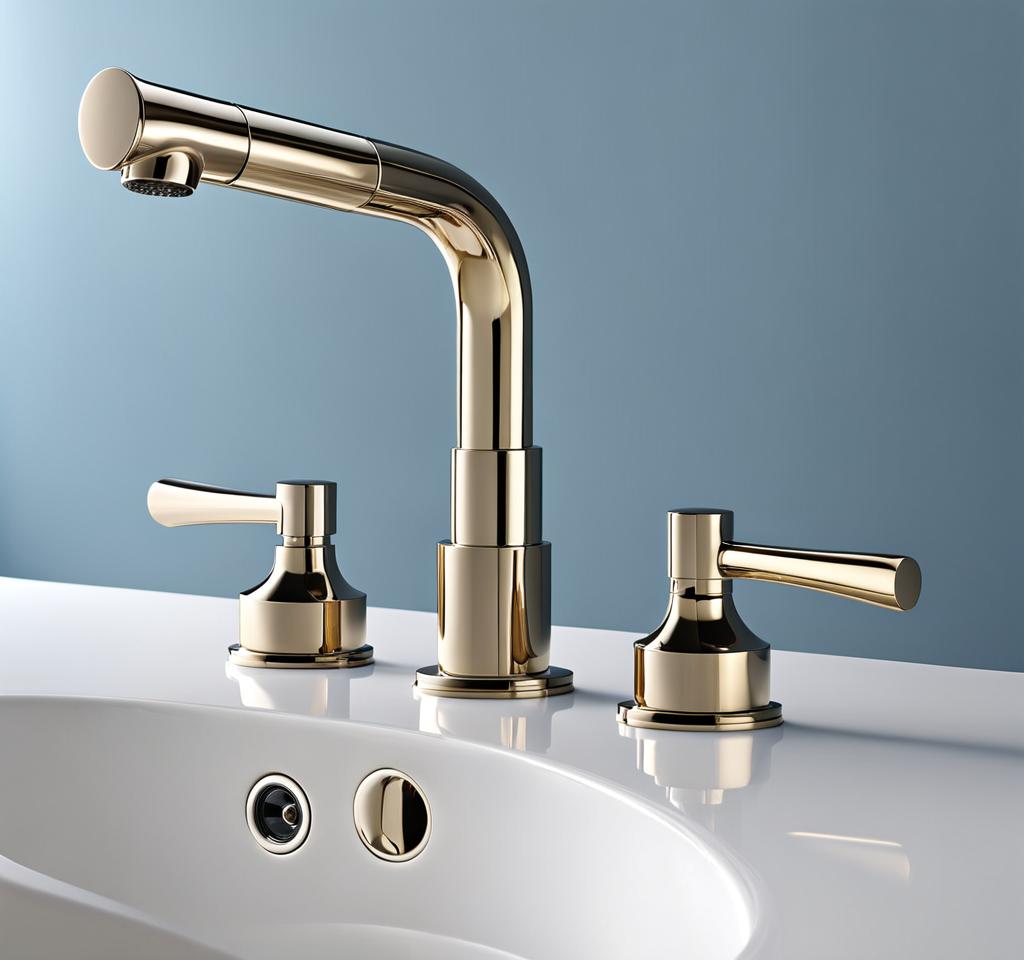
Drip, drip, drip – the sound of a faucet leaking from the handle can quickly become a maddening nuisance. Not only is it an annoying disturbance, but it also leads to wasted water and increased utility bills. Fortunately, with the right knowledge and tools, you can bid farewell to those pesky drips and regain control over your faucet’s functionality.
Identify the Source: Causes of Faucet Handle Leaks
Before diving into the repair process, it’s crucial to understand the root cause of your faucet’s leak. Most handle leaks stem from worn-out or faulty internal components, such as washers, O-rings, valve seats, or cartridges. Over time, these parts can deteriorate due to age, mineral buildup, excessive wear and tear, or even manufacturing defects, leading to a compromised seal and, ultimately, a leak.
Another common culprit is a loose handle connection. If the handle is not securely tightened to the stem, water can seep through the gap, causing a leak. In some cases, the issue might also be due to improper installation or cross-threading, which can damage the threads and create pathways for water to escape.
Identifying the source of the leak is the first step toward an effective solution. To do this, you’ll need to closely inspect the faucet and its components. Look for signs of wear, such as cracked or distorted washers or O-rings, or a corroded valve seat. You may also want to gently wiggle the handle to check for looseness or play.
Prepare for Repair: Tools and Materials Needed
To successfully repair a leaking faucet handle, you’ll need to gather a few essential tools and materials.
Having these tools and materials on hand will streamline the repair process and help you tackle the issue efficiently. If you’re unsure about the specific replacement parts needed, it’s always a good idea to consult your faucet’s manufacturer or take the old components to a hardware store for proper identification.
Step-by-Step DIY Solutions: From Minor to Major Faucet Leaks
Now that you’ve identified the source of the leak and gathered the necessary tools, it’s time to roll up your sleeves and get to work. The specific steps will vary depending on the severity of the leak and the type of faucet you have, but here’s a general guideline to help you navigate the repair process:
Minor Leaks: For minor leaks originating from worn washers or O-rings, start by turning off the water supply to the faucet. Then, remove the faucet handle and inspect the stem and associated washers or O-rings. If these components show signs of wear or damage, replace them with new ones of the same size and type. Lubricate the stem with a food-safe lubricant and reassemble the faucet, taking care to tighten the connections properly.
Major Leaks: In cases of more significant leaks or persistent issues, you may need to replace the entire faucet cartridge or valve assembly. This process involves shutting off the water supply, disassembling the faucet, and carefully removing the old cartridge or valve. Once the new component is installed, reassemble the faucet and restore the water supply.
If you encounter a loose handle connection, you’ll need to tighten the handle nut or set screw using the appropriate tools. In some cases, you may need to remove the handle entirely, clean the threads, and apply a small amount of thread sealant before reinstalling it securely.
Throughout the repair process, be sure to follow the specific instructions for your faucet model. Don’t hesitate to consult the manufacturer’s guidelines or seek professional assistance if you encounter any obstacles or have questions – a properly repaired faucet is worth the effort to avoid further water waste and potential damage.
While repairing the current leak is essential, it’s equally important to take proactive measures to prevent future leaks from occurring. Here are some water-saving tips to keep your faucet in top shape:
- Regularly inspect your faucet for signs of wear or damage, such as drips, mineral buildup, or loose connections. Address any issues promptly to prevent further deterioration.
- Avoid subjecting your faucet to excessive stress or force, as this can accelerate the wear and tear on internal parts. Be gentle when operating the handles and avoid hanging heavy objects from the faucet.
- Consider replacing older faucets with modern, water-efficient models that incorporate advanced sealing technologies and water-saving features, such as aerators or flow restrictors.
- Be mindful of water pressure levels in your home, as high pressure can contribute to leaks and damage. Install a pressure-reducing valve if necessary, or consult a plumber for assistance.
- Periodically clean and descale your faucet to remove mineral buildup, which can cause internal components to stick or wear down prematurely.
By following these preventative measures, you can extend the lifespan of your faucet and minimize the risk of future leaks, saving both water and money in the long run. Remember, a little proactive maintenance goes a long way in ensuring the longevity and optimal performance of your home’s plumbing fixtures.
Faucet leaks, especially those originating from the handle, can be frustrating and wasteful, but with the right knowledge and approach, you can tackle the issue head-on. By identifying the source of the leak, gathering the necessary tools and materials, and following the appropriate repair steps, you’ll be well on your way to restoring your faucet’s functionality and preventing further water waste.
Don’t let those drips drive you drip-py any longer! Embrace the satisfaction of resolving the issue yourself and enjoying the peace of mind that comes with a properly functioning faucet. Remember, every drop saved is a step toward a more sustainable and eco-friendly home. So, roll up your sleeves, grab your tools, and let’s put an end to those pesky faucet leaks once and for all!


This is where you’ll find inspiration to create a stylish and beautiful dream home.