Conquering the art of painting a deck with a roller is a game-changer for any DIY enthusiast or professional painter. Achieving a flawless, long-lasting finish requires a combination of the right tools, techniques, and patience. As someone who has tackled numerous deck painting projects, I’m here to share my expertise and guide you through the process of painting a deck with a roller like a true master.
Whether you’re aiming to revive an aging deck or create a fresh, vibrant outdoor oasis, this comprehensive guide will equip you with the knowledge and skills to tackle the task with confidence. Let’s dive in and unlock the secrets to a roller-painted deck that will be the envy of the neighborhood.
Deck Preparation: Cleaning and Sanding for Roller Painting Success
Before wielding that roller, proper deck preparation is paramount. I cannot stress enough the importance of this step – a clean, smooth surface is the foundation for a pristine paint job. Meticulously remove any dirt, grime, or flaking paint using a sturdy deck brush and a wood-friendly cleaner. Don’t shy away from elbow grease; a thorough scrubbing will ensure optimal adhesion of the new paint.
Once your deck is spotless, it’s time to break out the sanding gear. Lightly sanding the surface not only smooths out any rough patches but also creates a slightly abrasive texture for the paint to grip onto. I recommend using medium-grit sandpaper and focusing on areas with peeling or blistered paint. Remember, a well-sanded deck is a happy deck, ready to embrace its fresh, roller-painted makeover.
Choosing the Right Roller and Paint for Deck Application
Not all rollers and paints are created equal when it comes to deck painting. My go-to roller is a thick-napped, high-quality model specifically designed for exterior surfaces. These rollers hold an ample amount of paint, ensuring even coverage and reducing the need for frequent reloading. Trust me, investing in a quality roller will save you time and frustration in the long run.
When it comes to paint, opt for a durable, weather-resistant formula explicitly labeled for deck or porch use. These paints are formulated to withstand the elements, protecting your deck from rain, sun, and temperature fluctuations. I personally prefer semi-gloss or satin finishes, as they strike the perfect balance between a subtle sheen and easy maintenance.
Color Selection Tip
Speaking of paint, let’s talk color selection. While personal preference plays a significant role, I recommend considering the overall aesthetic of your outdoor space. Opt for complementary tones that harmonize with your home’s exterior or create a striking contrast for a bold, eye-catching look. Don’t be afraid to experiment with samples – it’s the best way to visualize the final result before committing to a hue.
Mastering Roller Painting Techniques: Overlapping Strokes and Even Coverage
Now, let’s dive into the art of roller painting itself. The key to a professional-looking finish lies in the technique. I swear by the “overlapping strokes” method, where each stroke overlaps the previous one by a few inches. This approach not only ensures full coverage but also helps blend the paint seamlessly, eliminating unsightly lap marks.
When applying the paint, maintain a consistent pace and pressure. Avoid pressing too hard, as this can cause excess paint to accumulate and create an uneven texture. Instead, let the roller glide smoothly across the surface, evenly distributing the paint with each stroke. Remember, patience is a virtue – rushing through the process will likely result in a subpar finish.
- Pro Tip: Always start with a well-loaded roller, but be mindful of drips. Too much paint can lead to unsightly runs and uneven coverage.
- Experiment with different roller techniques, such as the “W” pattern or the “N” pattern, to find the one that suits your style and the deck’s layout best.
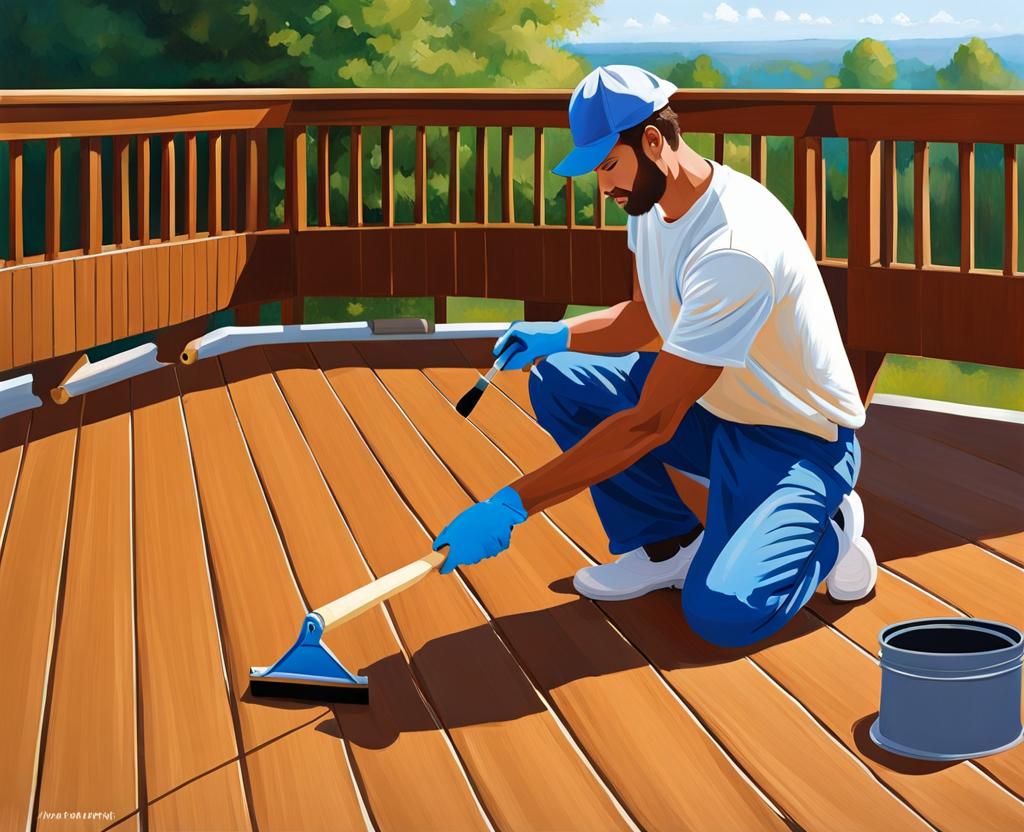
Edge Painting: Using Brushes for Clean Finish Along Railings and Borders
While the roller reigns supreme for the deck’s main surface, its edges and hard-to-reach areas require a different tool – the trusty paint brush. A high-quality angled brush will become your best friend when painting along railings, corners, and borders. The key is to apply the paint in long, even strokes, ensuring a smooth, seamless transition between the roller-painted areas and the brushed edges.
Patience and precision are essential when tackling these intricate spots. Take your time, and don’t rush – a clean, crisp edge can make all the difference in achieving a professional-looking finish. Additionally, consider using painter’s tape to protect adjacent surfaces, such as siding or trim, from accidental paint splatters.
Drying Time and Weather Considerations for Flawless Roller Painted Decks
Once you’ve conquered the painting process, it’s time to let your masterpiece dry. But drying times aren’t just about waiting – they’re also about understanding the impact of weather conditions. Temperature, humidity, and sunlight exposure can all influence how quickly (or slowly) the paint cures.
I always recommend consulting the manufacturer’s instructions for specific drying times and temperature ranges. Generally, most deck paints require at least 24 hours of drying time before light foot traffic and a few days before moving furniture or heavy objects back onto the surface. Patience is key here – rushing the process can lead to scuffs, indentations, or even peeling paint down the line.
| Weather Condition | Considerations |
|---|---|
| High Humidity | Slower drying times, potential for moisture entrapment |
| Direct Sunlight | Faster drying, potential for uneven drying or blistering |
| Cool Temperatures | Slower drying, potential for improper curing |
By understanding these weather-related factors, you can plan your painting project accordingly and ensure the best possible outcome.
Your deck painting journey doesn’t end with the final brush stroke. Proper maintenance is crucial to ensuring your roller-painted masterpiece stands the test of time. Regular cleaning with a gentle deck cleaner and a soft-bristled brush will help remove dirt, debris, and any potential mildew buildup.
Additionally, consider re-sealing or applying a clear protective coating every few years. This added layer of protection will not only enhance the deck’s appearance but also shield it from the harsh effects of UV rays, moisture, and wear and tear.
Remember, a well-maintained deck is a happy deck. By following these simple steps, you’ll be able to enjoy your roller-painted outdoor oasis for years to come, basking in the satisfaction of a job well done.

This is where you’ll find inspiration to create a stylish and beautiful dream home.
