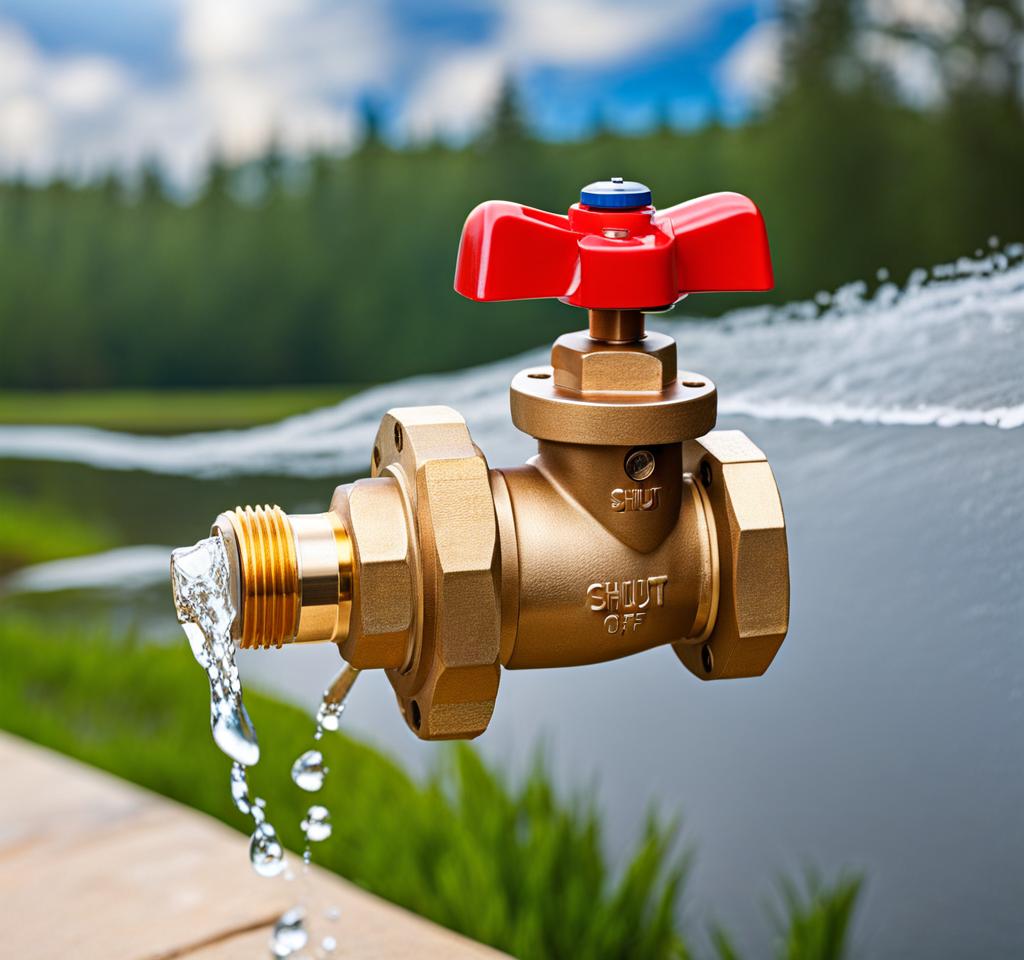
If you’ve ever had to deal with a shut off valve for outside faucet leaking, you know how frustrating it can be. Not only does it waste precious water, but it can also lead to costly damage if left unchecked. Fortunately, there are some simple steps you can take to fix the issue for good.
Understanding Outside Faucet Leaks
Before we dive into the solutions, let’s first understand why outdoor faucets develop leaks in the first place. One of the most common culprits is worn-out washers or seals. Over time, these components can become brittle and fail to create a tight seal, allowing water to seep through. Corrosion is another factor that can lead to leaks, particularly in areas with hard water or harsh weather conditions. Lastly, freeze damage is a frequent issue for outdoor faucets, as the expansion of water during freezing can crack pipes and fittings.
Identifying a leaky outdoor faucet is usually straightforward. You may notice water pooling around the faucet or a drop in water pressure when using it. Left unchecked, these leaks can not only waste gallons of water but also cause water damage to your home’s foundation or landscaping. Worse still, they can attract pests and even lead to mold growth, creating potential health hazards.
Locating the Shut Off Valve
The key to fixing an outdoor faucet leak is to first shut off the water supply. This is typically done by locating and turning the shut off valve. There are a few different types of valves you may encounter:
- Gate valves: These have a circular handle that you turn to open or close the valve.
- Ball valves: These have a lever-like handle that you simply turn 90 degrees to shut off the water.
The main water shut off valve for your home is usually located near the water meter or where the main supply line enters your house. However, many outdoor faucets also have their own individual shut off valves, which can make the repair process more straightforward. These valves are often located close to the faucet itself, either on the pipe leading to it or even built into the faucet assembly.

If you’re having trouble locating the shut off valve, don’t hesitate to consult your home’s blueprints or contact a professional plumber. It’s crucial to shut off the water supply before attempting any repairs to prevent further damage and ensure your safety.
Repairing with Shut Off Valves
Once you’ve located and turned off the appropriate shut off valve, you can begin the repair process. Here’s a step-by-step guide:
- Shut off the water supply by turning the valve clockwise until it stops.
- Remove the faucet handle and stem assembly, following the manufacturer’s instructions.
- Inspect the washers, seals, and valve components for any signs of wear or damage.
- Replace any worn or damaged parts with new ones, ensuring a proper fit.
- Reassemble the faucet, taking care not to over-tighten any components.
- Turn the shut off valve counterclockwise to restore water flow, and check for any remaining leaks.
It’s also a good idea to lubricate the valve stem and any other moving parts with a silicone-based lubricant. This can help ensure smooth operation and prevent future leaks or seizing.
If the leak persists after following these steps, it may be necessary to replace the entire faucet assembly or consult a professional plumber. In some cases, the issue could be deeper within the piping system, requiring more extensive repairs.
Preventing Future Leaks
While repairing a leaky outdoor faucet is relatively straightforward, it’s even better to take steps to prevent leaks from occurring in the first place. As the seasons change, be sure to insulate any exposed pipes or faucets to protect them from freezing temperatures. During the winter months, you may also want to consider installing freeze-proof faucet covers or insulating domes.
Additionally, it’s a good idea to proactively replace any old or worn shut off valves or faucet components before they have a chance to fail. Doing so can save you the hassle of dealing with a leak and ensure that your outdoor water supply remains in top working condition for years to come.
Another preventive measure is to regularly inspect your outdoor faucets and shut off valves for any signs of wear or corrosion. Look for cracks, rust, or mineral buildup, and take action as needed. It’s also wise to exercise the valves periodically to prevent them from seizing up due to inactivity.
If you live in an area with particularly harsh winters or a high risk of freezing temperatures, you may want to consider installing a frost-free outdoor faucet. These specialized faucets are designed to prevent water from accumulating in the pipe, reducing the risk of freeze damage.
When it comes time to replace a shut off valve, it’s essential to choose the right type for your needs. Gate valves and ball valves are both popular options, each with their own advantages:
| Valve Type | Pros | Cons |
|---|---|---|
| Gate Valve |
|
|
| Ball Valve |
|
|
Consider factors like water pressure, space constraints, and ease of operation when choosing the right shut off valve for your outdoor faucet. Don’t hesitate to consult a professional plumber if you’re unsure which type is best suited for your specific needs.

This is where you’ll find inspiration to create a stylish and beautiful dream home.