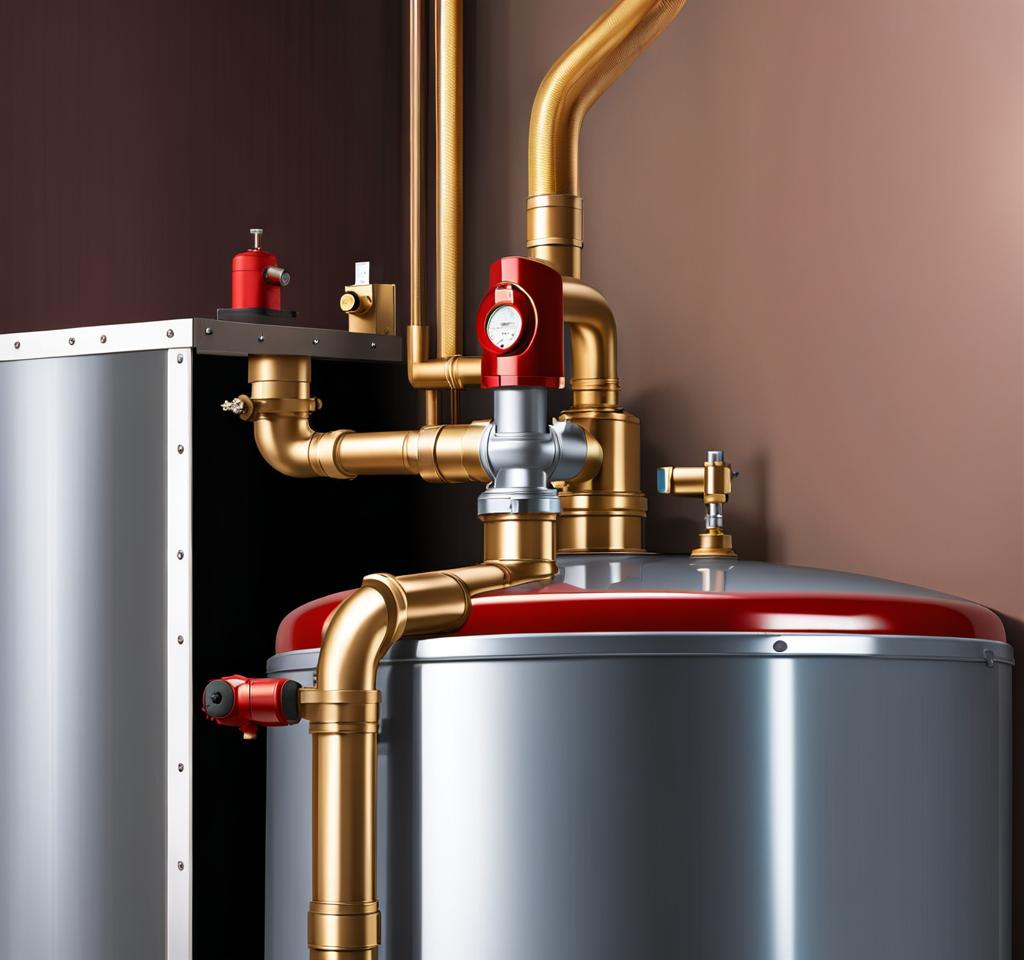
Waking up to a puddle of water near your water heater or noticing dampness around the tank’s top area is never a pleasant sight. A leaking water heater from the top is a common issue that requires prompt attention to prevent further damage and potential flooding. As someone who has dealt with this problem firsthand, I understand the frustration and urgency that comes with it. However, don’t panic! With the right knowledge and approach, resolving a water heater leaking from the top is a manageable task.
Common Causes of a Water Heater Leaking from the Top
Before diving into the solution, it’s essential to understand the potential causes behind a water heater leaking from the top. Several factors can contribute to this issue, and identifying the root cause is crucial for effective repair or replacement. Let me break down the most common culprits:

1. Faulty temperature and pressure relief valve: This safety device is designed to release excess pressure and hot water from the tank. Over time, sediment buildup or corrosion can prevent the valve from closing properly, leading to constant leaking.
2. Corroded or cracked water tank: Water heater tanks are susceptible to corrosion, especially as they age. Tiny cracks or holes can develop in the tank’s top, allowing water to seep through.
3. Loose water inlet and outlet connections: The pipes that connect to the water heater’s top, both for incoming cold water and outgoing hot water, can become loose over time. This looseness can cause leaks at the connection points.
4. Deteriorated anode rod: The anode rod is a sacrificial component that protects the tank’s interior from corrosion. When it reaches the end of its lifespan, it can break off and allow water to leak from the top.
Identifying the Source of the Leak
Before attempting any repairs, it’s crucial to pinpoint the exact source of the leak. This step will save you time, effort, and potential frustration down the line. Here’s how you can go about identifying the leak’s origin:
1. Visual inspection: Start by thoroughly examining the water heater’s top area. Look for signs of moisture, rust, or discoloration around the tank, temperature and pressure relief valve, and water inlet and outlet connections.
2. Check the temperature and pressure relief valve: Carefully inspect the valve for any signs of leakage or damage. Gently lift the valve’s lever to release any built-up pressure, which may temporarily stop the leak.
3. Test for tank leaks: If the leak doesn’t seem to be coming from the valve or connections, you can use a leak detector solution or household items like soapy water to check for tiny cracks or holes in the tank itself.
Examining Water Inlet and Outlet Connections
Don’t overlook the water inlet and outlet connections at the top of the tank. Gently wiggle the pipes to check for any looseness, and inspect for signs of corrosion or mineral buildup around the connection points.
Fixing a Leaking Water Heater Top
Once you’ve identified the source of the leak, it’s time to take action. Depending on the cause, different solutions may be required. Let me guide you through some common repair methods:
1. Replacing the temperature and pressure relief valve: If the valve is the culprit, replacing it is often the most straightforward solution. Turn off the water supply, drain the tank, and follow the manufacturer’s instructions to install a new valve properly.
2. Repairing minor tank leaks and corrosion: For small leaks or corrosion spots on the tank, you may be able to temporarily patch them with an epoxy-based sealant or tank repair kit. However, keep in mind that this is a temporary fix, and a tank replacement may be necessary in the long run.
3. Tightening or replacing loose water inlet and outlet connections: If the leak is coming from loose connections, try tightening them with a wrench. If they’re heavily corroded or damaged, you may need to replace the pipes or fittings entirely.
4. Replacing the entire water heater: In some cases, especially if the tank is old or severely corroded, the most cost-effective and long-term solution may be to replace the entire water heater. This decision should be based on factors like the age of the unit, the severity of the leak, and the overall condition of the tank.
While leaks can happen unexpectedly, regular maintenance can significantly reduce the risk of a water heater leaking from the top. Here are some preventive measures you can take:
1. Importance of regular water heater maintenance: Scheduling annual professional inspections and maintenance can help identify potential issues before they escalate into leaks or other problems.
2. Flushing the tank: Sediment buildup at the bottom of the tank can contribute to corrosion and leaks over time. Flushing the tank annually can help remove this sediment and extend the unit’s lifespan.
3. Replacing the anode rod: The anode rod is a sacrificial component that protects the tank from corrosion. Replacing it every 3-5 years, or as recommended by the manufacturer, can prevent premature tank failure and leaks.
4. Installing water heater leak detectors and automatic shut-off valves: These devices can detect leaks early and automatically shut off the water supply, minimizing potential water damage and giving you peace of mind.
By following these preventive measures and addressing any leaks promptly, you can ensure the longevity and efficient operation of your water heater, saving yourself from costly repairs or replacements down the line.

This is where you’ll find inspiration to create a stylish and beautiful dream home.