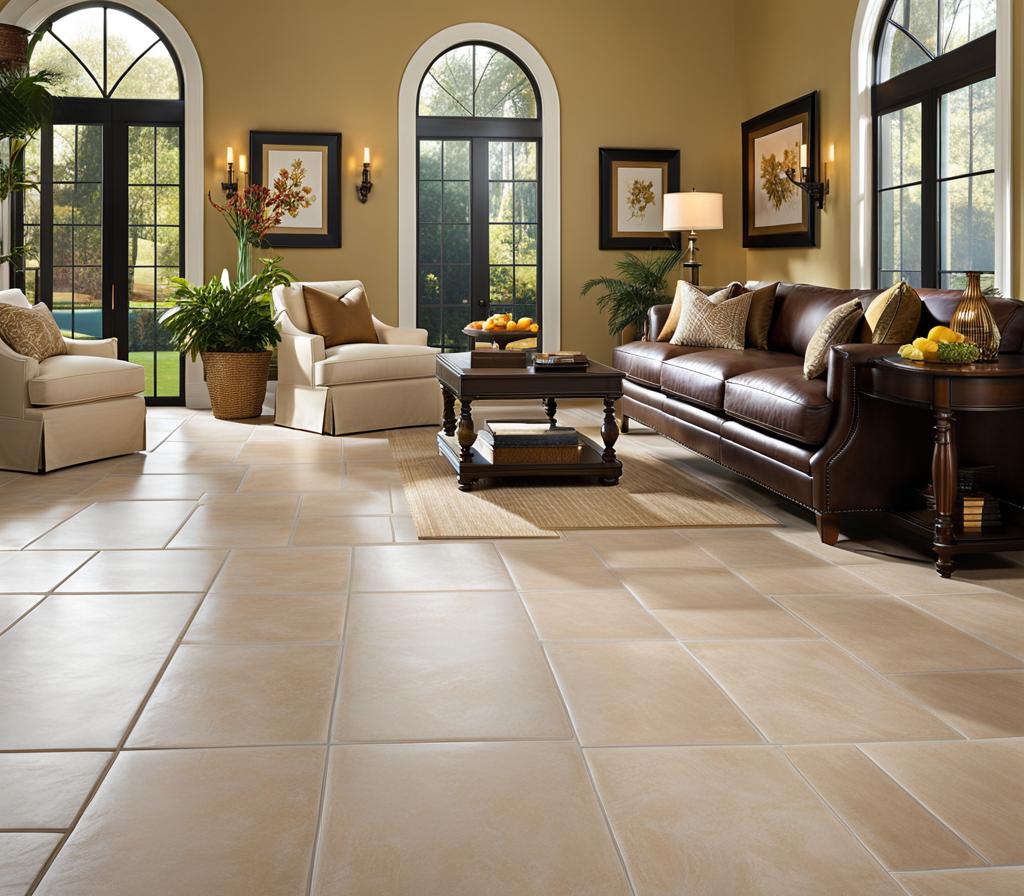
When it comes to tiling projects, understanding the nuances between sanded and unsanded grout is crucial for achieving a flawless finish. Grout is that seemingly innocuous material that fills the gaps between tiles, yet its impact on the overall look and longevity of your flooring is immense. As an avid DIYer, I’ve learned that making an informed decision between sanded and unsanded grout can make or break your floor’s aesthetic appeal and durability.
So, let’s roll up our sleeves and dive headfirst into the world of grout mastery!
Grout Types: Sanded vs Unsanded for Floors
Before we explore the intricacies of each grout type, let’s establish a clear understanding of what sets them apart. Sanded grout, as the name suggests, contains fine sand particles that provide extra strength and resilience. This makes it an ideal choice for wider grout lines, typically 1/8 inch or larger, where additional reinforcement is needed to withstand heavy foot traffic and potential cracking.
On the other hand, unsanded grout is a finer, smoother mixture without any sand particles. Its seamless finish and malleable nature make it perfect for narrow grout lines, usually less than 1/8 inch wide. Unsanded grout is often preferred for vertical applications like backsplashes or shower walls, where a smooth, uniform appearance is desired.
Now that we’ve established the fundamental differences, let’s dive deeper into the factors that influence your grout selection for floors.

Factors Influencing Grout Selection for Floors
When choosing between sanded and unsanded grout for your floor project, several key factors come into play. First and foremost, consider the grout line width. As mentioned earlier, sanded grout is better suited for wider joints, while unsanded grout excels in narrower gaps. This is primarily due to the coarser texture of sanded grout, which can lead to an uneven appearance and potential cracking in tighter spaces.
Another crucial aspect to consider is the level of foot traffic your floor will endure. High-traffic areas like entryways, hallways, and family rooms demand the added durability and resistance provided by sanded grout. Its gritty composition helps it withstand the constant wear and tear, minimizing the risk of cracking or crumbling over time.
Surface Texture and Aesthetics
While functionality is paramount, the aesthetic appeal of your flooring shouldn’t be overlooked. Sanded grout often lends a slightly rougher, more rustic texture to the surface, complementing natural stone or ceramic tiles beautifully. Unsanded grout, on the other hand, offers a smoother, more refined finish, making it an excellent choice for sleek, contemporary designs or delicate tile patterns.
Additionally, the color and shading of the grout can significantly impact the overall look of your floor. Unsanded grout tends to have a more uniform, consistent color, while sanded grout can exhibit slight variations in tone due to its coarse composition. This subtle variation can either enhance or detract from your desired aesthetic, so choose wisely.
Application and Installation: Sanded vs Unsanded Grout
Proper application and installation techniques are crucial for ensuring the longevity and optimal performance of your grout, regardless of the type you choose. Let me walk you through some key considerations for each grout variety:
Sanded Grout: Mixing: Sanded grout requires thorough mixing to ensure even distribution of the sand particles. Inadequate mixing can lead to an uneven consistency and potential issues down the line. Application: When applying sanded grout, use a rubber grout float held at a 45-degree angle to pack the grout firmly into the joints. This helps minimize air pockets and ensures a strong, durable bond. Curing: Proper curing is essential for sanded grout to reach its maximum strength. Follow the manufacturer’s recommendations for curing times and humidity levels. Sealing: Once cured, consider sealing sanded grout to protect it from stains and moisture, especially in high-traffic areas or bathrooms.
Unsanded Grout: Mixing: Unsanded grout is typically easier to mix than its sanded counterpart, but it’s still crucial to achieve a smooth, lump-free consistency. Application: For unsanded grout, use a grout float held at a shallow angle to spread the grout evenly across the tile surface. Avoid excessive pressure, as this can force the grout too deeply into the joints. Curing: Follow the manufacturer’s instructions for curing times and conditions, as unsanded grout may cure faster than sanded varieties. Sealing: While sealing isn’t always necessary for unsanded grout, it can help protect against stains and moisture in high-moisture areas like bathrooms or kitchens.
Regardless of the grout type you choose, meticulous preparation, application, and curing techniques are essential for achieving a long-lasting, visually stunning flooring installation.
Once your floor is installed, maintaining its pristine condition becomes the next challenge. Both sanded and unsanded grout require regular cleaning and care to prevent staining, discoloration, and degradation over time. Here are some tips to keep your grout looking its best:
- Sanded Grout:
- Sweep or vacuum regularly to remove loose debris and grit, which can act as an abrasive and scratch the grout over time.
- Use a pH-neutral cleaner and a soft-bristled brush to gently scrub the grout lines, being careful not to damage the surrounding tiles.
- Avoid harsh chemicals or acidic cleaners, as they can break down the grout and cause discoloration or erosion.
- Re-seal sanded grout periodically to maintain its stain resistance and protect against moisture penetration.
- Unsanded Grout:
- Wipe up spills promptly, as unsanded grout can be more prone to staining than its sanded counterpart.
- Use a mild, non-abrasive cleaner and a soft cloth or sponge to gently wipe down the grout lines.
- Avoid excessive scrubbing or harsh chemicals, as they can damage the smooth surface of unsanded grout.
- Consider sealing unsanded grout in high-moisture areas like bathrooms or kitchens for added protection.
By following these maintenance guidelines, you can help extend the lifespan and preserve the beauty of your sanded or unsanded grout floors for years to come.

This is where you’ll find inspiration to create a stylish and beautiful dream home.