Cutting thin plexiglass can be a daunting task, but with the right techniques and tools, it becomes a breeze. Whether you’re working on a DIY project or crafting a professional piece, achieving a flawless cut is essential for a polished final product.
Mastering the Essential Tools for Cutting Thin Plexiglass
Before we dive into the cutting process, let’s explore the different tools you’ll need. Plexiglass, also known as acrylic, is a versatile material that can be cut using a variety of methods. The thickness of the sheet and the intricacy of your project will determine the most suitable tool for the job.
For straight, clean cuts on thin plexiglass sheets up to 1/4 inch thick, a scoring knife or utility knife is often the go-to choice. These tools allow you to score the surface and then snap the material along the scored line. Look for knives with sturdy blades and comfortable grips for better control and precision.
If you’re working with thicker sheets or need to make curved or intricate cuts, a fine-toothed saw or a jigsaw can be a better option. Opt for blades specifically designed for cutting plastics or acrylics to minimize chipping and cracking. Alternatively, a laser cutter or a CNC router can provide incredibly precise and detailed cuts, though these tools may not be readily available for DIY enthusiasts.
Regardless of your chosen tool, setting up a safe and efficient workspace is crucial. Ensure you have a sturdy surface to work on, proper lighting, and all the necessary safety gear, such as gloves and eye protection. A cutting mat or a piece of scrap plywood can help protect your work surface and extend the life of your blades or tools.
Preparing the Plexiglass for a Clean Cut
Proper preparation is key to achieving a flawless cut. Start by measuring and marking your cutting line accurately on the plexiglass sheet. Use a straight edge and a permanent marker or a pencil to ensure a precise guide for your tool.
Next, secure the plexiglass sheet to your work surface. This will prevent it from shifting during the cutting process and ensure a stable base. You can use clamps, weights, or even masking tape to hold the sheet in place. If you’re working with a large sheet, consider having an extra pair of hands to help support the material and keep it steady.
To minimize the risk of chipping or cracking, apply masking tape or a protective covering along the cutting line. This will help absorb the pressure and prevent the material from splintering or shattering during the cut. For added protection, you can also place a strip of scrap wood or a metal ruler underneath the cutting line to provide additional support.
Step-by-Step Cutting Techniques for Thin Plexiglass
Now that your workspace and materials are prepped, it’s time to dive into the cutting process. Here are the step-by-step techniques for achieving clean, precise cuts on thin plexiglass:
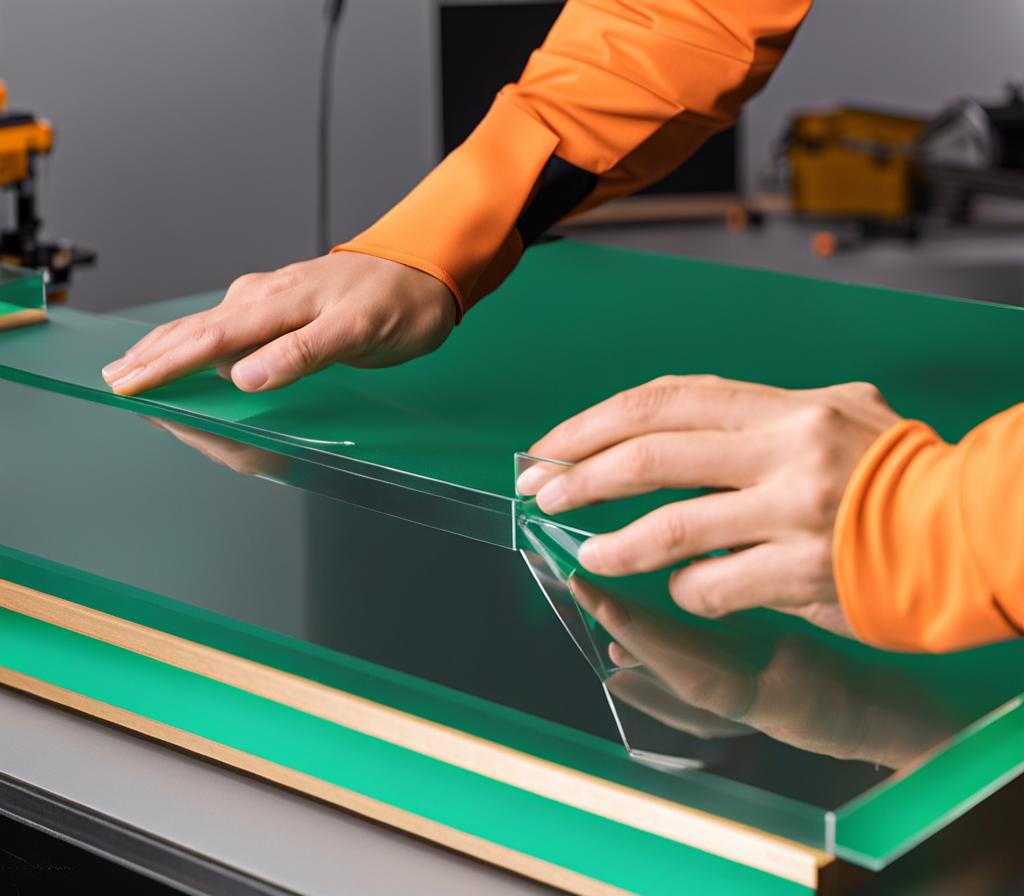
- Scoring and Snapping: For straight cuts, use a scoring knife to create a deep groove along your marked line. Apply firm, even pressure and score the surface multiple times if needed. Once scored, gently bend the plexiglass along the groove until it snaps cleanly. If the material doesn’t snap easily, deepen the score or try scoring from the opposite side.
- Using a Utility Knife or Saw: If you’re working with curved or intricate designs, a utility knife or a fine-toothed saw might be your best bet. Go slowly and follow your marked lines carefully, applying gentle pressure to avoid cracks or chips. For curved cuts, use a jigsaw or a scroll saw with a tight blade radius for better maneuverability.
- Preventing Issues: To minimize common cutting problems, keep your tools sharp, work on a stable surface, and avoid excessive force. If you encounter any cracks or chips, stop and reassess your technique before continuing. It’s better to take your time and make multiple light passes than to force the cut and risk damaging the material.
Finishing and Polishing Plexiglass Edges
Once you’ve achieved your desired cut, it’s time to add the finishing touches. Sanding and polishing the edges can take your project from good to great, giving it a professional, seamless appearance.
Start by sanding the cut edges with progressively finer grits of sandpaper, starting with a coarse grit (around 120-180) and working your way up to a very fine grit (400-600). This will smooth out any roughness or imperfections left behind by the cutting process. Be sure to sand evenly and avoid creating divots or grooves.
After sanding, remove any remaining masking tape or protective coverings from the surface. Next, use a polishing compound designed specifically for plexiglass or acrylic. Apply it to the edges using a soft cloth or buffing pad, and work in small, circular motions until you achieve a crystal-clear finish. For an extra glossy shine, you can use a plastic polish or a acrylic glaze after polishing.
If you’re working on a project that requires multiple pieces of plexiglass to be joined together, such as a display case or a frame, take extra care in ensuring a seamless fit. Use a deburring tool or a fine-grit sanding block to slightly bevel the edges, making it easier to align and bond the pieces together without gaps or visible seams.
Safety Precautions for Cutting Thin Plexiglass
While plexiglass is generally a safe material to work with, it’s essential to take the necessary precautions to ensure your safety during the cutting process.
- Protective Equipment: Always wear gloves, goggles, and a dust mask or respirator to protect your hands, eyes, and lungs from any debris or fumes. Consider wearing long sleeves and pants to guard against potential cuts or scratches.
- Ventilation: Cutting plexiglass can release fumes, so ensure your workspace is well-ventilated or work outdoors if possible. Avoid inhaling any dust or particles generated during the cutting or sanding process.
- Safe Handling: Handle plexiglass sheets with care to avoid accidental cracks or breaks. Dispose of any scraps or debris properly to prevent potential hazards. Be cautious of sharp edges or burrs, which can cause injuries.
Advanced Cutting Methods and Specialized Applications
While the techniques we’ve covered so far are suitable for most DIY and small-scale projects, there are advanced cutting methods and specialized applications worth exploring.
For precision cuts with intricate designs, a laser cutter or a CNC (computer numerical control) machine can be invaluable tools. These computer-controlled systems use high-powered lasers or cutting bits to create precise, detailed cuts with minimal effort. However, they often require specialized training and can be expensive for personal use.
Additionally, cutting plexiglass may be required for specific projects, such as framing, signage, aquariums, or even custom furniture. In these cases, it’s essential to understand the unique requirements and techniques for each application.
- Framing: When cutting plexiglass for framing, pay close attention to the dimensions and angles to ensure a seamless fit. Consider using a miter box or a specialized framing tool for precise 45-degree cuts.
- Signage: For signage, you may need to incorporate text or graphics into your plexiglass cuts. This can be achieved through engraving, etching, or applying vinyl decals after the cutting process.
- Aquariums: Building an aquarium requires precise cuts and seamless joins to prevent leaks. Ensure your edges are perfectly smooth and use a high-quality acrylic adhesive for a watertight seal.
- Furniture: Cutting plexiglass for furniture projects, such as tabletops or shelving, requires careful measurements and attention to weight distribution. Consider incorporating additional support or framing to prevent sagging or cracking over time.
Consulting with professionals or seeking specialized resources can help ensure a successful outcome for these more complex projects.
Troubleshooting common issues and challenges is also crucial when working with thin plexiglass. From preventing cracks and chips to achieving seamless edges, having a solid understanding of the material’s properties and limitations can save you time and frustration in the long run.
Throughout my experience working with thin plexiglass, I’ve picked up a few additional tips and tricks that can make the cutting process smoother and more efficient:
- Test on Scrap Pieces: Before cutting your final piece, practice on scrap plexiglass to get a feel for the material and fine-tune your technique. This can help you identify potential issues and make necessary adjustments.
- Use a Cutting Guide: To ensure straight, accurate cuts, consider using a cutting guide or a straightedge clamped to your work surface. This will help keep your blade or scoring tool on track and minimize deviations.
- Adjust Blade Depth: When using a saw or jigsaw, adjust the blade depth to slightly deeper than the thickness of the plexiglass sheet. This will prevent the blade from binding or causing excessive chipping on the backside of the material.
- Cool the Cutting Area: Plexiglass can generate heat during the cutting process, which can cause melting or warping. Keep a spray bottle of water handy and lightly mist the cutting area to help dissipate heat and prevent these issues.
- Clean and Maintain Tools: Regularly clean and maintain your cutting tools to ensure optimal performance. Dull blades or accumulations of debris can lead to rough cuts and increased risk of cracking or chipping.
By incorporating these tips and tricks into your workflow, you’ll be well on your way to mastering the art of cutting thin plexiglass with precision and confidence.

This is where you’ll find inspiration to create a stylish and beautiful dream home.