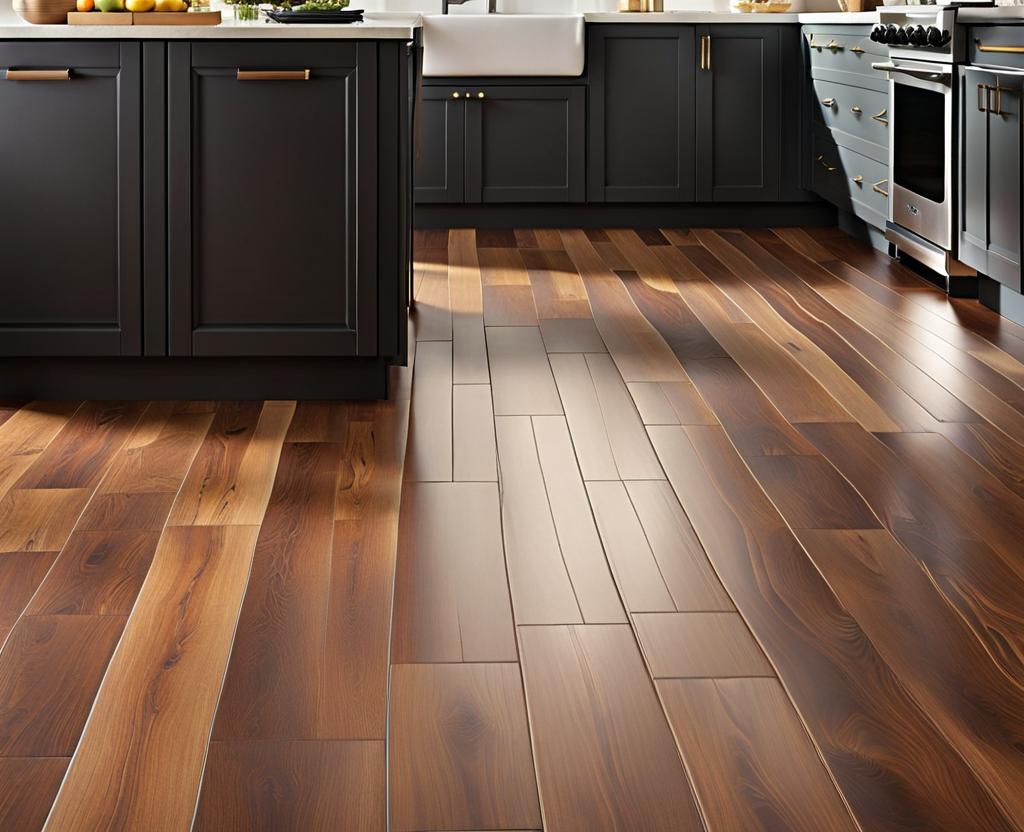
One of the most significant changes you can make to your kitchen is installing new flooring. Not only does it give your space an instant facelift, but it’s also a cost-effective solution that can withstand the wear and tear of a busy cooking area.
Preparing for Laminate Flooring Installation in the Kitchen
Before we dive into the installation process, proper preparation is key. First, you’ll need to gather the necessary materials and tools. Laminate flooring planks, underlayment, trim pieces, a utility knife, a tapping block, a pull bar, spacers, and a saw for cutting planks are essential. Take the time to measure your kitchen accurately, accounting for irregular spaces and obstacles, to ensure you purchase the right amount of flooring.
Next, assess the condition of your subfloor. It should be clean, level, and free of any cracks, debris, or protruding nails or screws that could potentially damage the new flooring. If you have an existing floor covering like vinyl or tile, you’ll need to remove it first. This process can be labor-intensive, so don’t hesitate to enlist help if needed.
Once the subfloor is prepped, install a moisture barrier, such as a plastic sheeting or vapor barrier underlayment. This crucial step protects your new laminate flooring from potential water damage, which is especially important in high-moisture areas like the kitchen.
Step-by-Step Guide to Installing Laminate Flooring
Now it’s time to roll up your sleeves and get to work! Start by laying the underlayment, which will provide a cushioned base for your laminate planks and help reduce noise. Make sure to follow the manufacturer’s instructions for proper installation. Then, carefully follow these steps:

- Begin with the first row of laminate planks along the longest wall, ensuring they are perfectly straight and secure them with spacers along the wall. This expansion gap is essential to allow for natural expansion and contraction of the flooring.
- Stagger the joints of each subsequent row for a seamless look, cutting the planks as needed to fit around obstacles like cabinets, pipes, or irregularly shaped spaces. Use a saw or laminate cutter for clean, precise cuts.
- Use the tapping block and pull bar to lock the planks together, applying gentle pressure to create a tight, secure fit. Avoid excessive force, which can damage the locking mechanisms.
- As you approach the final row, you may need to cut the planks lengthwise to fit the remaining space. Use a laminate pull bar to ensure a snug fit, and secure them with trim pieces for a polished finish.
Patience and attention to detail are crucial during this process. Take your time, and don’t hesitate to ask for help if you need an extra set of hands or encounter any challenges along the way.
Essential Tips for a Flawless Laminate Kitchen Floor
While installing laminate flooring may seem straightforward, there are a few essential tips to ensure a flawless result:
- Maintain an expansion gap of at least 1/4 inch, but no more than 1/2 inch, along the walls and cabinets. This allows the flooring to expand and contract with temperature changes, preventing buckling or warping.
- When transitioning between rooms or different flooring types, use the appropriate trim pieces or transition strips for a seamless and professional look. These specialized pieces help bridge the gap between flooring surfaces and provide a clean, finished appearance.
- After installation, regularly sweep or vacuum your new laminate floor to keep it looking its best. Avoid excessive moisture, and use a laminate-specific cleaner for deeper cleaning. Wet mopping should be avoided, as it can cause swelling or damage to the laminate planks.
- If you encounter any issues during installation, such as planks that won’t lock or uneven surfaces, don’t hesitate to seek guidance from a professional or consult the manufacturer’s instructions. Addressing problems early on can save you time and frustration down the line.
It’s also worth considering the installation pattern you choose. While a standard straight pattern is the most common and easiest to install, you could add visual interest by exploring diagonal or herringbone patterns. These more intricate layouts can create a unique, custom look but may require additional cutting and precise measurements.
Beyond the practical benefits, laminate flooring offers endless possibilities to enhance the style and ambiance of your kitchen. With a wide range of designs and textures available, you can choose planks that perfectly complement your existing decor or create a bold, new look.
Consider coordinating your flooring with your cabinets and countertops for a cohesive, designer-inspired aesthetic. For instance, if you have warm, honey-toned cabinets, you might choose a laminate flooring with a rich, wood-like grain in a complementary shade. Alternatively, you could opt for a contrasting shade or pattern to add visual interest and depth to the space.
Once your flooring is installed, don’t be afraid to accessorize! Add a cozy area rug, update your hardware or light fixtures, or incorporate pops of color through artwork or decorative accents. The possibilities are endless! You could even consider adding an accent wall or updating your backsplash to tie the whole room together.
Installing laminate flooring in your kitchen is an achievable and rewarding project that can breathe new life into your space. With the right preparation, tools, attention to detail, and a little creativity, you’ll be able to enjoy the beauty and durability of your new floors for years to come. So, what are you waiting for? Unleash your inner interior designer and start planning your dream kitchen today!

This is where you’ll find inspiration to create a stylish and beautiful dream home.