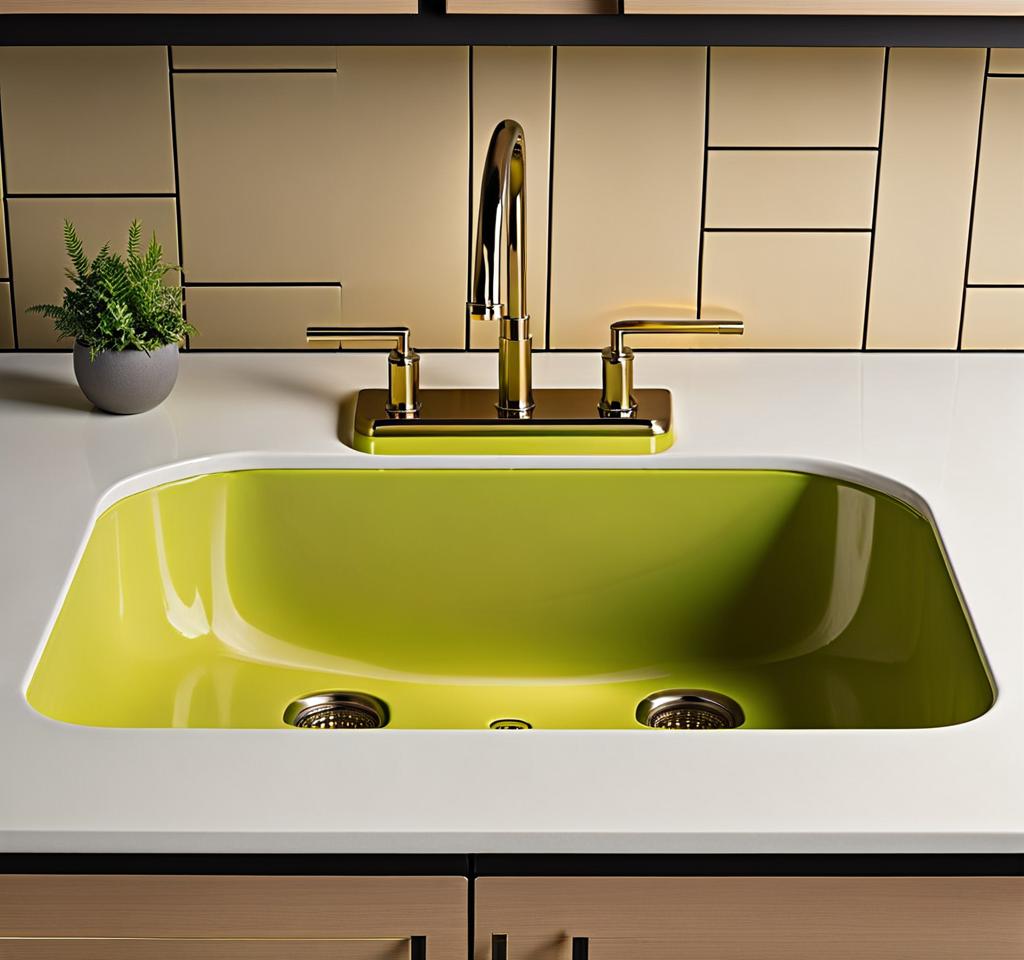
Replacing undermount sink caulk might seem like a daunting task, but trust me, it’s a breeze once you know the drill. As a seasoned DIY enthusiast, I’ve tackled this project countless times, and I’m here to share all my pro tips and tricks with you.
Undermount Sink Caulk: Understanding the Importance of Regular Replacement
Let’s start with the basics: what exactly is undermount sink caulk, and why is it so crucial? Well, this unsung hero is responsible for sealing the gap between your undermount sink and the countertop, preventing water from seeping through and causing damage to your cabinets or floors. Over time, however, caulk can crack, peel, or discolor, leaving your bathroom vulnerable to water intrusion and mold growth. Yikes! That’s why it’s essential to replace it regularly, typically every few years or whenever you notice signs of wear and tear.
Now, I know what you’re thinking: “But replacing caulk sounds like such a hassle!” Fear not, my friend. With the right tools and techniques, this task becomes a walk in the park. And trust me, the peace of mind that comes with a watertight seal is worth every bit of effort. Plus, you’ll be amazed at how a fresh, clean bead of caulk can instantly elevate the look of your entire bathroom. It’s like giving your sink a mini facelift!
Essential Tools and Materials for Undermount Sink Caulk Replacement
Before we dive into the nitty-gritty, let’s ensure you have all the necessary tools and materials on hand. You’ll need:

- Caulk remover or a utility knife
- Sandpaper or a caulk removal tool
- Denatured alcohol or rubbing alcohol
- Rags or paper towels
- Painter’s tape
- High-quality silicone caulk (I highly recommend a mildew-resistant variety for bathrooms)
- A caulking gun
- A caulk smoother or your trusty finger (just make sure it’s clean!)
With these tools at your disposal, you’ll be ready to tackle any undermount sink caulk replacement like a pro. Trust me, having the right equipment makes all the difference in achieving a flawless, seamless finish.
Step-by-Step Guide to Replacing Undermount Sink Caulk Seamlessly
Alright, let’s get down to business! Here’s a step-by-step guide to help you replace that undermount sink caulk like a true professional:
- Prep the area: Start by removing any loose or cracked caulk using a caulk remover or a utility knife. Be careful not to scratch or damage the sink or countertop surface.
- Clean and sand: Once you’ve removed the old caulk, use sandpaper or a caulk removal tool to roughen up the surface a bit. This will help the new caulk adhere better. Then, wipe down the area with denatured alcohol or rubbing alcohol to remove any remaining residue.
- Tape it up: Apply painter’s tape along the sink and countertop edges to create a clean, straight line for your new caulk bead. This step might seem tedious, but trust me, it’s worth it for a professional-looking finish.
- Caulk time: Cut the tip of your caulk tube at a 45-degree angle, about 1/4 inch from the end. Load the caulk into your caulking gun and start applying a consistent bead along the sink and countertop seam. Go slowly and steadily, ensuring you’ve filled the gap completely.
- Smooth it out: Once you’ve applied the caulk, use a caulk smoother or your finger (dipped in water or a soap solution) to flatten and smooth the bead. This step is crucial for a seamless, polished look.
- Remove the tape: Carefully remove the painter’s tape while the caulk is still fresh. If any caulk has seeped beyond the tape line, use a damp rag or paper towel to wipe it away gently.
- Let it cure: Allow the caulk to cure according to the manufacturer’s instructions, typically 24-48 hours. During this time, avoid getting the area wet or touching the caulk.
And there you have it, folks! By following these simple steps, you’ll have a beautifully sealed undermount sink that looks like it was professionally installed. Not too shabby, right?
Now, let’s dive into some expert-level tips and tricks to take your undermount sink caulk game to new heights:
- Choose the right caulk: Not all caulks are created equal. For bathroom applications, I highly recommend using a mildew-resistant silicone caulk. It’s durable, waterproof, and won’t crack or peel over time.
- Work in sections: If you’re dealing with a particularly long or intricate seam, it’s best to work in smaller sections rather than trying to caulk the entire area at once. This will ensure a smoother, more precise application.
- Use a caulking tool: While your finger can work in a pinch, investing in a caulking tool (like a caulk smoother or a caulk trimmer) can take your finish to the next level. These nifty little gadgets help you achieve a perfectly smooth and even bead.
- Ventilate the area: Caulk can have a strong odor, especially when first applied. To avoid feeling lightheaded or nauseous, make sure to open windows and doors to allow for proper ventilation.
- Practice makes perfect: Like any DIY project, replacing undermount sink caulk takes a bit of practice. Don’t be discouraged if your first attempt isn’t flawless. Keep at it, and you’ll be a caulking pro in no time!
By following these pro tips and tricks, you’ll be well on your way to achieving a flawless undermount sink caulk application that would make even the most seasoned contractor jealous.

This is where you’ll find inspiration to create a stylish and beautiful dream home.