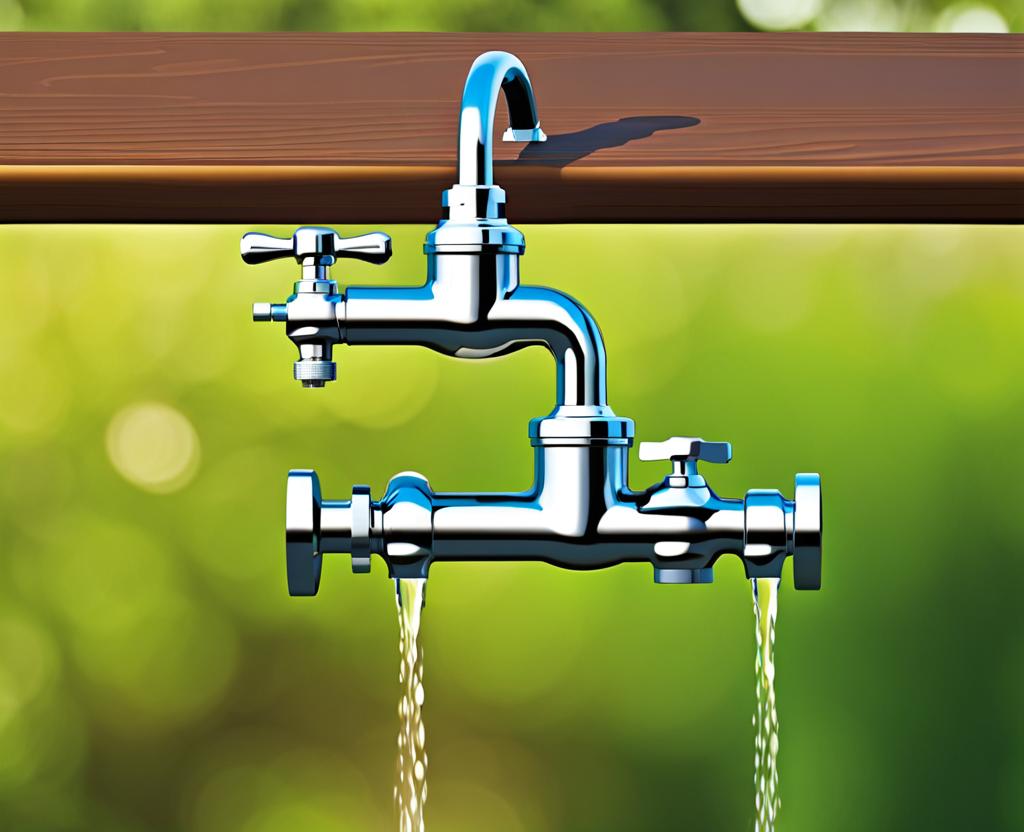
Got no water flowing from your outdoor faucet? Don’t sweat it! I’ve got the scoop on troubleshooting that pesky outside water spigot no water coming out issue. Whether it’s a frozen pipe or a faulty valve, I’ll walk you through the potential causes and easy fixes to get that H2O flowing again in no time.
Common Causes of Outside Water Spigot Not Working
Before we dive into the troubleshooting process, let’s explore some of the most common culprits behind a dry outside water spigot. Knowing the root cause will help us tackle the problem more effectively.
- Frozen Pipes: During the chilly winter months, water trapped inside the pipes can freeze and expand, causing blockages or even burst pipes. This is a common issue for outdoor faucets, especially if they’re not properly insulated or drained before the cold sets in.
- Valve Issues: Sometimes, the problem lies within the valve itself. Over time, valves can become corroded, stuck, or simply worn out, preventing water from flowing through the spigot.
- Low Water Pressure: If you notice a trickle instead of a steady stream, low water pressure could be the culprit. This could be due to a leak somewhere in the plumbing system or a problem with the main water supply line.
- Sediment Buildup: Mineral deposits and sediment can accumulate inside the pipes, restricting water flow or even blocking the spigot entirely. This is more common in areas with hard water.
Identifying the root cause will help us determine the best course of action. But fear not, my friend – we’ve got this!
Troubleshooting Steps for a Dry Outside Water Spigot
Now that we’ve covered the potential reasons why your outside water spigot isn’t cooperating, let’s roll up our sleeves and get to work. Here are some troubleshooting steps to try:
- Check the Main Water Supply: Before diving into the outdoor faucet itself, make sure the main water supply valve is fully open. Sometimes, the issue could be as simple as a closed valve.
- Inspect the Shut-Off Valve: Locate the shut-off valve for the outdoor spigot, usually found near the main water supply line. Try turning it on and off a few times to dislodge any debris or sediment that might be causing a blockage.
- Remove the Hose Bib: If the shut-off valve seems fine, it’s time to take a closer look at the hose bib (the part where you attach your hose). Unscrew it carefully and check for any obstructions, corrosion, or damage that could be preventing water flow.
- Bleed the Line: After removing the hose bib, turn on the shut-off valve and let any trapped air or debris escape. This process, known as “bleeding the line,” can help restore proper water flow.
- Check for Frozen Pipes: If you suspect frozen pipes, you’ll need to take some precautionary measures. Apply a heat source (such as a heat lamp or hair dryer) to thaw the frozen section gradually. Be careful not to overheat the pipes, as this could cause them to burst.
If these basic troubleshooting steps don’t do the trick, it may be time to call in a professional plumber. But don’t lose hope just yet – we’ve still got a few more tricks up our sleeve!
Repairing a Frozen or Damaged Outside Water Spigot
In some cases, a frozen or damaged outside water spigot may require more extensive repairs. Here are a few options to consider:
- Replace the Hose Bib: If the hose bib is severely corroded, cracked, or damaged, you may need to replace it entirely. This is a relatively straightforward DIY project, but be sure to follow the manufacturer’s instructions carefully.
- Insulate the Pipes: To prevent future freezing issues, consider insulating the pipes leading to the outside water spigot. Pipe insulation sleeves or wraps can help keep the water flowing even during the coldest months.
- Install a Freeze-Proof Spigot: If you live in an area with harsh winters, investing in a freeze-proof spigot could be a wise move. These specialized faucets are designed to prevent freezing and minimize the risk of burst pipes.
Remember, when it comes to plumbing repairs, safety should always be your top priority. If you’re unsure about your DIY skills or the extent of the damage, don’t hesitate to call a professional plumber. They have the expertise and tools to tackle even the most stubborn outside water spigot issues.
They say an ounce of prevention is worth a pound of cure, and that’s especially true when it comes to your outside water spigot. By implementing a few simple preventive maintenance measures, you can minimize the risk of future problems and ensure a steady water flow when you need it most.
- Shut Off and Drain in Winter: Before the first freeze hits, be sure to shut off the water supply to your outside spigot and drain any remaining water from the pipes. This will prevent freezing and potential pipe bursts.
- Inspect Regularly: Take a few minutes each season to inspect your outside water spigot for any signs of wear, corrosion, or leaks. Catching issues early can save you from costly repairs down the line.
- Clean the Aerator: The aerator is a small screen that filters debris and sediment from the water stream. Periodically removing and cleaning the aerator can help improve water flow and prevent clogs.
- Consider a Water Softener: If you live in an area with hard water, a water softener system can help reduce mineral buildup and extend the lifespan of your plumbing fixtures, including your outside water spigot.
By following these preventive maintenance tips, you’ll be well on your way to a hassle-free outdoor watering experience for years to come.

This is where you’ll find inspiration to create a stylish and beautiful dream home.
