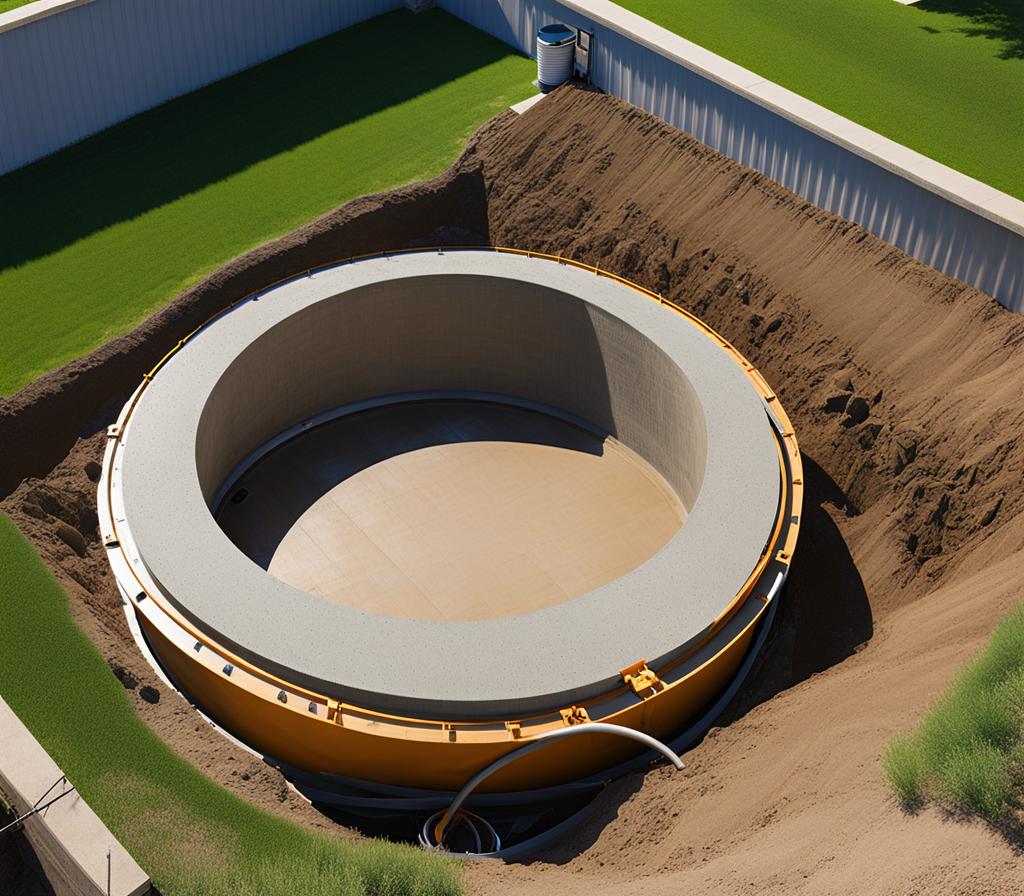
As a homeowner, dealing with septic tank maintenance can be a daunting task, especially when it comes to removing the concrete lid. But fear not! I’m here to guide you through this process with ease, ensuring your septic tank remains in top-notch condition without any hassle.
Understanding Concrete Septic Tank Lids
Before we dive into the steps of lid removal, let’s first understand the purpose and importance of these concrete structures. A septic tank lid serves as an access point for inspection, maintenance, and repair of your septic system. Regular check-ups are crucial to ensure the proper functioning of your septic tank and to identify any potential issues early on.
Common reasons for removing the lid include routine inspections, pumping out the tank, repairing or replacing components, and addressing clogs or backups. While it may seem like a intimidating task, with the right knowledge and precautions, you can tackle this project like a pro.
Preparing for Lid Removal
Safety should always be your top priority when working with septic tanks. Before attempting to remove the lid, ensure you have the following protective gear:
- Respirator or face mask to prevent inhalation of noxious gases
- Gloves to protect your hands from potential hazards
- Sturdy, non-slip footwear for proper traction
Additionally, you’ll need a few essential tools and materials:
- Pry bar or shovel to help dislodge the lid
- Hammer or mallet to gently tap the pry bar
- Rope or straps to assist in lifting the lid
Once you’ve gathered everything, locate the septic tank lid, which is typically buried a few inches below ground level. Clear any debris or vegetation covering the area to expose the lid.
Strategies for Removing Concrete Septic Tank Lids
There are a few different approaches you can take to remove a concrete septic tank lid, depending on its condition and your personal preference. Here are some effective strategies:

Breaking the Lid
If the lid is severely cracked or damaged, breaking it into smaller pieces may be the most practical solution. Use a sledgehammer or a jackhammer to create controlled cracks along the lid’s surface. Be cautious and wear protective gear to prevent injury from flying debris.
Lifting the Lid
For intact lids, you can attempt to lift them off using leverage principles. Insert the pry bar or shovel under the lid’s edge and gently tap it with a hammer or mallet to create a gap. Once you’ve created enough space, slide the pry bar further in and use it as a lever to lift the lid. Remember to lift with your legs, not your back, to avoid strain.
If the lid is particularly heavy or stubborn, you may need to enlist the help of another person or use ropes or straps to assist with the lifting process.
Septic Tank Access and Inspection
With the lid removed, you now have access to the septic tank’s interior. Before attempting to enter, ensure proper ventilation by allowing the tank to air out for at least 15-20 minutes. This step is crucial to dissipate any potentially harmful gases.
Once it’s safe to proceed, carefully inspect the tank’s interior for any signs of damage, clogs, or excessive buildup. Look for cracks in the walls or floor, as well as the condition of the baffles and inlet/outlet pipes. If you notice any concerning issues, it’s best to consult a professional septic tank service provider.
Lid Replacement or Repair
After completing your inspection or maintenance tasks, it’s time to replace or repair the lid. If you’ve opted to break the existing lid, you’ll need to purchase a new one that fits the dimensions of your septic tank opening.
When choosing a replacement lid, consider factors such as material (concrete, fiberglass, or plastic), weight, and durability. Proper installation is crucial to ensure a secure fit and prevent potential safety hazards or groundwater contamination.
If the original lid is salvageable, you can repair any cracks or damage using a concrete patching compound or resurfacing product. Follow the manufacturer’s instructions carefully and allow ample curing time before reinstalling the lid.
Maintenance and Prevention Tips
To extend the lifespan of your septic tank components and minimize the need for frequent lid removal, consider implementing these maintenance and prevention tips:
- Schedule regular septic tank inspections and pumping services according to your local regulations.
- Be mindful of what goes down your drains, as certain substances can damage or clog your septic system.
- Avoid planting trees or shrubs directly over the septic tank, as their roots can cause damage.
- Ensure proper drainage around the septic tank area to prevent water accumulation and potential issues.
By following these simple guidelines, you can significantly reduce the likelihood of encountering problems that necessitate frequent lid removal.
While removing a concrete septic tank lid may seem manageable for some homeowners, there are situations where seeking professional assistance is the safest and most advisable course of action.
If you encounter any of the following scenarios, it’s best to hire a licensed and experienced septic tank contractor:
- The lid is excessively heavy or severely damaged, posing a safety hazard.
- You’ve identified significant issues within the septic tank that require specialized repairs or replacements.
- You’re unsure about any aspect of the process or lack the necessary tools and equipment.
Professionals have the expertise, tools, and safety protocols in place to handle septic tank maintenance efficiently and effectively, ensuring your peace of mind and the longevity of your septic system.
By following the steps outlined in this guide, you’ll be well-equipped to tackle the task of removing a concrete septic tank lid with confidence. Remember, safety should always be your top priority, and don’t hesitate to seek professional assistance if needed. With the right approach, you can keep your septic tank in top-notch condition and avoid any hassles down the line.

This is where you’ll find inspiration to create a stylish and beautiful dream home.